The following figure shows the PiGlow board:
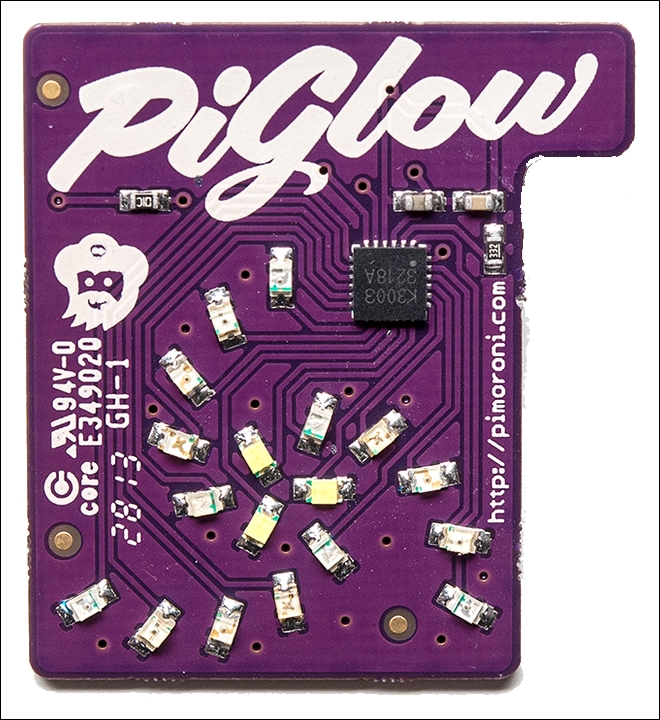
Since we have learned how to control an LED and a button via Raspberry Pi GPIO pins, we will now move on to a module called PiGlow, which is an add-on board for the Raspberry Pi and provides 18 individually controlled LEDs, and which you can use via a provided library. We will now proceed to install the software requirements for PiGlow by using a script provided by Pimoroni itself. To install PiGlow, run the following command in a new terminal:
curl get.pimoroni.com/piglow | bash
To check whether PiGlow has been installed properly, open a Python terminal and execute the following command:
import piglow
If it is successful, then continue.
To confirm whether I2C has been enabled, open the Raspberry Pi configuration tool by entering the following command:
sudo raspi-config
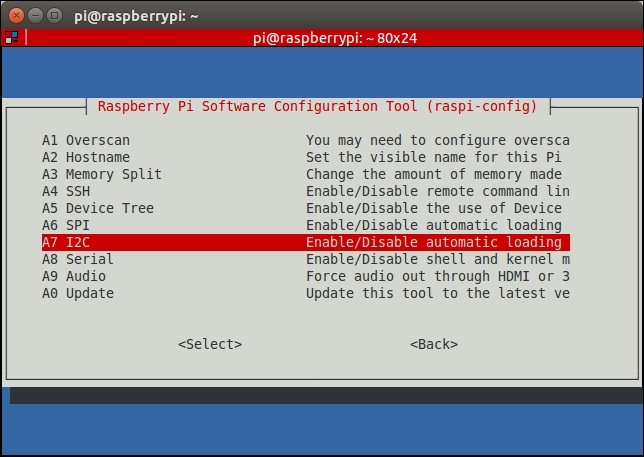
Then, select the Advanced Options menu from the displayed options.

When we enter the Advanced Options menu of raspi-config, we are greeted by the following screen. We will now select the A7 option, which is I2C.
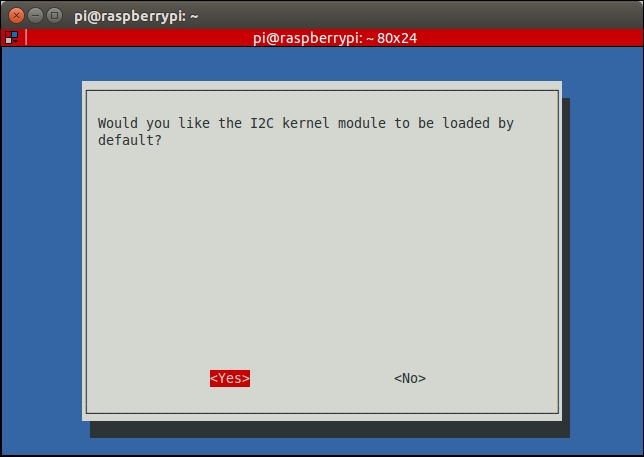
Once we select the I2C menu, the following display will be shown:

Select Yes for both the previous screen and the following one: