
CHAPTER ONE
THE BASICS

While the actual concept behind making beer is fairly simple—add water to barley to create and extract sugar, add hops while boiling, cool, then feed to yeast—the actual execution can seem complex and confusing. There can be a lot of equipment involved, storage needs, and specialized knowledge. For many hobbyists, homebrew can seem like a return to biology, chemistry, arithmetic, and physics long left behind. It can seem intimidating.
A good brewer is a scientist: you must follow formulae consistently, measure frequently, and keep good and accurate records of your methods and results.
A great brewer is also an artist: using the flavor and nuance of a particular malt or a hop at a specific time, in the same, delicate way that a painter might apply brushstrokes across a canvas.
In both the art and science of brewing, a careful, methodical approach is necessary, whether it’s for achieving a perfect mash temperature, or knowing the correct measurement required to make a beer just right. Take the time to learn, and do it right every time.
Finally, in brewing, cleanliness is king. It’s often said that brewing is 90 percent cleaning and 10 percent actually making beer. Every great beer starts with clean and sanitized equipment.

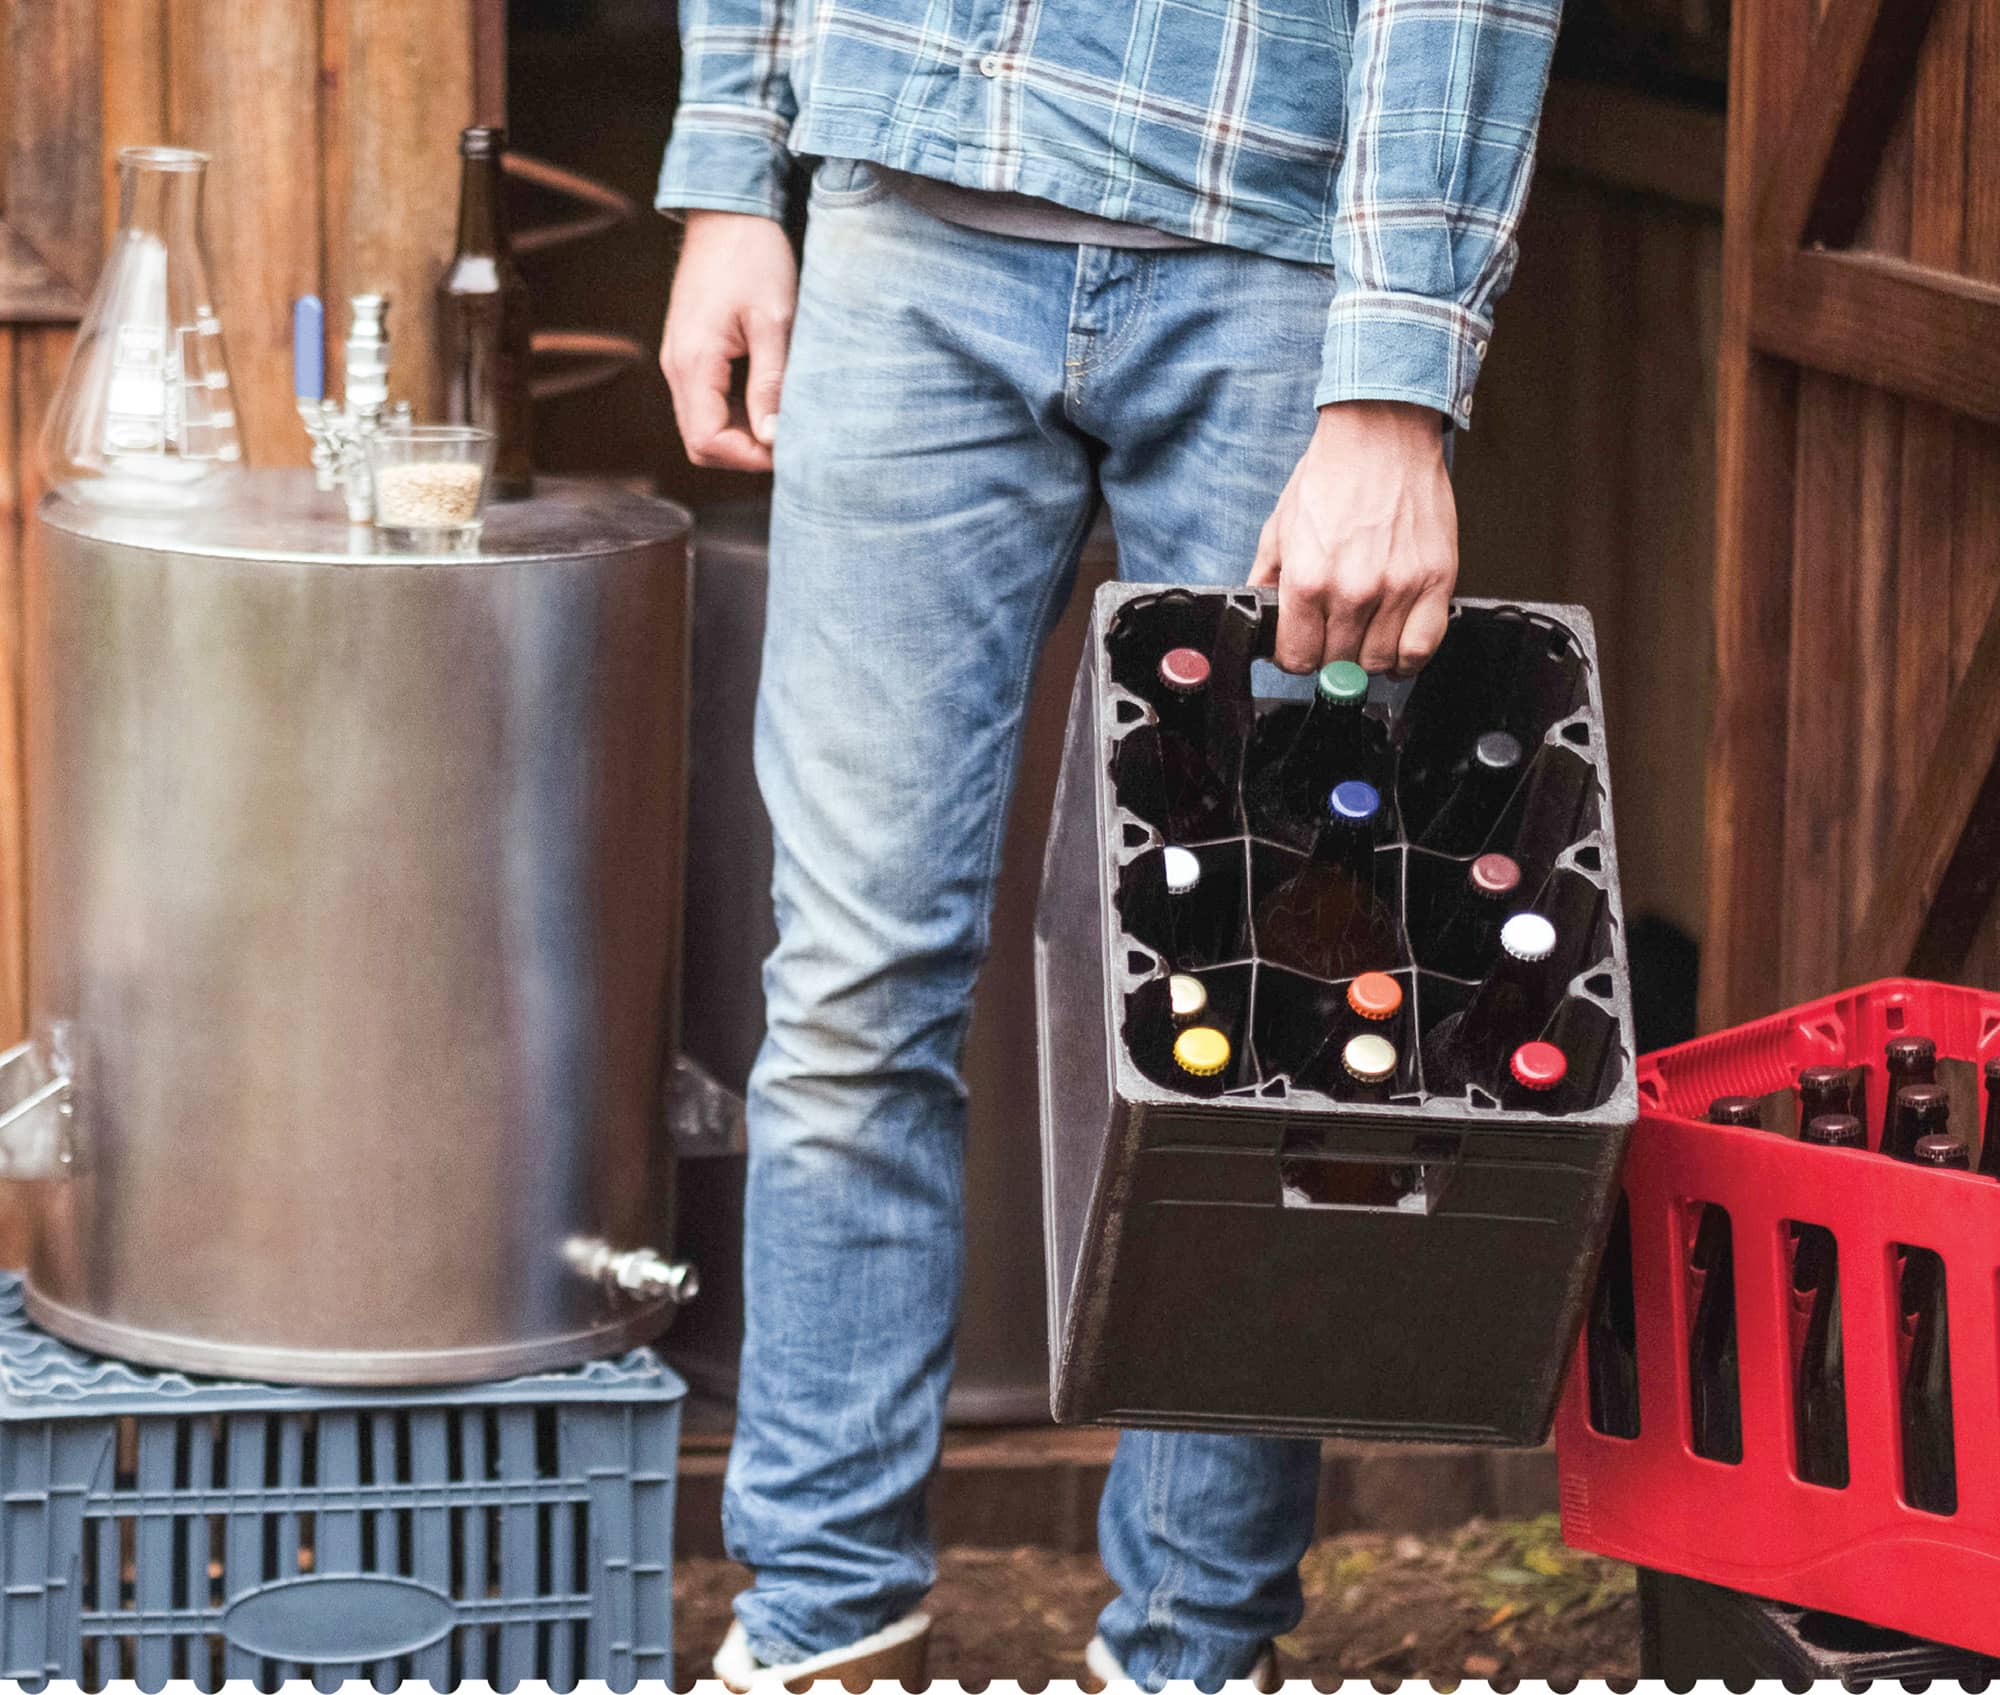
01 | I don’t know how to start home brewing |
CAUSE
Making beer is a blend of both art and science. With the wide variety of ingredients, equipment, and literature available it can be an intimidating task to start the hobby.
SOLUTION
In recent years homebrewing has become a thriving hobby industry, which means you will find more technology and resources available than ever before. To simplify things, there are just a few things you need to get going with homebrew:
• Brewing equipment: a pot to boil in, a vessel to ferment in, a kitchen scale, and a thermometer (more details in Problem 2)
• Packaging equipment: either kegs or bottles and bottlecaps (and a capper)
• Ingredients: barley, hops, water, and yeast (starter kits are available from homebrew stores and will contain everything you need to get started, including detailed instructions).
While there are hundreds of books available, many containing valuable information, seeking advice from others in a social setting can be the easiest way to start. Find a local homebrew club, and go ask questions. There you’ll find beginners, intermediates, and experienced veterans who can answer questions about getting started, allow you to sit in on a brew day with them, and share some of their recipes (and their results!). They can give you advice on what literature was most helpful for them, the best places to get ingredients locally, and how many bottles to bring to the next meeting.
Beer is a social beverage, and so it’s only fitting that communities are often the best place to learn how to make great beer.
 Homebrewing is a process which can be simple or complicated. It’s up to the individual brewer to decide what kind of setup best suits their space and budget. No matter what, there will always be beer at the end.
02 | I’m not sure if I have the right equipment |
CAUSE
As homebrewing has become a popular hobby, the amount of equipment available to use at home has grown. For a beginner, it can be difficult to tell what equipment is necessary.
SOLUTION
A hobbyist can set up quickly, easily, and cheaply with a simple set of tools:
• A kettle: this is a pot to boil the liquid in. If you intend to boil the full volume of wort that you create you will need a kettle that is slightly larger than your batch size. Try to avoid aluminum or copper pots, or non-stick coating. Stainless steel is best.
• A kitchen scale: for weighing ingredients, such as grain or hops. Check your scale measures are in the same units your recipe calls for (otherwise find a conversion chart or phone app).
• A measuring cup: a large measuring cup with small increments is most useful for recording precise water measurements.
• A thermometer: something that can measure from room temperature through boiling. Homebrew supply stores will have a selection of thermometers, but any calibrated meat or kitchen thermometer may do.
• A spoon or stirring device: something you can mix and stir with. Spoons or ladles that are made of metal or wood are best for avoiding burnt fingers and sticky cleanups.
• A fermentation vessel: Whether a high-priced cylindroconical fermenter, or a plastic bucket, it must hold at least the volume of your fermentation with 10 to 25 percent head space. It should be non-porous (plastic, glass, or metal), able to withstand wide-swing temperature changes and robust cleaning chemicals, and have a means of venting excess CO2. Bear in mind that scratches or dents in plastic vessels can be difficult to clean.

Pictured here is some of the basic equipment needed for homebrewing: a fermentation bucket, a bubble airlock, and hydrometer. There is a wide range of brewing equipment available for use at home. It is vital that everything is kept clean and stored well when not in use.
03 | I’m not sure which ingredients to buy |
CAUSE
There are millions of potential ingredient combinations available to make beer. Finding the ones that make the beer that you want can be confusing.
SOLUTION
The easiest way to get started with ingredients is to use kits. A good homebrew kit can help familiarize you with how a recipe for a particular style is built, what ingredients typically go into each batch of beer, and in what proportion and order. Your local homebrew store will carry an array of kits, and will sometimes be able to build a kit for a particular style on demand.
Kits are a good way to discover the individual ingredients that make up a beer. Once you’ve achieved good results from a particular kit, you can learn through experimentation. Try using the IPA kit you loved last time with different hops, or the same stout kit with a different type of dark grain—or with no dark grain at all. Experimentation in brewing—and drinking—is the best way to learn about the ingredients available, including how ingredients vary according to manufacturer.
Another good tactic is to find a “clone recipe.” These are intended to mimic a commercial beer (and are often released by commercial brewers themselves). Assuming you use a faithful clone recipe (or at a least good one), creating clones can be an excellent method to learn how commercial brewers use ingredients, and are also a good means of measuring your brewing chops.
Taste, smell, and feel all the ingredients that go into your kettle. As with cooking, sampling each of your ingredients can help you craft a better final product—or know the moment that something is going wrong.
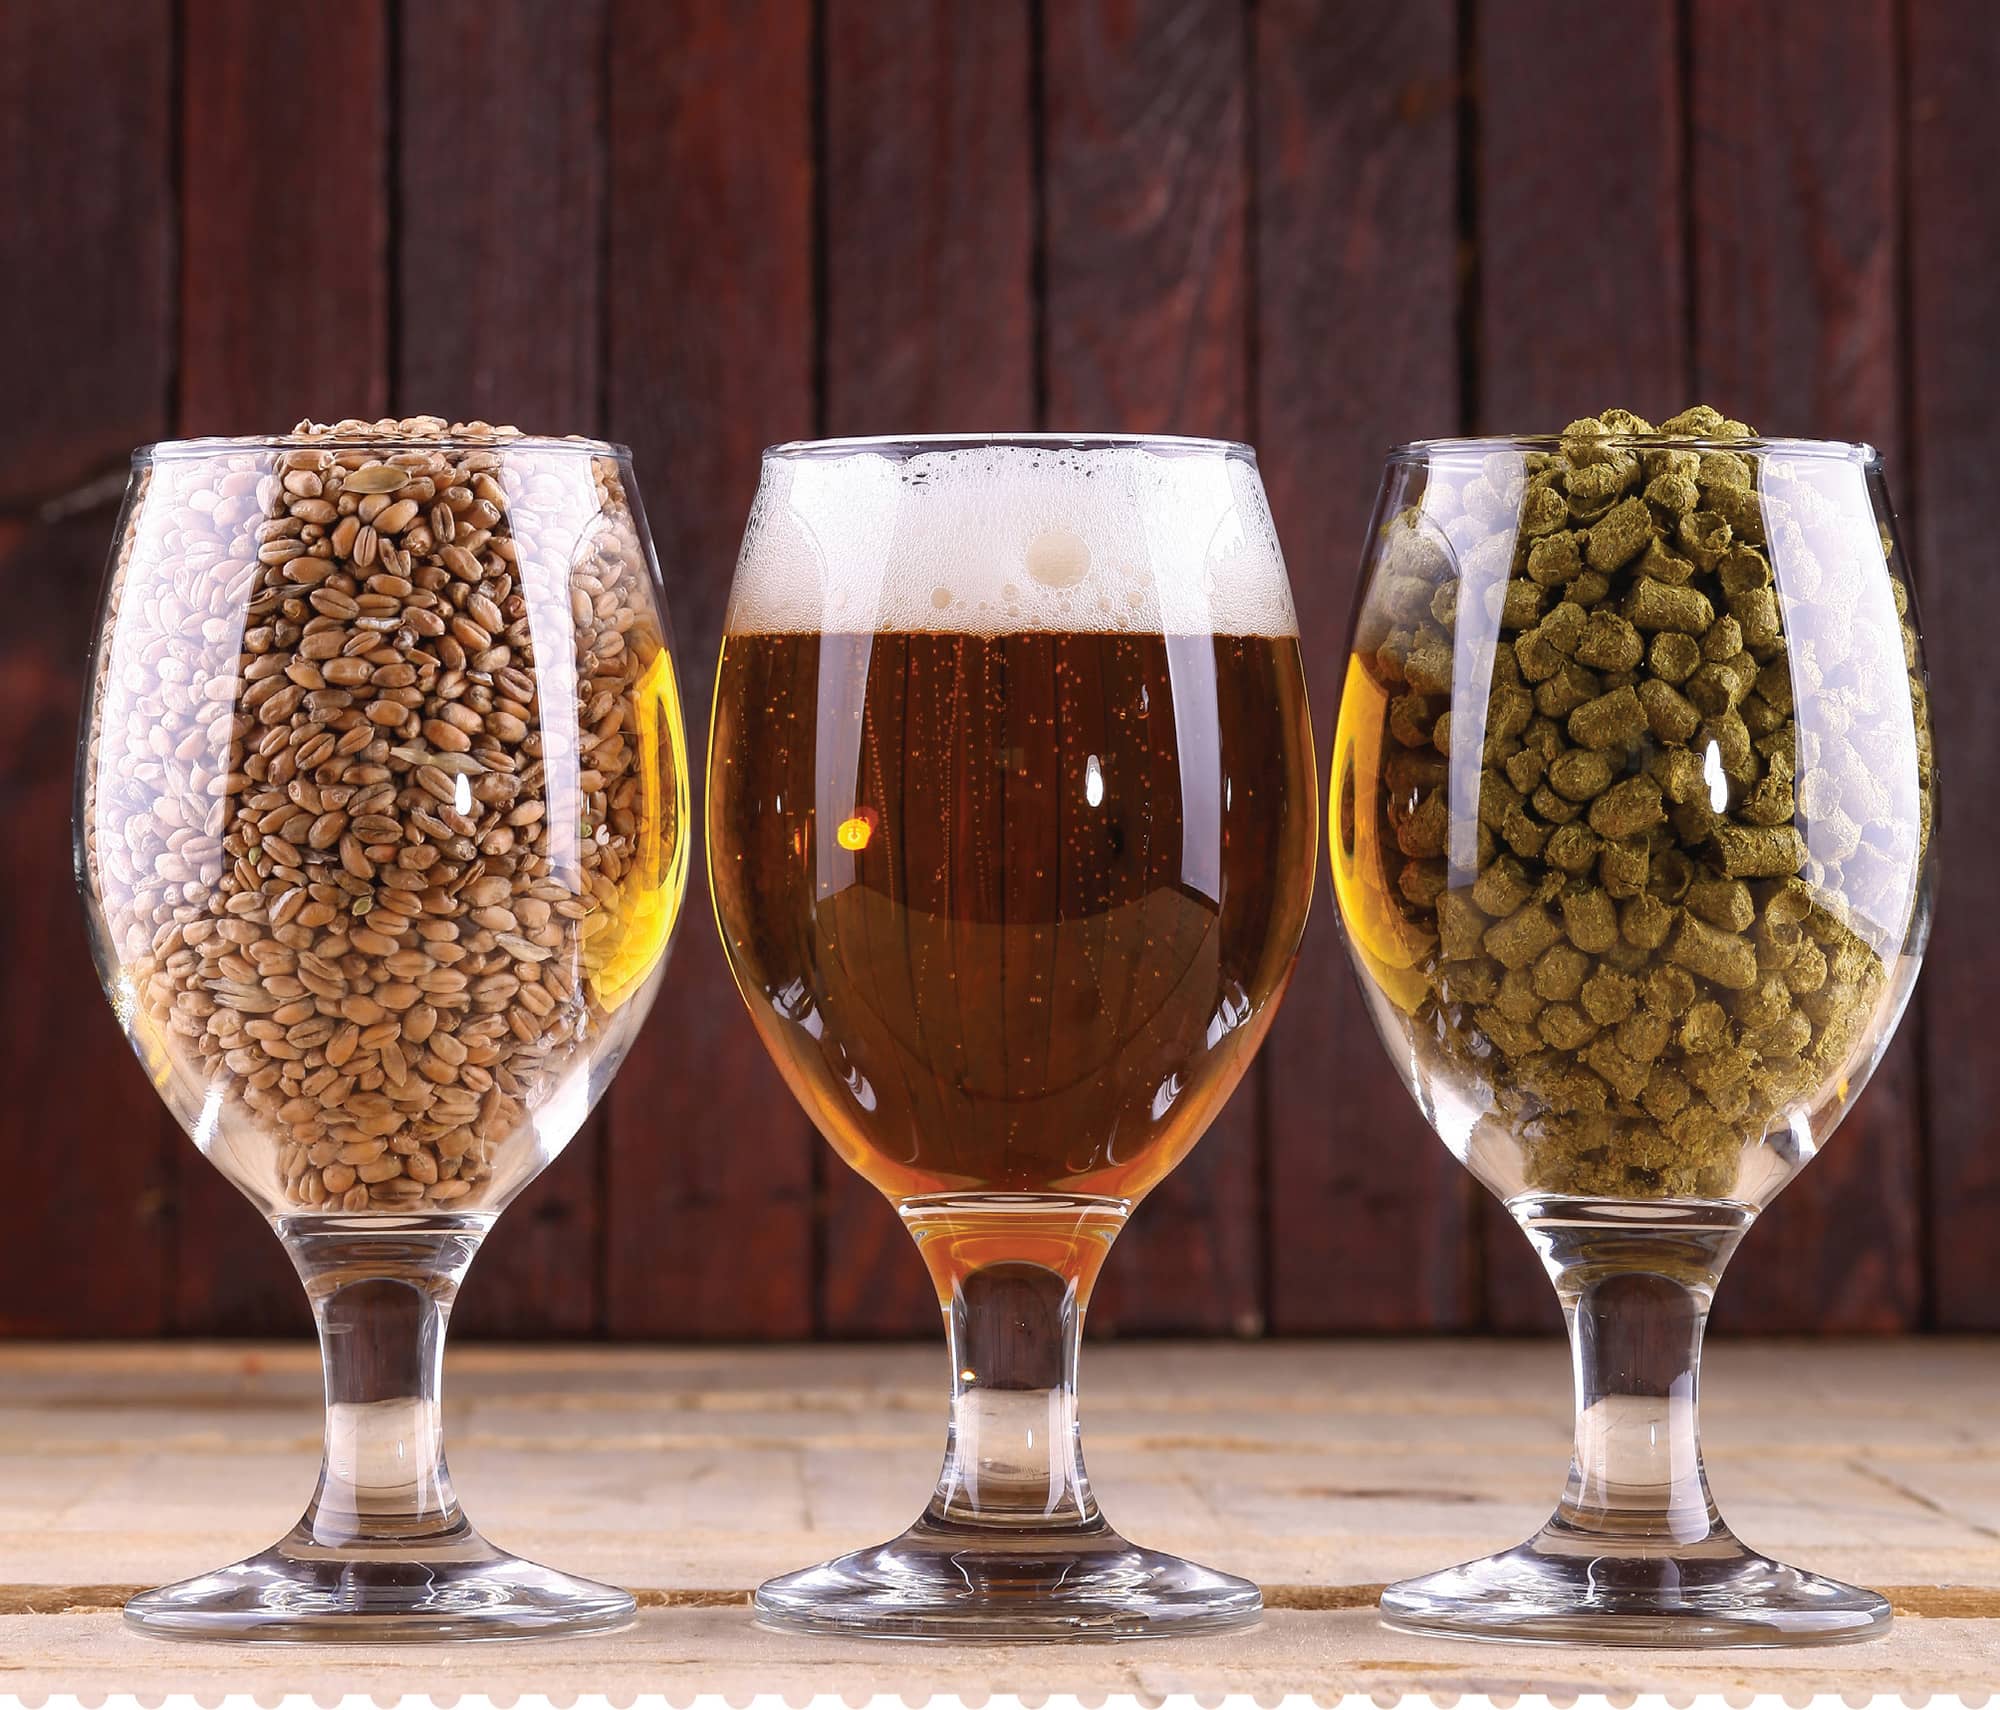
It is beneficial for a brewer to be well versed in the component ingredients that goes into a beer, as well as the finished product.
04 | I don’t know how to build my own recipe |
CAUSE
Moving on from homebrew kits to making your own recipes can be intimidating; there seems to be an endless variety of ingredients and variables to consider.
SOLUTION
To build a new recipe consider the following:
• Advanced brewers might go by flavor, but it can be easy to start from a style.
• In most cases, it’s a good idea to use a pale, neutral malt or extract for most of the recipe, and then add character with specialty malts.
• Munich and Vienna malts add a rich malty, grainy character. Caramel or crystal malts make rich caramel and toffee flavors. Highly kilned malts add nutty flavors. Roasted malts can add coffee, chocolate, or dark ashy flavors. Specialty malts should only be added in small proportions for nuance and subtlety.
• A low temperature (148°F–152°F/64°C–67°C) will make a highly fermentable, thinner-bodied beer. A high temperature (155°F–158°F/68°C–70°C) will make a full-bodied beer with fewer fermentable sugars. Or you can balance in the middle range.
• Small additions of high-alpha hops at the beginning of the boil can add lots of bitterness. Save hops for the end of the boil for aroma and flavor—or leave them out altogether.
• There are various strains of commercial yeast, each with their own flavor profile.
• Yeasts have their own ideal temperature ranges. At the bottom of that range, yeast will create a cleaner fermentation; at the top, more robust flavor compounds.
05 | I can’t tell if my fermentation is complete |
CAUSE
Fermentation typically takes place in a closed vessel that shouldn’t be disturbed or contaminated. It’s sometimes difficult to know when fermentation is complete without causing an infection in your beer.
SOLUTION
The easiest way to tell if fermentation is complete is to watch the bubbles in the airlock of the fermenter. When yeast stops generating CO2, it is typically at or near the end of fermentation but, to be sure, wait a day or two after the bubbles stop.
If you ferment in a clear-sided carboy, you can easily view yeast action inside. During fermentation, yeast will be in solution and moving around. When fermentation is complete, yeast will settle to the bottom of the fermenter, and the liquid will be almost completely clear.
If you can, take a sample of beer from the fermenter, use a refractometer or a hydrometer/saccharometer to take a gravity reading. You will need to have measured the density of the beer prior to fermentation, and know the typical attenuation of the yeast strain you’re using (i.e. how much of the available sugar yeast will eat). This information can be found printed on the package of yeast or through the manufacturer’s website. If a yeast strain typically eats 65 to 75 percent of the available sugar, you can use math to find out how much of the sugar is left in your fermentation, and how close you are to target attenuation, using the formula: (Original Gravity – Current Gravity) ÷ Original Gravity.
Finally—taste it. If fermentation is complete, it should taste like beer, minus any carbonation. If there is an overt sugary sweetness or the beer still tastes like wort, fermentation has not been completed.
06 | I don’t know how much alcohol is in my beer |
CAUSE
Individual recipes often list how much alcohol is expected in a beer, but knowing the precise amount is almost impossible on a homebrew scale.
SOLUTION
True measurements of alcohol content can only be done in a lab setting with expensive equipment. You can’t know how much alcohol is in your finished beer without taking gravity, or density, readings (See Problem 5). Once you know the original gravity of your beer and the final gravity of your beer, you can make some very educated guesses.
The easiest way to calculate alcohol is to find a calculator on the Internet. There are hundreds of websites available that allow a homebrewer to insert original and final gravity figures into an online form, and return a result on the alcohol content. But how do you know if it’s accurate?
There are many different methods to calculate alcohol content using an algorithm, and they can be quite complex. For easy home use, keep this handy formula around:
Alcohol by Volume = (Original Gravity - Final Gravity) × 131
For example: 1.048 – 1.011 = 0.037 × 131 = 4.8 percent
To calculate “alcohol by weight”
multiply the “alcohol by volume” by 0.79336.
4.8% × 0.79336 = 3.8 percent ABW
These calculations will be fairly accurate on mid-strength beers, but they will overestimate low-alcohol beers and underestimate high-alcohol beers. For more accurate results, find calculators that use either the Balling method or the DeClerk method.

Monitoring airlock activity and taking hydrometer readings help to keep track of the fermentation progress.
07 | I need to take a sample out of my fermenter |
CAUSE
Occasionally, a brewer may need to take a sample of the beer in a fermenter, but doing so may infect the beer with wild yeast or bacteria, if it is not handled correctly.
SOLUTION
Drawing samples from a fermenter can be useful to monitor the taste or to take a gravity reading, or to see if fermentation is complete. Some lucky homebrewers have fermentation vessels with spigots on the side that allow them to draw samples without exposing the fermentation to oxygen or to foreign objects, but most brewers do not have that luxury.
Samples are most often drawn with a device known as a “thief” (or a “wine thief” from the corresponding device in the wine industry): a glass cylinder, open on both ends, which is easy to clean and sanitize. To operate, submerge the bottom part of the thief into the fermenting liquid, allow it to fill, then place your thumb over the opening at the top and remove the thief, with beer inside.
In theory this is possible with any hose or cylinder, but the wider the diameter of the hole in the end of the thief, the more liquid will spill out when removed from the larger body of liquid. Wine thiefs are built to have a wide, cylindrical body with tiny openings at either end.
Alternatively, you could use a clean and sanitized glass measuring cup to remove a sample from the fermenter, or pour liquid out of the fermenter into another vessel. If pouring, be mindful of sanitizing all surfaces that beer will move across, and also that this technique will likely stir up anything that has settled to the bottom of the fermenter as well as oxygenate the wort.

If it is necessary for a brewer to take a sample from the fermenter, it is most important to take care and not contaminate the rest of the fermenting liquid. If using a hydrometer to measure fermenting beer, remember that there can be some carbonation present in the liquid. Spin the hydrometer to knock off any bubbles and get a more accurate reading.
08 | I’m unsure how to clean my equipment |
CAUSE
Homebrewing can be a messy business. Traditional cleaning chemicals and soaps may leave residues behind that can cause unpleasant flavors, disrupt final head retention, or inhibit yeast growth in future batches.
SOLUTION
Cleaning homebrew equipment is of vital importance. Leaving equipment dirty can allow mold and bacteria to grow, leading to smelly homebrew storage and infected beer. The first thing to consider when cleaning your brewing equipment is what the potential infection risks are, as these will be the spots that require the most careful cleaning.
When cleaning equipment it’s sometimes helpful to break it down into groups: hot side and cold side. Hot-side equipment only touches the beer as heat is applied, so is of lower risk to infection than cold-side equipment which touches the beer after it has been cooled. It is vital to clean all equipment diligently, but pay close attention to cold-side equipment. At the end of a brew day, be sure to rinse and remove any residual sugar or leftover bits of grain or hops from the inside and outside of all equipment. This can be accomplished outside the house with a hose or even in a clean bathroom. When scrubbing surfaces to remove debris, only use sponges or soft, natural scrubbers. Harsh scrubbing material like steel wool can scratch the surface of plastic objects, creating spaces for bacteria to grow.
If possible, invest in a non-foaming oxidative alkali cleaning chemical, which can be found at your local homebrew store. This helps remove organics or any stains from your equipment and also makes cleaning faster and easier. Be sure to wear proper personal protective equipment, such as eye goggles and gloves, when handling cleaning chemicals, as these can be harsh on your skin, damaging soft tissues easily.

Cleaning is a vital part of brewing. Trub, yeast, and residual hops coagulate during fermentation.
09 | Should I clean or sanitize my equipment? |
CAUSE
Cleaning a piece of equipment is not the same as sanitizing it, but many homebrewers are easily confused by the two actions because they appear to be very similar.
SOLUTION
You can’t sanitize dirt. In the context of homebrewing, when the term “cleaning” is used it refers to the removal of debris from homebrew equipment, which generally means getting rid of solid waste: sugar, grain, hop debris, or other bits left over from the brewing process. Once everything is cleaned, the brewer is left with two possible contamination vectors: air and water. Though modern water sources are clean and bioform-free, there remains the small possibility that some waterborne bacteria are present. Sanitization is meant to cut down on the risk of infections caused by mold spores and airborne bacteria that can infiltrate an open vessel.
The equipment that needs to be sanitized is generally the equipment that will touch the beer after it has been chilled for fermentation. That means your fermenter, any hoses or transfer devices, or even a spoon or funnel needs to be sanitized prior to use. Hot-side equipment does not need to be sanitized because when temperatures reach boiling, fewer organisms can survive. After wort has been boiling for 10 minutes, it is effectively sterile.
Sanitization is best done with chemicals that are specifically made for that purpose. If you rinse sanitizer off a surface, that surface is no longer sanitized. Once you finish sanitizing a fermentation vessel, be sure it is closed until its next use so that nothing can contaminate it in the meantime. Items that are to be used in the open air (funnels, spoons, hoses, etc.) should be sanitized immediately prior to use.

A clean carboy is important, but insure it is also sanitized before adding beer to it.