1. Getting Started with Adobe Muse
What You’ll Do
Introduction
Adobe Muse is designed specifically for us. You know who you are. You’re the designers who learned to create dynamic layouts visually and have no desire to work with HTML code. Some of us are scared to death of code. Others have learned HTML out of necessity, but can’t stand the thought of working with it. Many of us come from a print design background and are struggling to keep up with the modern age of web design and all it entails.
Whether we like it or not, the design world is evolving into a screen-based marketplace. The term “graphic designer” now assumes that you are well versed in Dreamweaver and HTML code. Yet there is nothing creative about tinkering with code, now is there? How did our creative jobs become so complicated and (gulp) mathematical? I hate math! Don’t you?
Thankfully, the good folks at Adobe have not forgotten us. With Muse, Adobe has given us the freedom to create dynamic websites without ever even having to look at code. The Muse interface behaves very similarly to working with Adobe InDesign. Muse even includes familiar print design-oriented features such as master pages, site-wide styles, and round-trip editing with Photoshop.
With this first chapter, you’ll learn how to acquire a yearly Muse subscription, as well as how to download, install, and launch Muse.
Acquiring a Muse Subscription
Muse is only available for purchase via subscription. You can pay for Muse on a month-to-month basis or by purchasing a discounted yearly subscription. This subscription-based service enables the Adobe Muse development team to add new features to the software regularly, rather than asking you to wait a year or more to acquire them via a purchased upgrade.
Purchase a month-to-month or yearly subscription
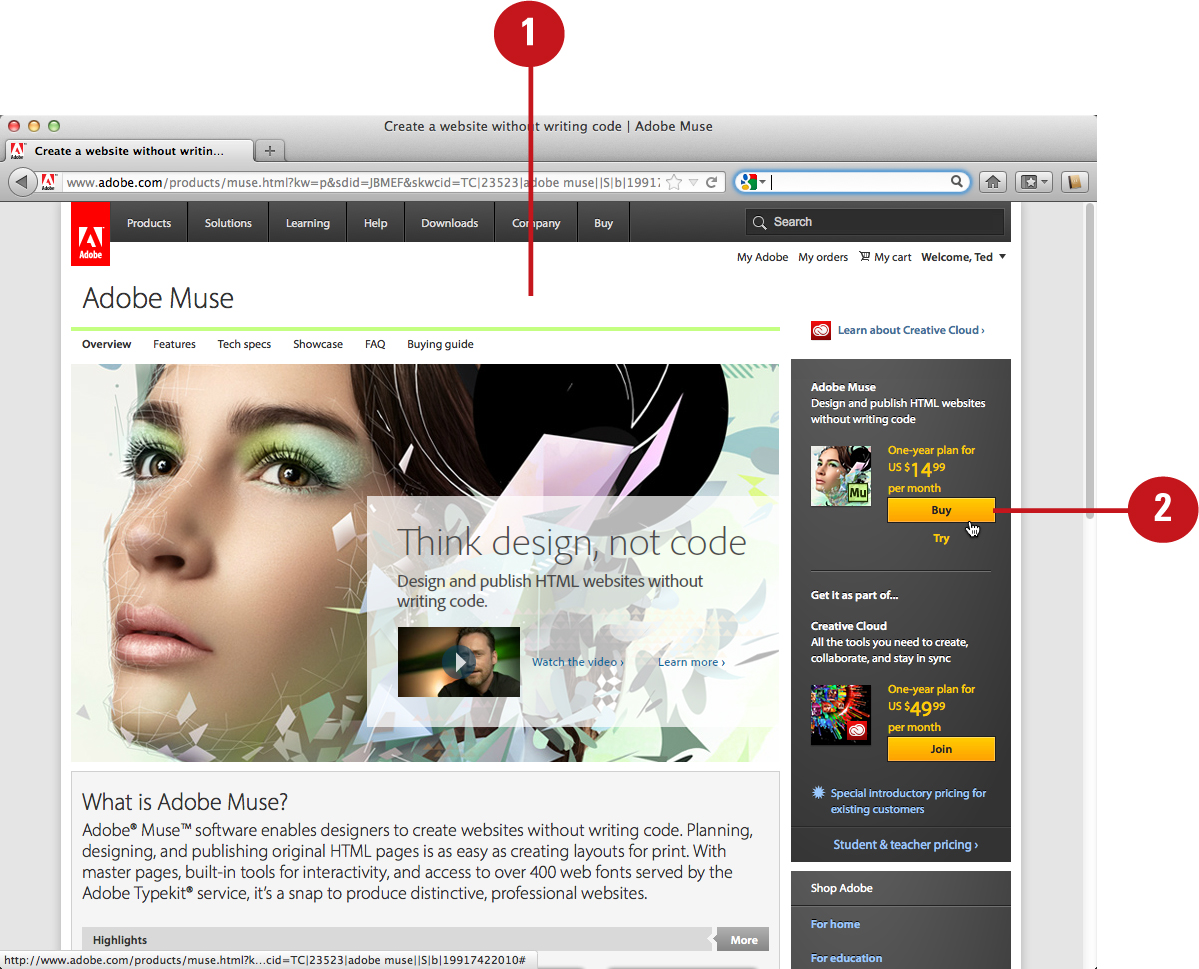
![]() Using your preferred web broswer, visit www.adobe.com/products/muse.
Using your preferred web broswer, visit www.adobe.com/products/muse.
![]() Click the Buy button.
Click the Buy button.
![]() In the shopping window, choose the preferred plan (One-year or Month-to-Month).
In the shopping window, choose the preferred plan (One-year or Month-to-Month).
![]() Click the Add to Cart button.
Click the Add to Cart button.

![]() In the My Cart page that loads in your browser, click the Checkout button.
In the My Cart page that loads in your browser, click the Checkout button.

![]() In the Subscription Terms and Conditions page that loads in your browser, you must agree to the terms and conditions and then click the Checkout button.
In the Subscription Terms and Conditions page that loads in your browser, you must agree to the terms and conditions and then click the Checkout button.

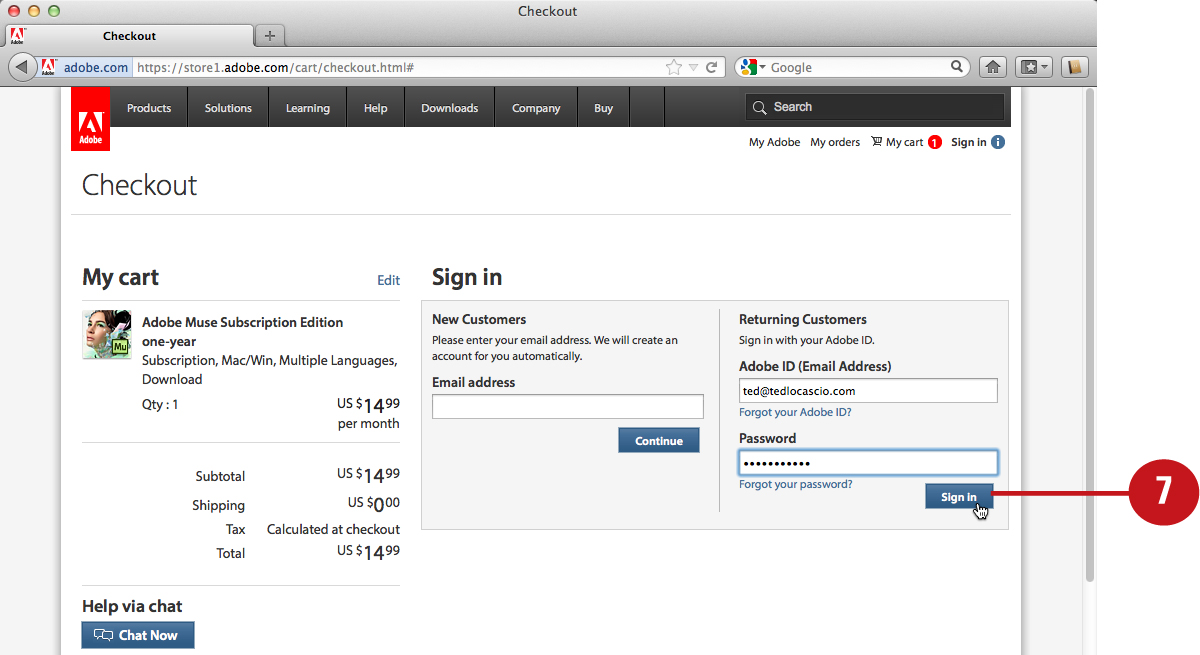
![]() In the Checkout page that loads, enter your Sign in credentials (email and password), and click Sign in.
In the Checkout page that loads, enter your Sign in credentials (email and password), and click Sign in.
![]() Enter the correct information in the Billing and Payment fields of the Checkout page.
Enter the correct information in the Billing and Payment fields of the Checkout page.
![]() Click the Review Order button.
Click the Review Order button.

![]() After reviewing your order, click the Place Order button.
After reviewing your order, click the Place Order button.

Installing Muse
After you purchase a Muse subscription from the Adobe online store, you can then download the Adobe Application Manager and install Muse. Muse is part of the Creative Cloud online service; therefore, you must create a free Creative Cloud account in order to download the Adobe Application Manager and install Muse. Note that you will always have access to the Adobe Application Manager installer at your account at Adobe.com. This can be helpful should you ever need to download the installer again and reinstall the software.
Install Muse with the Adobe Application Manager
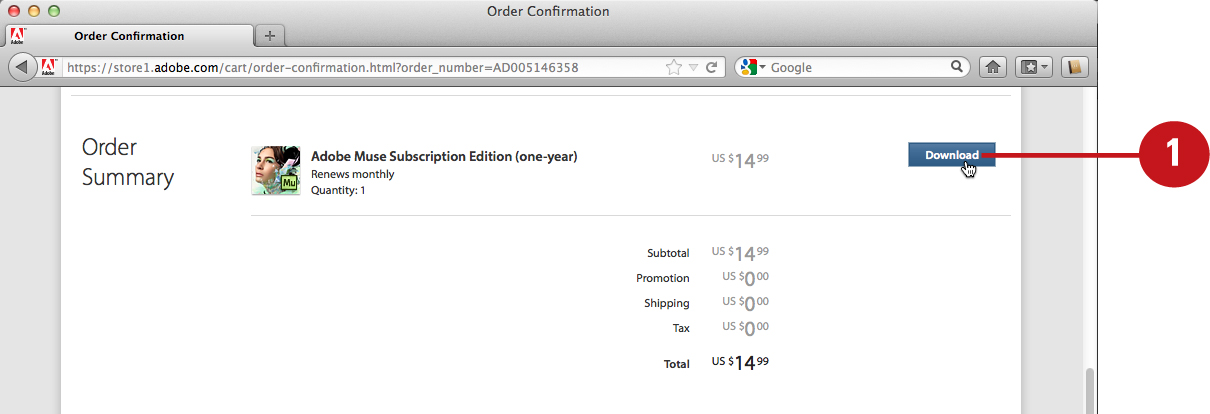
![]() After you purchase Muse from the Adobe online store, Adobe gives you access to the Muse installer. To download the installer, click the Download button.
After you purchase Muse from the Adobe online store, Adobe gives you access to the Muse installer. To download the installer, click the Download button.
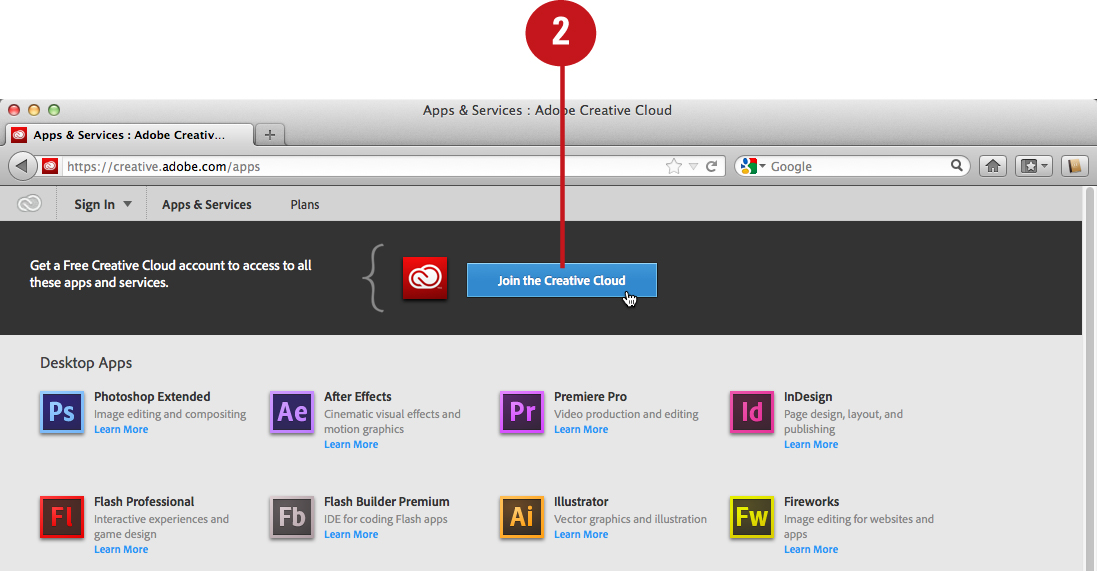
![]() To download the Muse Installer, you must create a free Creative Cloud account. To do so, click Join the Creative Cloud.
To download the Muse Installer, you must create a free Creative Cloud account. To do so, click Join the Creative Cloud.
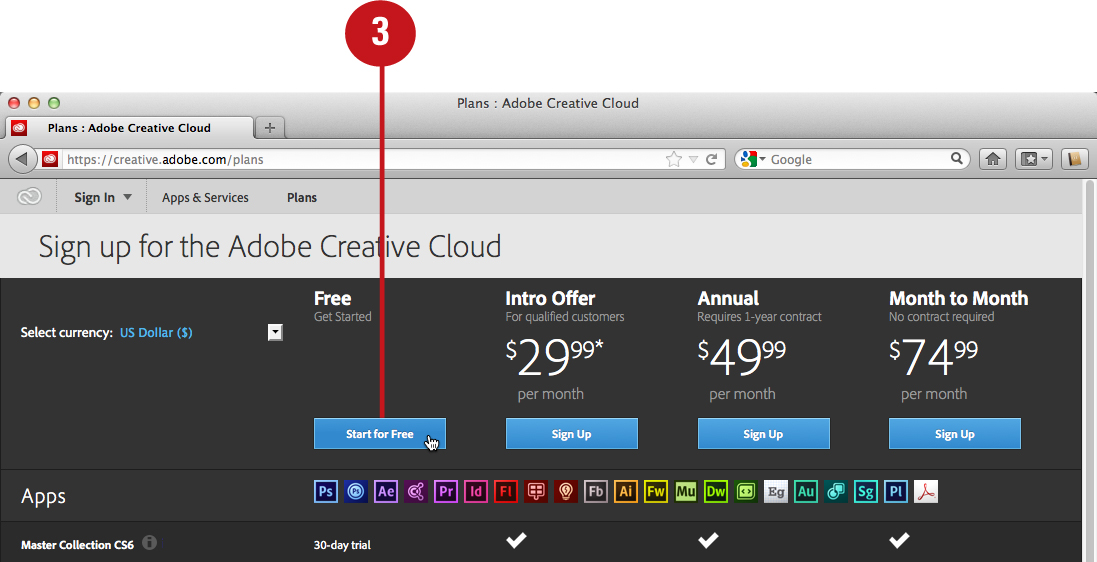
![]() To gain access to all of the applications in the Creative Cloud, choose a monthly payment plan. To access Muse alone at no extra charge, click Start for Free.
To gain access to all of the applications in the Creative Cloud, choose a monthly payment plan. To access Muse alone at no extra charge, click Start for Free.
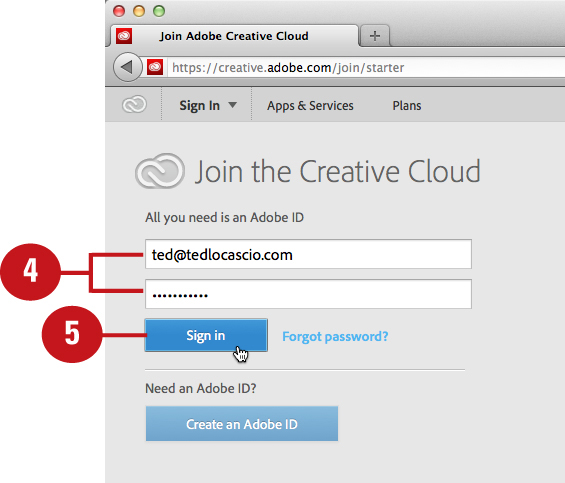
![]() In the Join the Creative Cloud page that loads in your browser, enter your Adobe ID and password.
In the Join the Creative Cloud page that loads in your browser, enter your Adobe ID and password.
![]() Click Sign In.
Click Sign In.
![]() In the Terms of Use window that loads in your browser, you must agree to the terms and conditions and then click the Accept button.
In the Terms of Use window that loads in your browser, you must agree to the terms and conditions and then click the Accept button.

![]() In the Apps & Services column of the new page that loads, click the Muse button under Desktop Apps.
In the Apps & Services column of the new page that loads, click the Muse button under Desktop Apps.

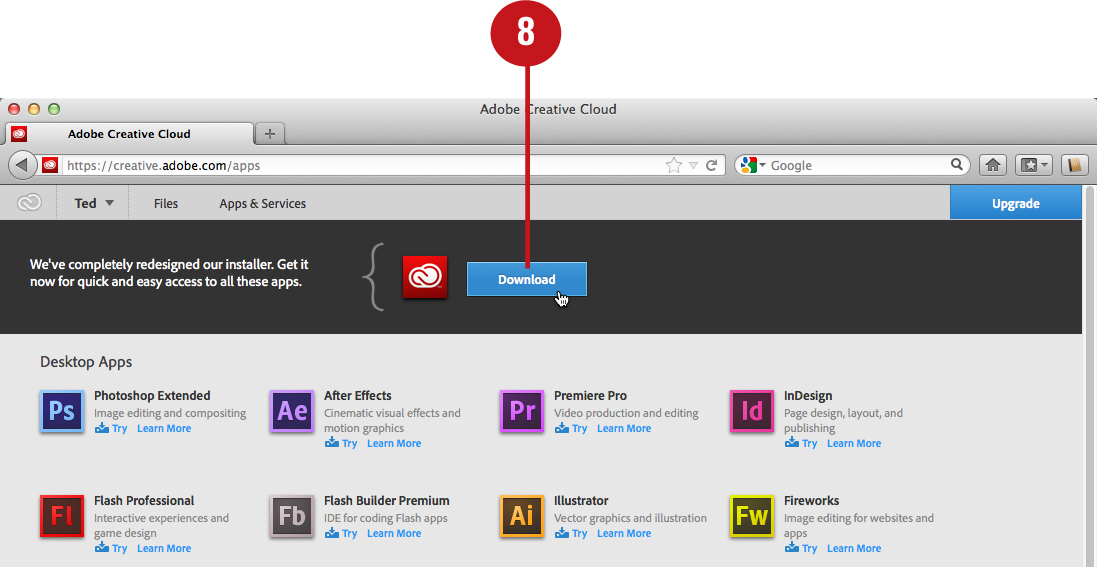
![]() In the Desktop Apps page that loads, click the Download button.
In the Desktop Apps page that loads, click the Download button.
![]() In the window that appears, click OK to download the Adobe Application Manager.
In the window that appears, click OK to download the Adobe Application Manager.

![]() Click Save File.
Click Save File.

![]() Double-click the AdobeApplicationManager.dmg file.
Double-click the AdobeApplicationManager.dmg file.

![]() Double-click the AdobeApplicationManager installer.
Double-click the AdobeApplicationManager installer.

The application installs automatically on your system.
![]() Enter your Adobe ID and password.
Enter your Adobe ID and password.
![]() Click Sign In.
Click Sign In.

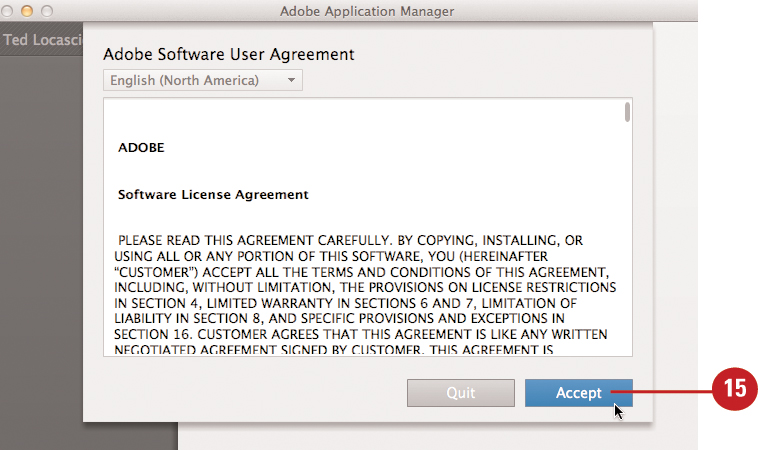
![]() In the Adobe User Agreement window that appears, click Accept.
In the Adobe User Agreement window that appears, click Accept.
![]() In the Adobe Application Manager, click the Adobe Muse Install button.
In the Adobe Application Manager, click the Adobe Muse Install button.

The Adobe Application Manager downloads and installs Muse on your system.
Launching Muse
If you’ve made it this far, then you must have successfully purchased, downloaded, and installed Muse on your system. The next step is to launch the application for the first time—then you can begin learning how to utilize this exciting new web design tool!
Launching Muse in Mac OS X
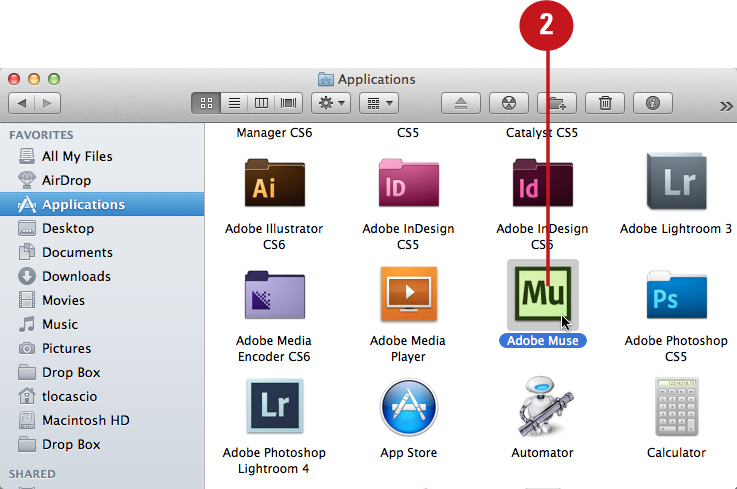
![]() From the Finder, choose Applications from the Go menu.
From the Finder, choose Applications from the Go menu.

![]() In the Finder window that appears, double-click the Muse icon.
In the Finder window that appears, double-click the Muse icon.
After you launch the application, the Muse interface appears with the Plan module and Welcome Screen displayed.

You can also launch Muse from the Dock. To do so, you must first save the Mu icon in the Dock. First, launch the application as described above. Then click and hold the Muse icon in the Dock and choose Options > Keep in Dock. After it is saved, you can click the icon in the Dock to launch the application.
Launching Muse in Windows XP/Vista/7
![]() Click the Start button on the Taskbar.
Click the Start button on the Taskbar.
![]() Click Adobe Muse.
Click Adobe Muse.


After you launch the application, the Muse interface appears with the Plan module and Welcome Screen displayed.