13. Publishing a Site with Muse
What You’ll Do
Updating Changes to a Published Trial Site
Introduction
The final step when creating a website in Muse is to make it visible online. Thankfully, through its association with Adobe’s Business Catalyst service, you can upload a trial version of a website directly from Muse to a temporary URL at businesscatalyst.com.
When you first install Muse, a free Business Catalyst account is automatically created for you. As a result, any time you choose the Publish command or click the Publish button, you are automatically signed in to the Business Catalyst service.
This chapter explains how to use the Publish feature in Muse to post a free, 30-day trial version of your site at businesscatalyst.com. One of the great things about this free service is that you can email the temporary URL to your clients. Trial sites are great for making client presentations, gathering critiques, and requesting site approval.
You’ll also learn how to make site edits and update what’s been posted online at the temporary Business Catalyst URL. The final section of this chapter explains how to perform a final HTML export, which you can then upload to a hosting service other than Business Catalyst.
Publishing a Trial Site
When you install Muse and enter an email and password, a free Adobe Business Catalyst account is automatically set up for you. You can use this service to upload a trial version of the website you’ve created in Muse. The trial version is posted for free at the Business Catalyst site for 30 days. You can send the assigned trial URL to your clients for approval of your site design. When you’re ready to post the site officially, you can either upgrade the site at Business Catalyst and pay an additional hosting fee, or you can use a different hosting service.
Choose the Publish command
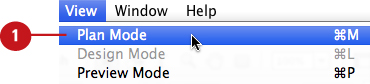
![]() Choose Plan Mode from the View menu.
Choose Plan Mode from the View menu.
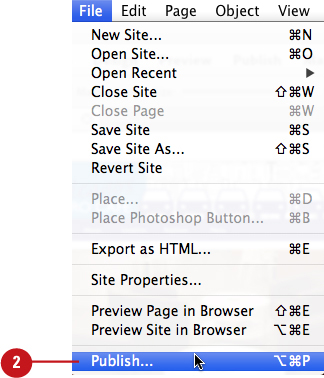
![]() From the File menu, choose Publish.
From the File menu, choose Publish.

Press Option+Cmd+P (Mac) or Alt+Ctrl+P (Win) to apply the Publish command quickly. You can also click the Publish button in the upper left of the Muse interface.
If the website contains missing or modified graphics, Muse displays a warning dialog box reminding you that they should be updated before publishing. You can update missing or modified graphics via the Assets panel (see Chapter 5, “Working with Graphics”).
Muse displays the Publish dialog box.
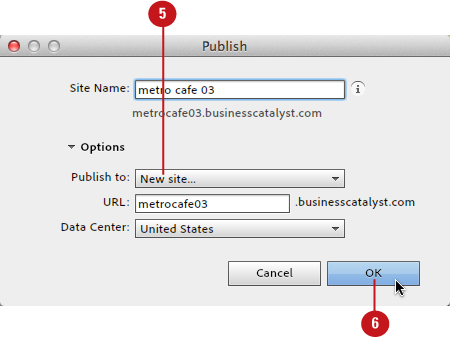
![]() Enter a name for the website project in the Site Name field. This is what Business Catalyst uses for the trial site URL.
Enter a name for the website project in the Site Name field. This is what Business Catalyst uses for the trial site URL.

Muse displays the actual URL that will be assigned to the site directly underneath the Site Name field.
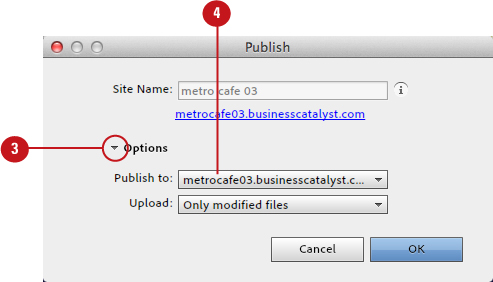
![]() To display additional publishing options, click the Options button.
To display additional publishing options, click the Options button.
![]() Choose New Site from the Publish To drop-down list.
Choose New Site from the Publish To drop-down list.
![]() Click OK to upload the trial site to your Business Catalyst account.
Click OK to upload the trial site to your Business Catalyst account.

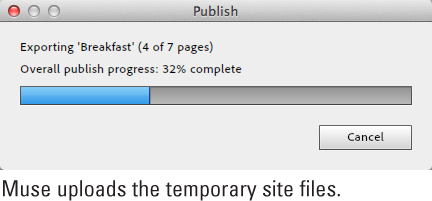
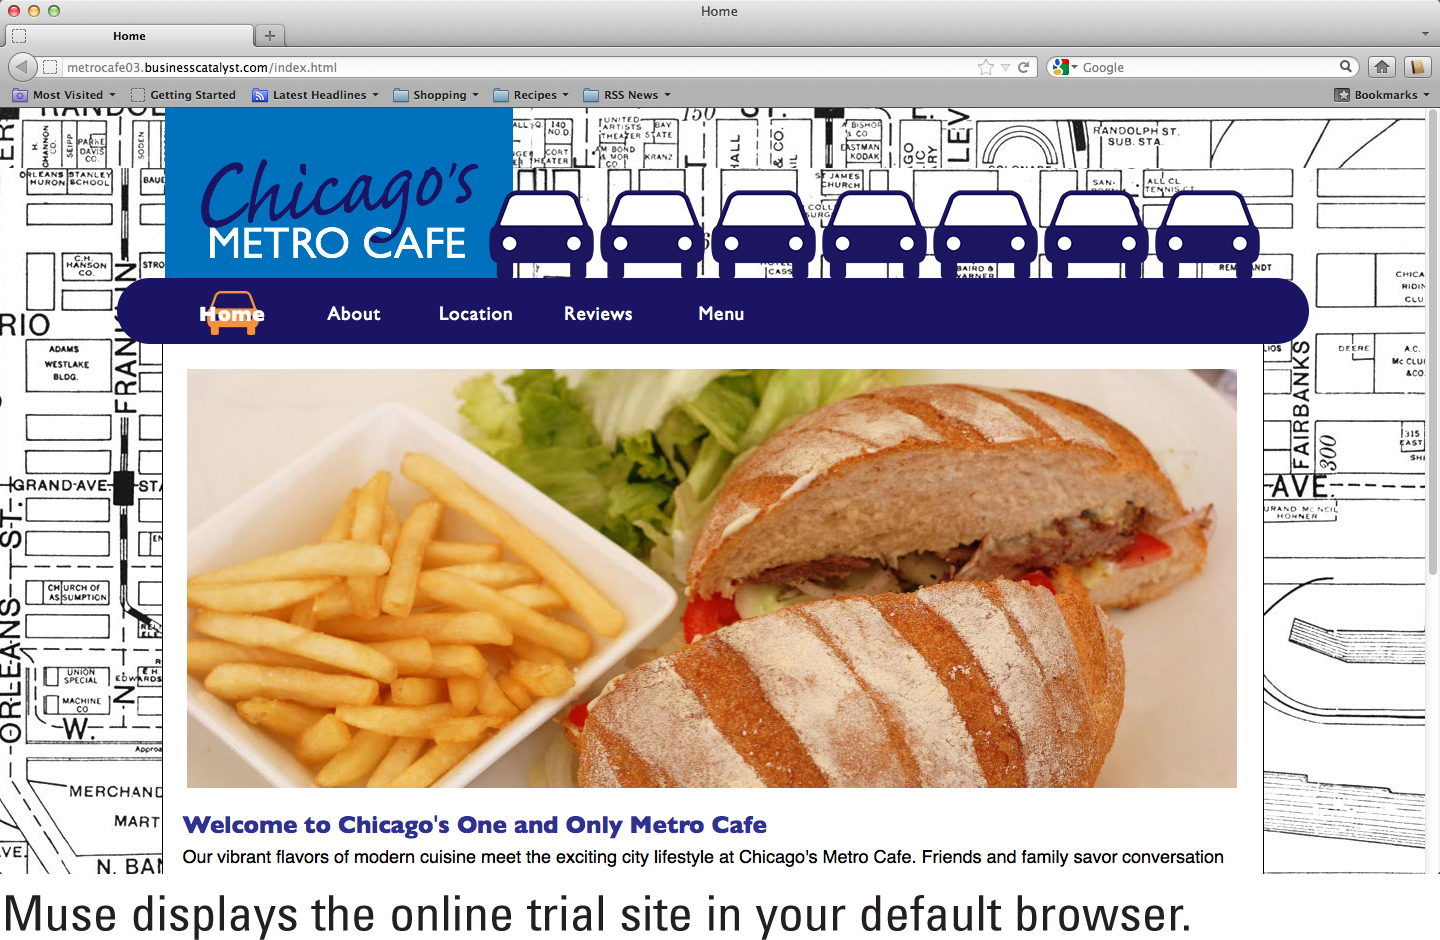
As soon as the upload is complete, Muse displays the online trial site in your default browser.
Updating Changes to a Published Trial Site
After you post a trial version of a website at businesscatalyst.com, your clients may ask you to make additional edits to the site’s content and/or functionality. To do so, you can make the edits in Design Mode and then publish just the modified files to the Business Catalyst trial URL. Your clients can then view the changes by revisiting the trial site in a browser.
Choose the Publish command
![]() Choose Plan Mode from the View menu.
Choose Plan Mode from the View menu.

![]() From the File menu, choose Publish.
From the File menu, choose Publish.
Press Option+Cmd+P (Mac) or Alt+Ctrl+P (Win) to apply the Publish command quickly. You can also click the Publish button in the upper left of the Muse interface.
If the website contains missing or modified graphics, Muse displays a warning dialog box reminding you that they should be updated before publishing. You can update missing or modified graphics via the Assets panel (see Chapter 5, “Working with Graphics”).
Muse displays the Publish dialog box.
![]() To display additional publishing options, click the Options button.
To display additional publishing options, click the Options button.
![]() Choose the site name from the Publish To drop-down list.
Choose the site name from the Publish To drop-down list.
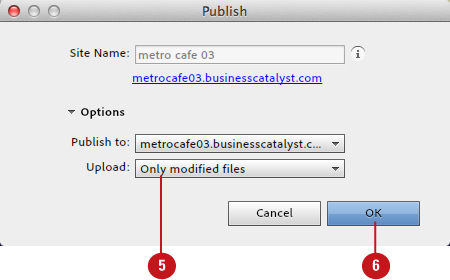
![]() Choose Only Modified Files from the Upload drop-down list.
Choose Only Modified Files from the Upload drop-down list.
![]() Click OK to update the trial site at your Business Catalyst account.
Click OK to update the trial site at your Business Catalyst account.


As soon as the upload is complete, Muse displays the online trial site in your default browser.
Exporting HTML
When the website is finally complete and you are ready to post it online using a service other than Business Catalyst, you must perform a final HTML export. When you do, Muse generates all the HTML, CSS, and optimized graphics and places them in a folder. After you purchase a URL for the site, you must upload all the contents of this final export folder to your hosting server.
Choose the Export as HTML command
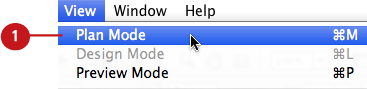
![]() Choose Plan Mode from the View menu.
Choose Plan Mode from the View menu.
![]() Choose File > Export as HTML.
Choose File > Export as HTML.

Muse displays the Export to HTML dialog box.
If any of the placed graphics in the site are not linked when you choose the Export as HTML command, Muse displays a warning dialog box, reminding you to link them in the Assets panel before exporting.
![]() To choose a system location for the export folder, click the Location folder icon.
To choose a system location for the export folder, click the Location folder icon.

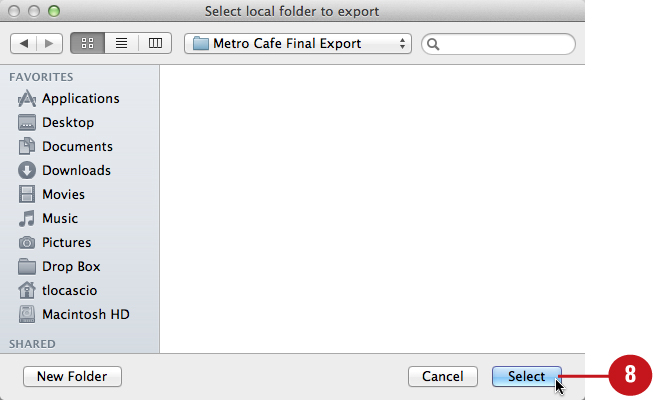
Muse displays the Select Local Folder to Export dialog box.
![]() Navigate to the preferred location on your system disk.
Navigate to the preferred location on your system disk.
![]() Click the New Folder button.
Click the New Folder button.

Muse displays the New Folder dialog box.
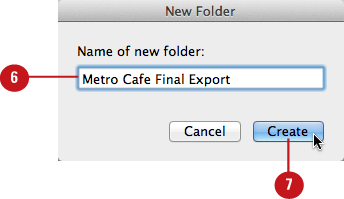
![]() Enter a name for the export folder.
Enter a name for the export folder.
![]() Click Create.
Click Create.
![]() Click Select.
Click Select.
![]() Click OK to export the site.
Click OK to export the site.
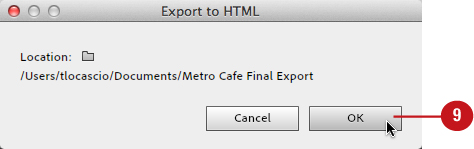
Muse exports the site to the location displayed in the Export to HTML dialog box.
![]() When the site is finished exporting, click OK again to close the Export to HTML dialog box.
When the site is finished exporting, click OK again to close the Export to HTML dialog box.

Muse is unlike Adobe Dreamweaver, in that you cannot use it to upload a site to any other hosting service other than Business Catalyst. If you are using another hosting service, you can upload the exported site using FTP client software. FileZilla is an excellent FTP client that is not only free, but is also available for both platforms (Mac and Windows).