
Chapter 5. Using Wallaby Animations
After you’ve exported your animation, you probably will want to incorporate it into an existing page somehow. If a JavaScript guru is available to help you, great; otherwise, you’ll need to dig into the HTML and JavaScript and do a quick transplant of your animation code into your existing page.
Placing the Animation
Before we get started, keep in mind that, although your content will likely be more complex than this, the process we’re about to cover will be more or less the same regardless of the content’s complexity.
Now, even though the “splash” page is a widely known faux pas these days, for the sake of our basic example let’s say that you want to make one anyway. With that in mind, let’s assume you’ve created the following HTML document named enter.html with a link that says “Enter site”:
enter.html
<!DOCTYPE html>
<!-- Created with Adobe(R) technology -->
<html>
  <head>
    <meta charset="utf-8"></meta>
  </head>
  <body>
    <a href="main.html">Enter Site</a>
  </body>
</html>
In order to finish the page, you want your animation to appear above the “Enter Site” link on this page. We’ll use our scrolling marquis example from Chapter 2 as the animation to be placed.
Begin by copying the files necessary for the animation into the directory containing your existing HTML content. Let’s look at the files that were exported from our scrolling marquis animation, in Figure 5-1.

Copy the marquis_assets, marquis.css, and marquis.js files, as well as the jquery-1.4.2.js JQuery library, into the directory containing your existing HTML content.
Note
If your existing HTML already has the JQuery library included, there is no need to copy or include it a second time.
After you have copied the files, update the enter.html markup so that it includes the CSS and JavaScript necessary for your animation:
enter.html
<!DOCTYPE html>
<!-- Created with Adobe(R) technology -->
<html>
  <head>
    <meta charset="utf-8"></meta>
    <link href="marquis.css" type="text/css" rel="stylesheet"></link>
    <script type="text/javascript" src="jquery-1.4.2.js"></script>
    <script type="text/javascript" src="marquis.js"></script>
  </head>
  <body>
    <a href="main.html">Enter Site</a>
  </body>
</html>
Next, you want to grab the HTML markup that contains your animation from the exported animation source.
The source of your marquis animation looks like this:
marquis.html
<!DOCTYPE html>
<!-- Created with Adobe(R) technology -->
<html>
  <head>
    <meta charset="utf-8"></meta>
    <link href="marquis.css" type="text/css" rel="stylesheet"></link>
    <script type="text/javascript" src="jquery-1.4.2.js"></script>
    <script type="text/javascript" src="marquis.js"></script>
  </head>
  <body>
    <div class="wlby_movie">
      <div class="wlby_1 wlby_sprite">
        <div class="wlby_2 wlby_fs">
          <!-- Start of symbol: MarquisText -->
          <div class="wlby_button">
            <div class="wlby_button_normal wlby_button_hover wlby_button_active">
              <img src="marquis_assets/svgblock_0.svg" class="wlby_3"></img>
            </div>
          </div>
          <!-- End of symbol: MarquisText -->
        </div>
        <div class="wlby_4">
          <div class="wlby_5">
            <!-- Start of symbol: MarquisText -->
            <div class="wlby_button">
              <div class="wlby_button_normal wlby_button_hover wlby_button_active">
                <img src="marquis_assets/svgblock_1.svg" class="wlby_3"></img>
              </div>
            </div>
            <!-- End of symbol: MarquisText -->
          </div>
        </div>
      </div>
    </div>
  </body>
</html>
Initially this might look a little complicated, but the only thing
that needs to be identified in this code is the div with the class name of wlby_movie. This is the div that contains the markup related to your
animation. Go ahead and select wlby_movie and its contents, and copy it so that
you can place it in your enter.html
markup.
Now place the wlby_movie div and
its contents into your existing page, beneath your <body> tag:
enter.html
<!DOCTYPE html>
<!-- Created with Adobe(R) technology -->
<html>
  <head>
    <meta charset="utf-8"></meta>
    <link href="marquis.css" type="text/css" rel="stylesheet"></link>
    <script type="text/javascript" src="jquery-1.4.2.js"></script>
    <script type="text/javascript" src="marquis.js"></script>
  </head>
  <body>
    <div class="wlby_movie">
      <div class="wlby_1 wlby_sprite">
        <div class="wlby_2 wlby_fs">
          <!-- Start of symbol: MarquisText -->
          <div class="wlby_button">
            <div class="wlby_button_normal wlby_button_hover wlby_button_active">
              <img src="marquis_assets/svgblock_0.svg" class="wlby_3"></img>
            </div>
          </div>
          <!-- End of symbol: MarquisText -->
        </div>
        <div class="wlby_4">
          <div class="wlby_5">
            <!-- Start of symbol: MarquisText -->
            <div class="wlby_button">
              <div class="wlby_button_normal wlby_button_hover wlby_button_active">
                <img src="marquis_assets/svgblock_1.svg" class="wlby_3"></img>
              </div>
            </div>
            <!-- End of symbol: MarquisText -->
          </div>
        </div>
      </div>
    </div>

    <a href="main.html">Enter Site</a>
  </body>
</html>
Now that your animation markup has been placed and all the necessary CSS and JavaScript have been included you’re ready to view your animation by opening enter.html in a browser and viewing the results (see Figure 5-2).
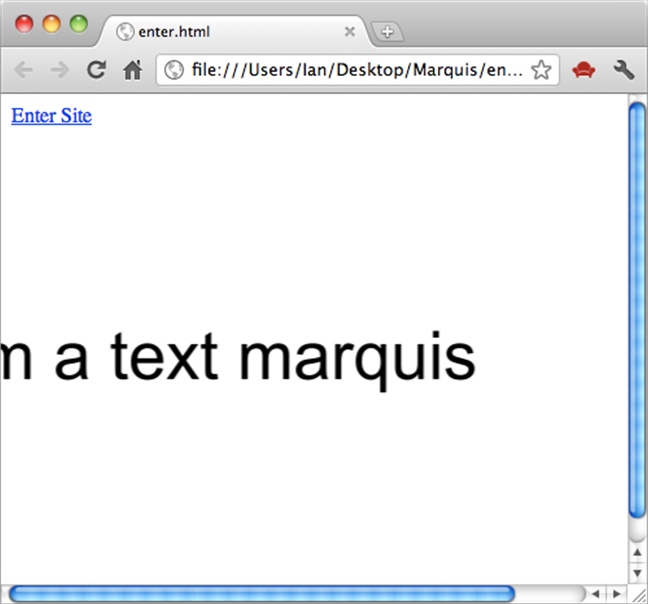
At this point, the animation should be successfully placed within
your existing page. You might notice, though, that your “Enter Site” link
is actually above the animation when instead you want it below. This is
because when Wallaby generates the CSS for the wlby_movie div its CSS positioning defaults to
absolute. This means the animation will calculate its positions based on
the browser window rather than from within the div in which you’ve placed
it. Therefore, you need to update the CSS in the marquis.css file that you included in the page
so that the wlby_movie div positioning
is relative:
div.wlby_movie
{
    overflow: hidden;
    position: relative;
    left: 0px;
    top: 0px;
    width: 550px;
    height: 400px;
}
Now your animation should determine its placement relative to its containing divider and your link will appear like you would expect (see Figure 5-3).
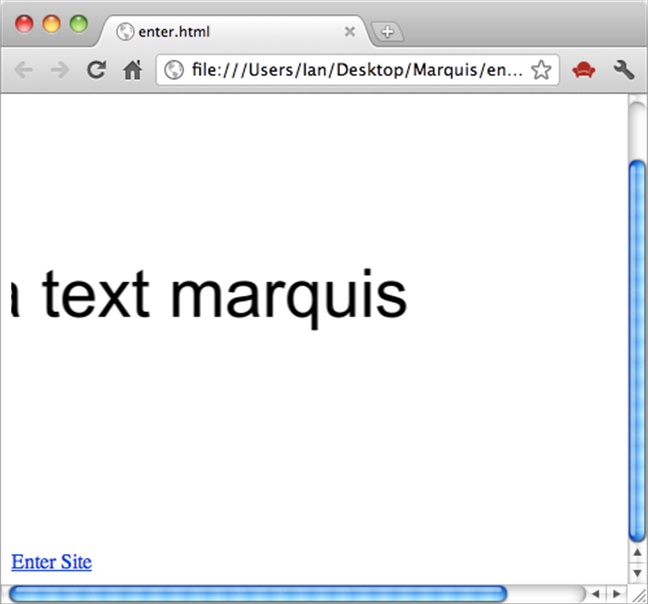
And with that, your animation has been successfully placed within your existing content, and its positioning has been updated so that it remains within your designated content area.
Adding Basic Interactivity
Because Wallaby offers no real ActionScript support, you must add interactivity to your animation at this point, after you’ve converted your content.
Working off our existing example, let’s assume that we’d like someone viewing this page to be able to enter the site by clicking on the marquis text as well. In order to enable this capability, you can add some basic JQuery to your code, but you need an easy means of referencing the text content in the animation, either as an ID or as a class. Depending on the complexity of the animation, it can become difficult to isolate the aspect of the animation which you want to be interactive, and this is precisely why Wallaby supports symbol identifiers.
Going back to our Flash project, select the text instance on the Stage and open the Properties panel from the Window→Properties menu item. In the field at the top you can assign an identifier to the symbol (see Figure 5-4).

In this case, I’ve used “marquis” as the symbol identifier. Had we done this before the earlier conversion process, we would have seen the following in our code:
<div class="wlby_movie">
      <div class="wlby_1 marquis">
        <!-- Start of symbol: MarquisText -->
        <img src="marquis_assets/svgblock_0.svg" class="wlby_2"></img>
        <!-- End of symbol: MarquisText -->
      </div>
</div>
Now, having set an identifier, the div containing the marquis text
now has a class name of wlby_1 marquis.
The name of the identifier has been appended to the div class.
Now that this has been done, you can easily reference the marquis text using JQuery in order to add interactivity. Open the marquis.js file and place the following code at the top:
$(document).ready(function() {
$('.marquis').click(function(){
window.location = "main.html";
});
}
This is a bit of JavaScript and JQuery that takes your marquis object and tells a function to fire when
the marquis is clicked. The function then tells the browser to take you to
the main.html portion of your
site.
Now your user can click the animation and enter the site. Although this is what you sought to achieve, it’s hardly the extent to which you can add interactivity to your animation. With a greater understanding of JavaScript and JQuery, as well as some knowledge of the generated code from your animation, there are seemingly vast possibilities as to what you can do with your animation.
Now go forth and have fun creating your own HTML5 animations and exploring all the possibilities!