
Chapter 2. Creating a Basic HTML5 Animation
For your first animation you will build a simple scrolling text
marquis. This will be very similar to the old HTML <marquis> tag, and while it isn’t exactly
fancy, it’s a perfectly simple example to start with.
Once you’re done, you’ll need the Adobe Wallaby application to export the animation. If you haven’t installed it already, take a moment to download it from the Adobe Labs website (http://labs.adobe.com/).
Creating a New Project
Before you begin building your animation, you’ll need to create a new project in Flash. Select File→New to access the New Document window (see Figure 2-1).

Here you’ll see several different options for creating a new document. For our purposes, we want to create an ActionScript 3.0 document, so select ActionScript 3.0 and click OK.
Flash will open a new project where you’ll be presented with a blank canvas where you will draw and animate your text.
Creating the Text
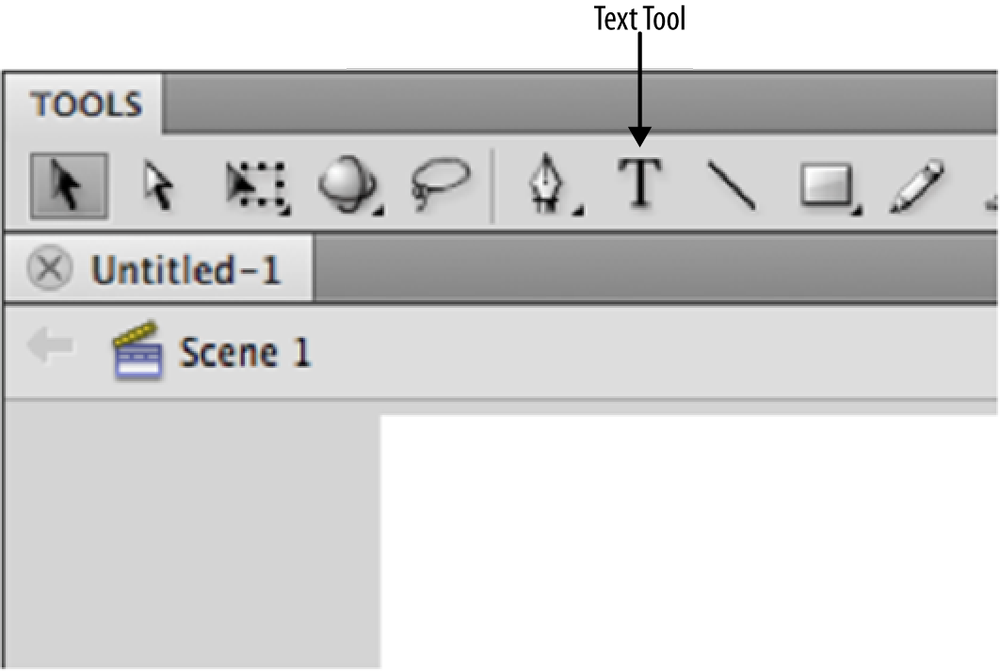
At this point, you’re ready to create your text, so go to the
toolbar and select the Text tool (![]() ), as shown in Figure 2-2).
), as shown in Figure 2-2).
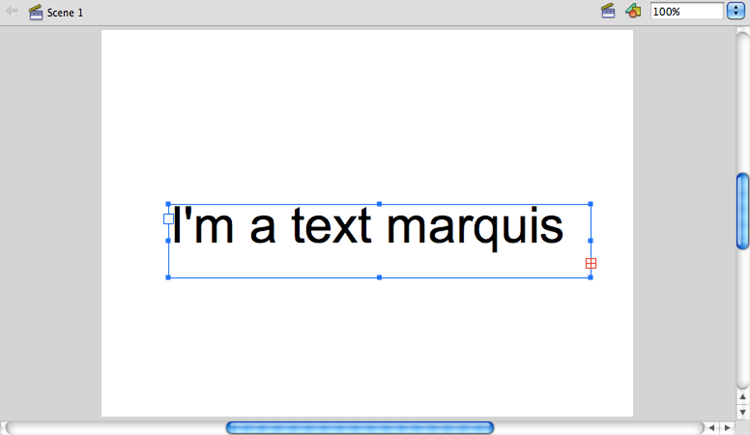
With the Text tool selected, go ahead and click anywhere on the Stage to get a text cursor, and then write a message out of which you want to create a marquis (see Figure 2-3).
Now that you have some text on the Stage you are ready to animate it. As I mentioned in Chapter 1, if you want to animate an item on the Stage, the first step is to convert the item to a symbol in your Library.
To do so just select the text you’ve created and then use the Modify→Convert to Symbol option, or press the F8 key.
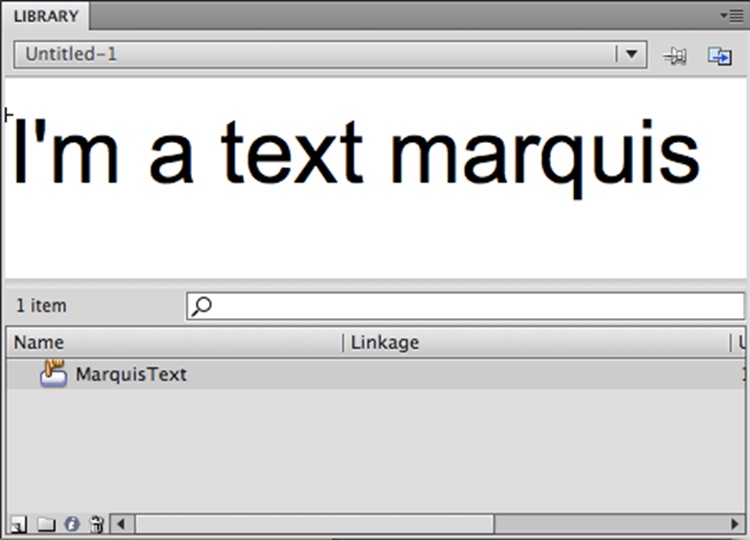
Once you’ve created your symbol, you’ll notice that it’s now an item in your Library that you can use to create any number of additional instances on the Stage (see Figure 2-4).
Note that there’s no need to drag this to the Stage since your already existing text is now an instance of this as well.
Animating the Marquis
With your marquis symbol on the Stage you can now animate it. To achieve the scrolling effect you need a keyframe where you’ll position the text outside the visible Stage so that you can animate it scrolling by.
Looking at the Timeline you’ll notice that a keyframe was already created for you when you created your text item on the Stage (see Figure 2-5).

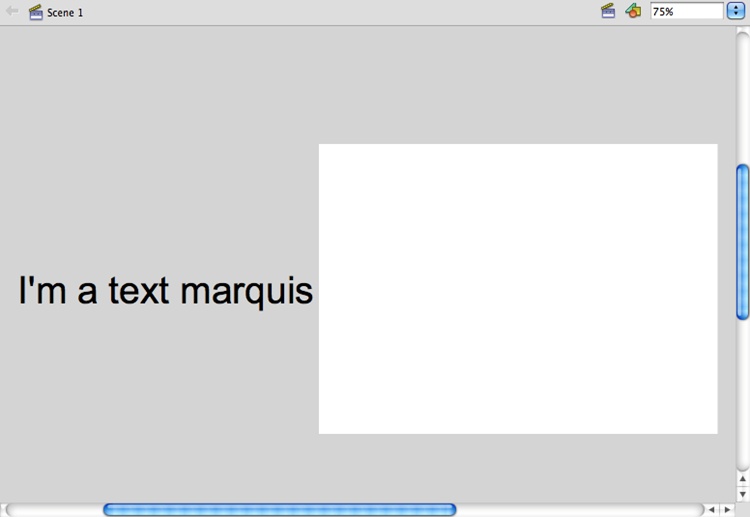
To position the text item outside the visible Stage, just select it and drag it to the right until you’re past the Stage boundaries (see Figure 2-6).

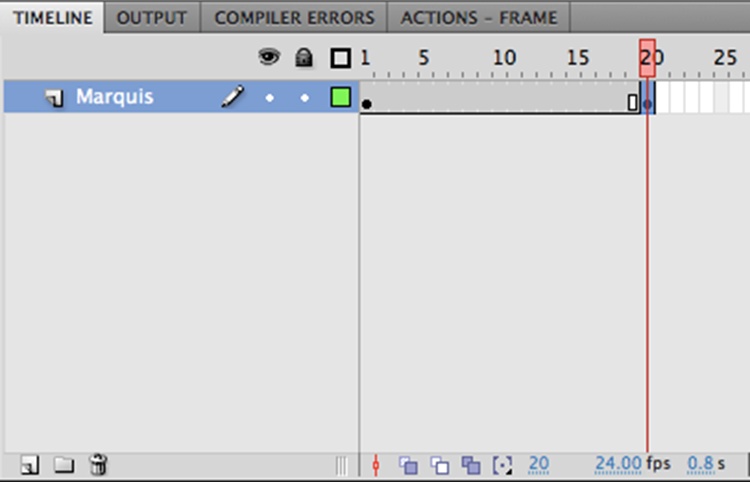
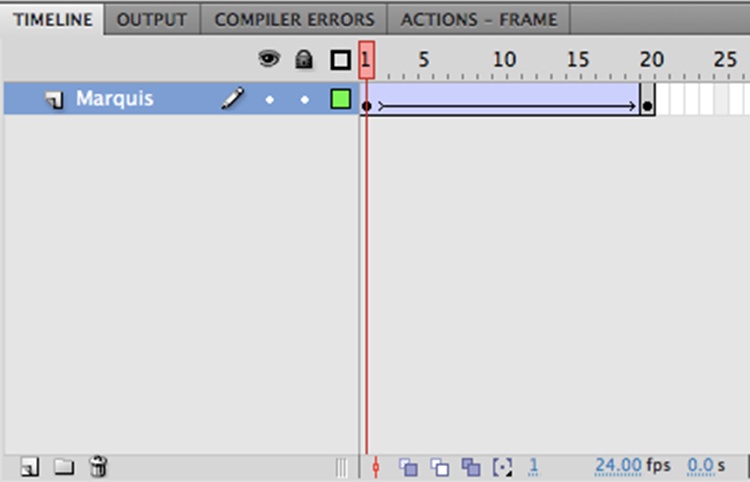
Now that that’s off the screen you want to animate it across the screen to the left to give a scrolling effect. Click on a later frame on the Timeline (say, frame 20), right-click, and select the Insert Keyframe option from the context menu. Notice that this creates a keyframe with identical content to the earlier keyframe on the Timeline (see Figure 2-7).
Next, with the new keyframe selected, grab the text item on the Stage and drag it back to the left until it is outside the visible Stage area (see Figure 2-8). To make sure there is no y-axis movement you can hold down the Shift key while you drag.
Now that you’ve created the necessary keyframes and positioned the start and end points of your text animation all that is left to do is to create the tween. Click anywhere between the two keyframes and right-click to create a classic tween (see Figure 2-9).
With your tween created you can publish the document to view the resultant animation (see Figure 2-10). Do so by selecting the Control→Test Movie→Test option, or simply use the Shift-Return key shortcut.
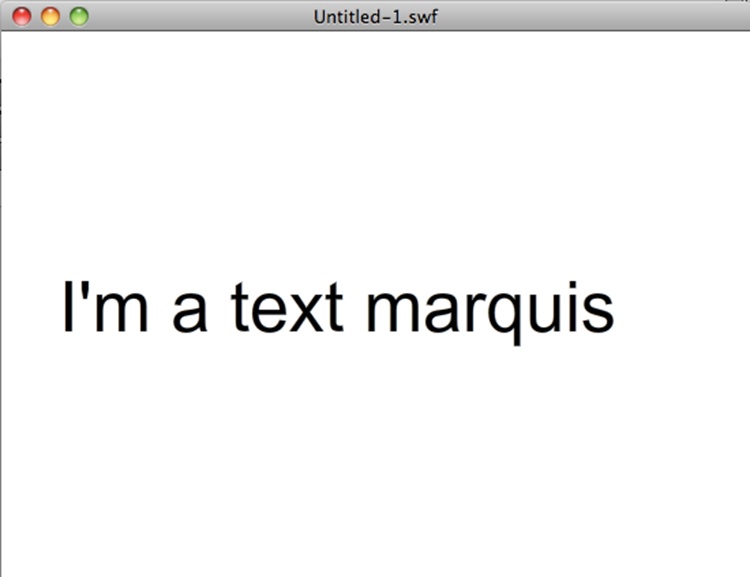
At this point, you should see your marquis continuously scrolling from left to right. Notice that the animation does not stop at the last frame but continues to loop. This is because looping is the default behavior of a movie clip in Flash.
Go ahead and close the animation; then use the File→Save menu option to name the file (e.g., marqui.fla), and save your project somewhere on your hard disk. Remember this location because you’ll be loading this file into Wallaby in just a moment.
Exporting the HTML5 Animation from Wallaby
Once you’ve opened Wallaby, there are only a couple of steps to export your animation. First click the Browse button and select the Flash project file (.fla file) that you saved just a moment ago (see Figure 2-11).
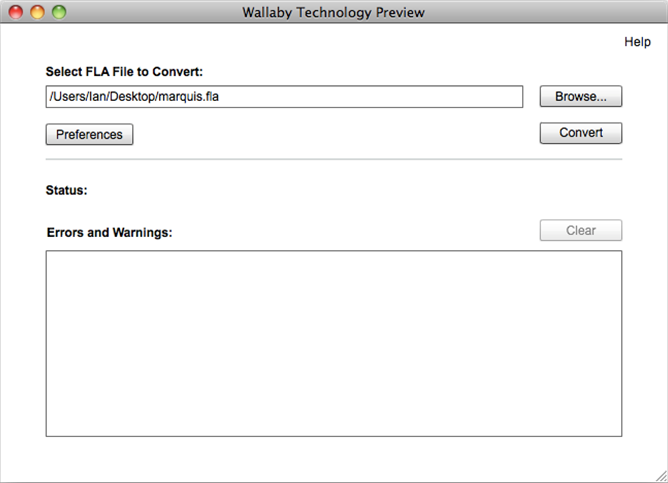
With the .fla file selected go ahead and click the Convert button. You’ll be asked to name your HTML file. Give it the name “marquis.html” and click Save to start the conversion. You’ll see a message in the Status area when the conversion process is complete.
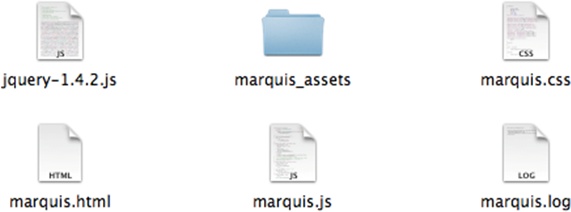
At this point, your animation is ready to be viewed. If you navigate to the folder where you exported your HTML, you’ll see the marquis.html file along with some other supporting files (see Figure 2-12). These files are required to drive the animation, so make sure they remain in the same directory.
If you double-click on marquis.html, your animation will load in your default browser. Now you can sit back and enjoy the fruits of your labor: an HTML5 marquis animation that can be viewed on any standards-compliant browser and a multitude of devices.
With a basic animation under our belt, we’ll move on to Chapter 3 and cover some tips pertaining to the creation of more complex animations.