
5
Binding Your Life Book
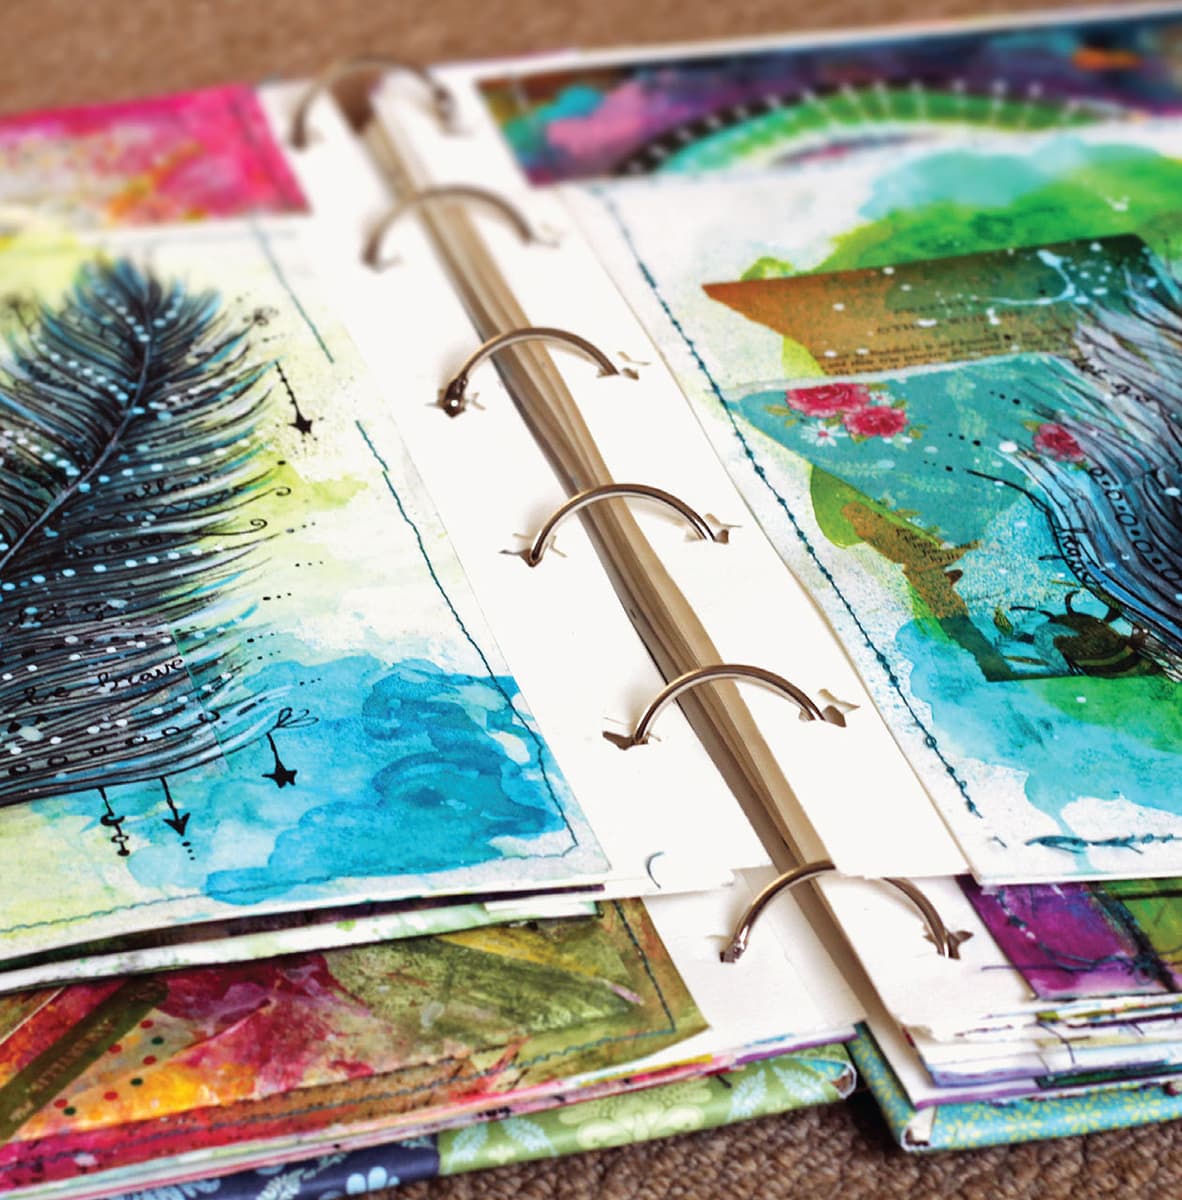
When i run life book online each year, we do approximately fifty-two mixed media projects—one a week—and bind the pages together into one big book when we reach the end of the year. Now that you’ve done the projects in this book, you may also want to bind your pages together for safekeeping.

Simple Ring Binding
A SIMPLE WAY OF KEEPING all your pages together without going through the effort of binding is by using transparent sleeves in a ring binder. This is the easiest way and most noninvasive way; you won’t damage any of your pages. Some people prefer it because many of the other methods require you to alter your paintings somewhat. In the Life Book course, I’ve demonstrated several different ways to bind pages together. If you’re interested in bookbinding methods, research these techniques:
• Coptic binding
• Japanese stab binding
• wire/ring binding
• section sewn binding
Because we work on single pages, it’s easiest to use a binding method that works best for them. I have, however, managed to bind single pages with methods that are more suited to double pages. For the purposes of this book, I will demonstrate how to easily bind your pages into a ring-bound book.
Bind Your Book
1. Sort your pages in the order you want them to be in the book.
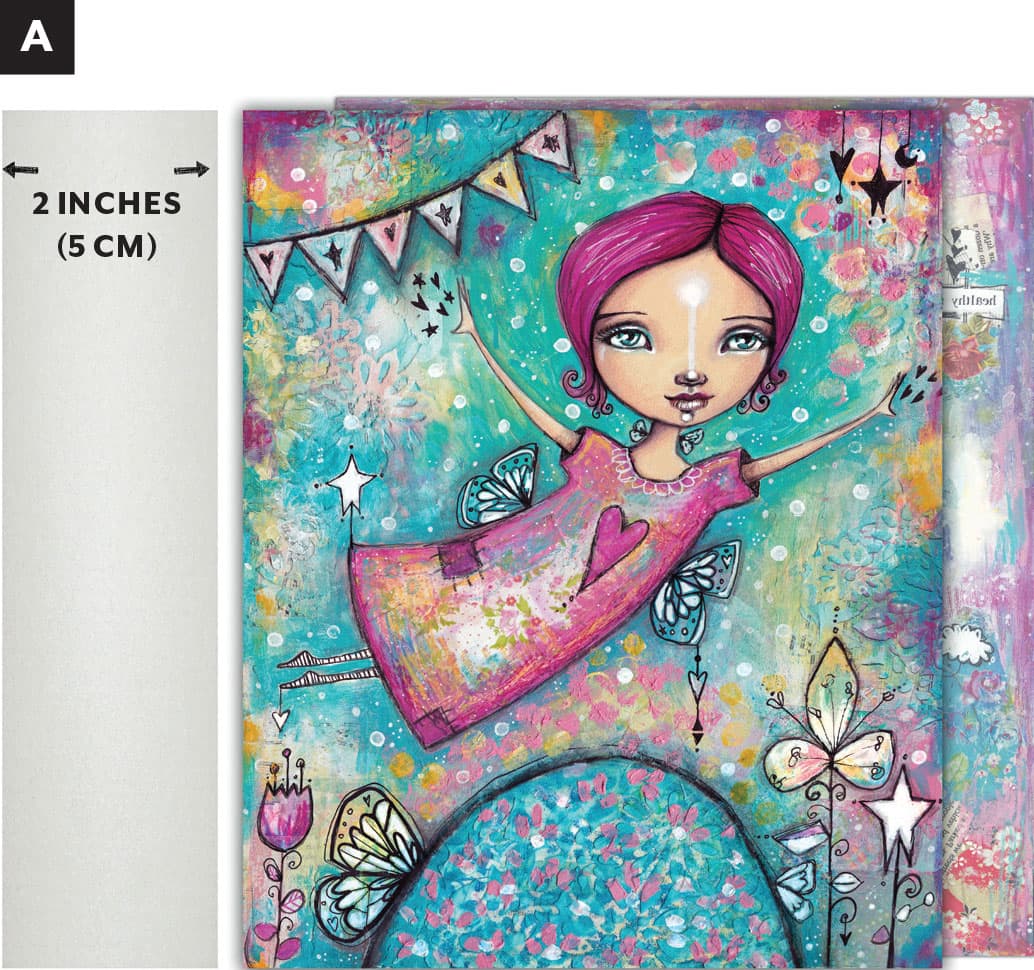
2. Cut 2-inch (5 cm) strips for all your pages. You need half the number of strips as you have pages (A).
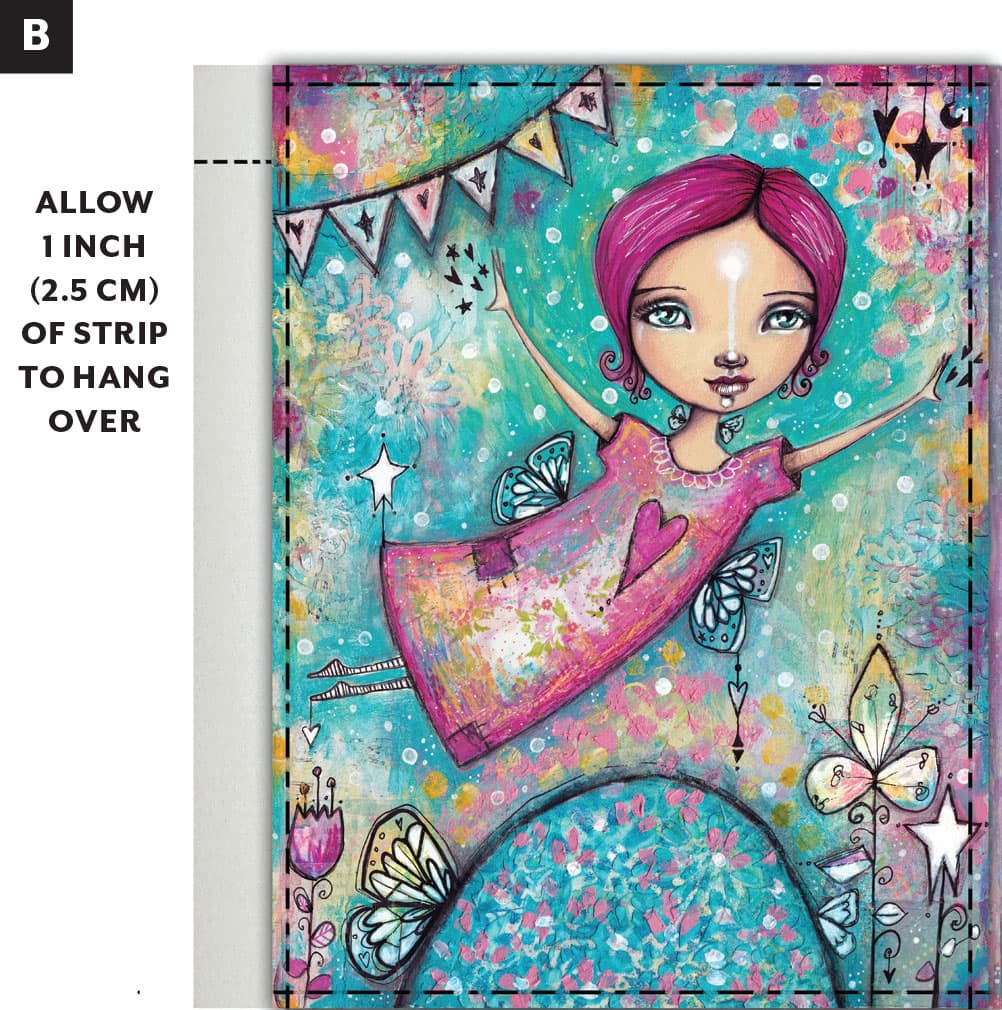
3. Once you’ve got all your strips ready, start stitching your pages together back to back, leaving the strips hanging out by about an inch (2.5 cm). The other inch (2.5 cm) gets stitched in between the two pages (B & C).

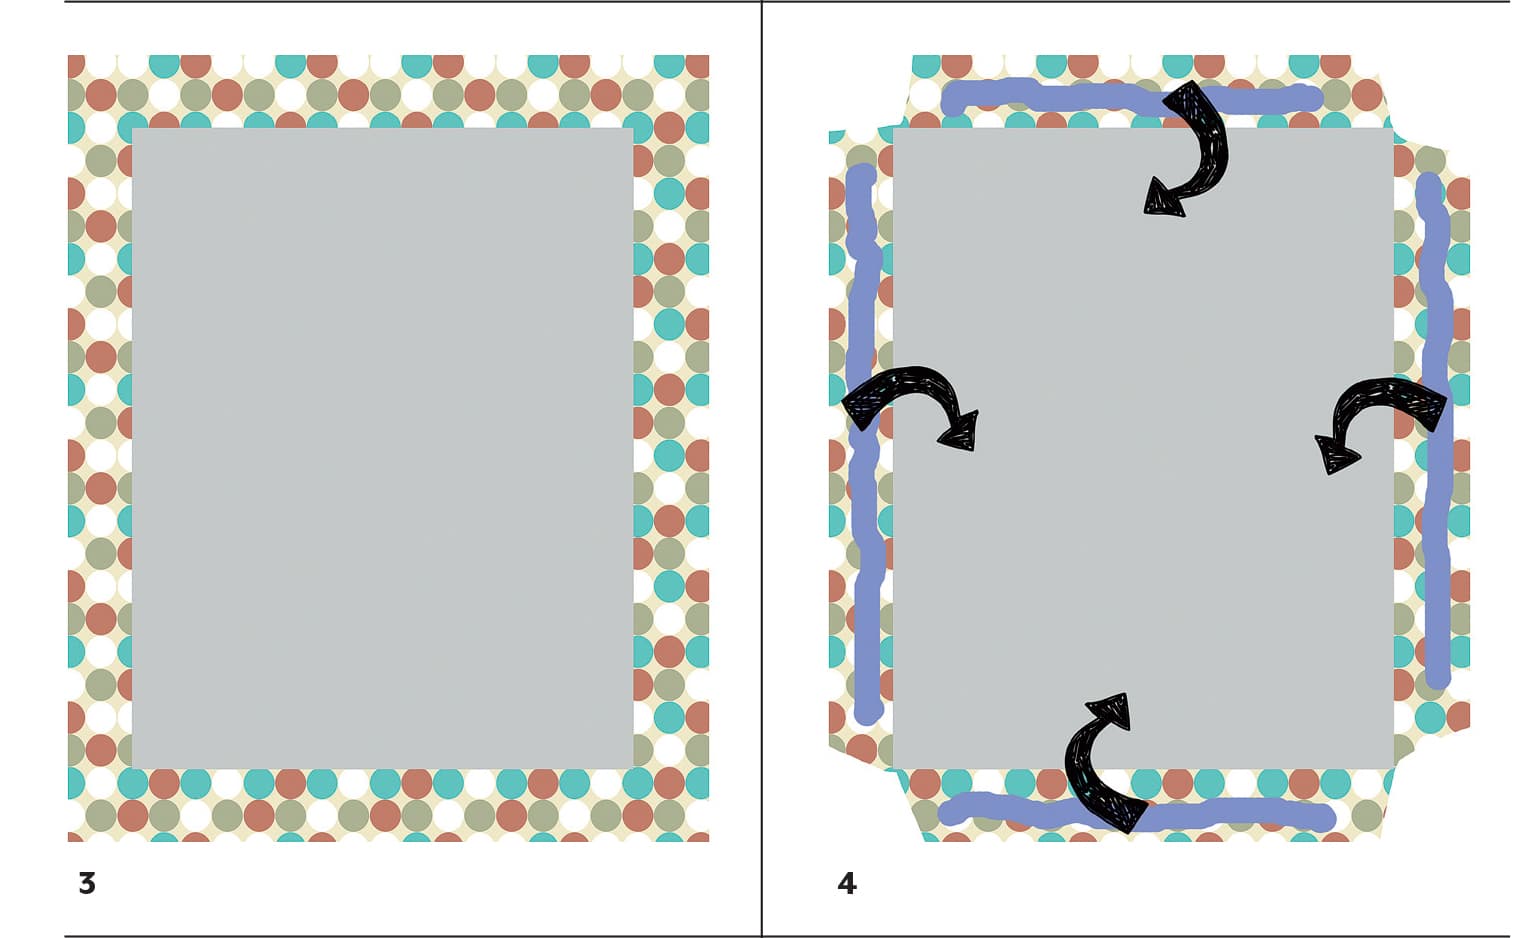
4. Prepare and decorate your covers. You’ll need two sturdy cardboard pieces as large as your largest page. I used two cardboard pieces for each cover and glued them together with gel medium (D). You can decorate your covers in a patch-like manner, as described in step 5, or take a more traditional approach by choosing a piece of patterned/decorated paper you like that is 2 inches (5 cm) larger than your cover board on all sides (D1 & D2). Glue your cover down onto the piece of paper (D3). Then cut off the corners in triangular shapes. Fold the edges inward onto the cover and adhere them with a strong gel medium (D4). If you want the cover to be decorated too, cut to size the same or another piece of patterned/decorated paper that speaks to you and glue it down (D5 & D6).

5. I decorated my covers with torn pieces of paper in a quilt- or patch-like way. You could do it more neatly if you prefer (E).

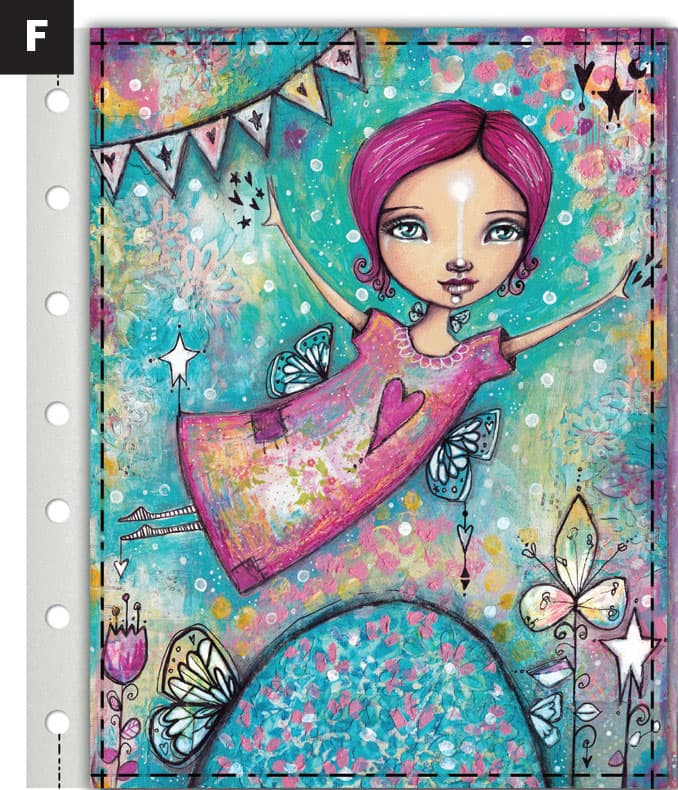
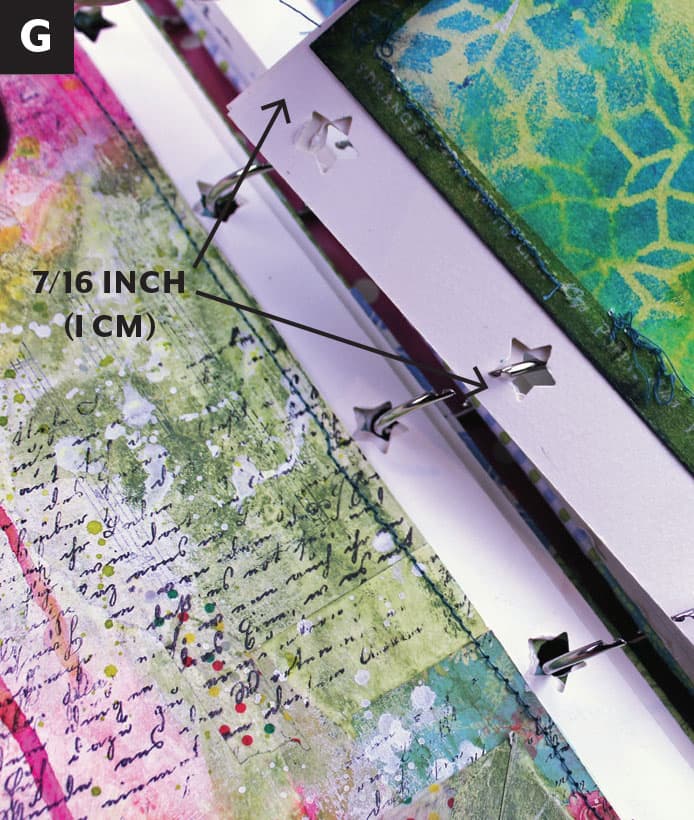
6. Once you’ve stitched all your pages together, punch holes in the strips (F). Allow for about 7/16 inch (1 cm) from the top and bottom edges and 7/16 inch (1 cm) in from the left edge as starting points (G). Allow for approximately 2 inches (5 cm) between holes. I like to use a star-shaped hole punch, which are fun but won’t be as durable as circular ones.
7. You’ll need to punch holes through your covers too. Once you’ve got all the holes punched, place all your pages and covers in the order you want them bound. Then lay out the rings and start threading (or stacking) the pages on the rings (H).
