
6
Securing Azure Storage
In the previous chapter, we covered recipes for securing Azure databases.
We introduced the concept of the shared responsibility model for public cloud platform service providers. The same approach and model applies to this chapter; the customer is responsible for the security of storage held in Azure and enabling and configuring the appropriate level of protection and security controls for the customer’s needs.
This chapter concludes Part 1 of this cookbook, in which we have been looking at Azure’s security features and capabilities.
In this final chapter of this part, the recipes we look at will cover the security settings that can be configured and data protection through encryption.
By the end of this chapter, you will have learned the following skills to carry out the following recipes to secure Azure Storage:
- Implementing security settings on storage accounts
- Implementing network security
- Implementing encryption
Technical requirements
For this chapter, it is already assumed that you have an Azure AD tenancy and an Azure subscription from completing the recipes in previous chapters of this cookbook. If you skipped straight to this section, the information to create a new Azure AD tenancy and an Azure subscription for these recipes is included in the following list of requirements.
For this chapter, the following are required:
- A device with a browser, such as Edge or Chrome, to access the Azure portal at https://portal.azure.com.
- An Azure AD tenancy and Azure subscription; you may use existing ones or sign up for free: https://azure.microsoft.com/en-us/free.
- An Owner role for the Azure subscription.
Implementing security settings on storage accounts
Azure Storage accounts, by default, have an internet-accessible public endpoint, the same as we learned about with Azure SQL databases from the last chapter. Therefore, we must provide security and access control layers for our defense-in-depth strategy.
This recipe will teach you to secure and control access to your Azure storage accounts.
We will look at the security settings that can be configured when creating storage accounts, network security, and encryption.
Getting ready
This recipe requires the following:
- A device with a browser, such as Edge or Chrome, to access the Azure portal: https://portal.azure.com
- Access to an Azure subscription, where you have access to the Owner role for the Azure subscription
How to do it…
This task consists of the following tasks:
- Reviewing the security settings when creating a storage account
Task – reviewing the security settings when creating a storage account
- Sign in to the Azure portal at https://portal.azure.com.
- In the search bar, type storage accounts; click on Storage accounts from the list of services shown:
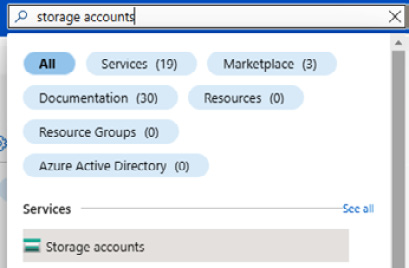
Figure 6.1 – Searching for Storage accounts
- On the Storage accounts blade, click on the + Create option from the top menu, or use the Create storage account button at the bottom of the blade.
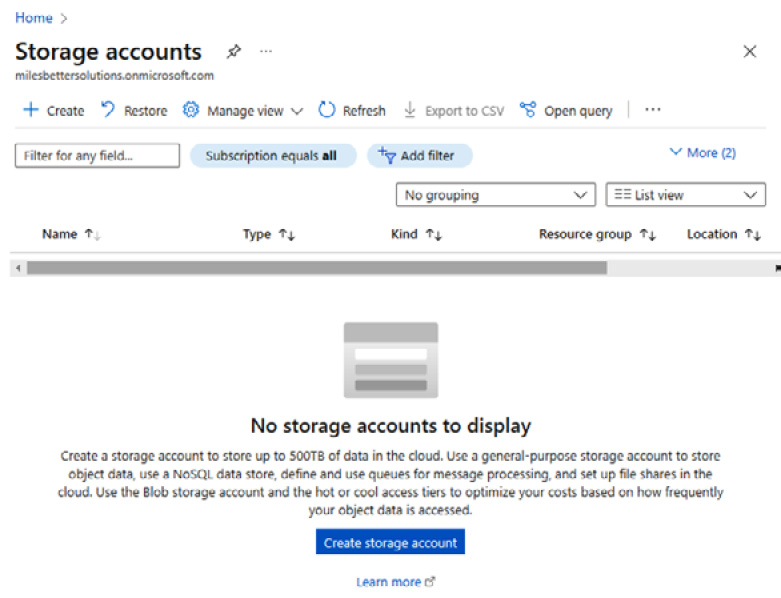
Figure 6.2 – Create a storage account
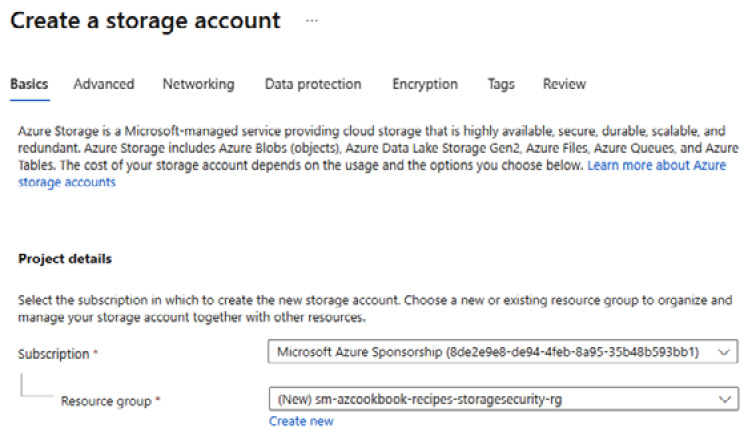
Figure 6.3 – Setting the project details

Figure 6.4 – Setting the instance details
- Leave the Performance and Redundancy settings at their defaults for this recipe.
- Click on Next : Advanced.
- On the Advanced tab, in the Security section, we can now review the security settings configured at creation time:

Figure 6.5 – Security settings for the storage account
- Require secure transfer for REST API operations: This setting ensures that only HTTPS requests can be made to the storage account. Learn more here: https://learn.microsoft.com/en-us/azure/storage/common/storage-require-secure-transfer.
- Allow enabling public access on containers: This setting permits anonymous public endpoint access to a storage account container. Unchecking this checkbox disables anonymous public endpoint access to a storage account container. Learn more here: https://learn.microsoft.com/en-us/azure/storage/blobs/anonymous-read-access-prevent.
- Enable storage account key access: This setting allows authorization of access to the storage account using a shared key or shared access signatures (SAS). Unchecking this checkbox disables and denies key access. Learn more here: https://learn.microsoft.com/en-us/azure/storage/common/shared-key-authorization-prevent.
- Default to Azure Active Directory authorization in the Azure portal: This setting allows the authorization of access to the storage account to a default of using identity-based authentication, such as Azure AD. Learn more here: https://learn.microsoft.com/en-us/azure/storage/blobs/authorize-data-operations-portal#default-to-azure-ad-authorization-in-the-azure-portal.
- Minimum TLS version: This setting allows you to specify the default minimum TLS version. When set to the default of Version 1.2, requests are rejected when made using TLS 1.0 or TLS 1.1.
Learn more here:
- Permitted scope for copy operations: This setting implements the limits of the copy operations for lateral movement and data breach.
- No further configuration is required for this recipe.
- Click Review.
- On the Review tab, click Create. You will receive a notification that the deployment succeeded.
- Click on Go to resource ready for the next task for this recipe.
This task of reviewing the security settings that can be implemented when creating a storage account is complete. In the next task, we will clean up the resources created in this recipe.
Task – cleaning up resources
- In the search box in the Azure portal, type resource groups and select Resource Groups from the listed Services results.
- On the Resource groups page, select the resource group we created for this recipe, and click Delete resource group; this will delete all the resources created as part of this recipe.

Figure 6.6 – Delete resource group
This task of cleaning up the resources created in this recipe is complete.
How it works…
For this recipe, we looked at reviewing the security setting options available when creating a storage account. We saw the default security settings that are applied and the optional security settings that can be applied.
See also
Should you require further information, you can refer to the following Microsoft Learn articles:
- Implement storage security: https://learn.microsoft.com/en-us/training/modules/storage-security
- Create a storage account: https://learn.microsoft.com/en-gb/azure/storage/common/storage-account-create
- Storage account overview: https://learn.microsoft.com/en-us/azure/storage/common/storage-account-overview
- Azure Storage redundancy: https://learn.microsoft.com/en-us/azure/storage/common/storage-redundancy
Implementing network security
We must secure not only the storage account itself but also the network we use for access; this enforces our defense-in-depth strategy.
This recipe will teach you to secure network access to your storage accounts.
We will look at the network access settings that can be configured when creating storage accounts, virtual network access, and implementing a storage IP firewall.
This recipe requires the following:
- A device with a browser, such as Edge or Chrome, to access the Azure portal at https://portal.azure.com.
- Access to an Azure subscription, where you have access to the Owner role for the Azure subscription.
How to do it…
This task consists of the following tasks:
- Implementing network access settings when creating a storage account
- Implementing virtual network access
- Implementing a storage IP firewall
Task – implementing network access settings when creating a storage account
- Sign in to the Azure portal at https://portal.azure.com.
- In the search bar, type storage accounts; click on Storage accounts from the list of services shown.
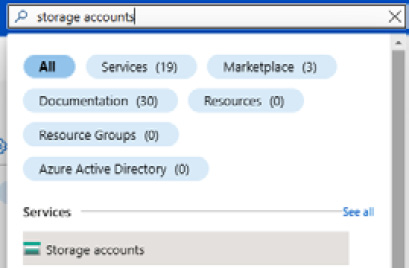
Figure 6.7 – Searching for storage accounts
- On the Storage accounts blade, click on the + Create option from the top menu, or use the Create storage account button at the bottom of the blade.
Figure 6.8 – Create a storage account

Figure 6.9 – Setting the project details

Figure 6.10 – Set instance details
- Click Next : Advanced and click Next : Networking.
- On the Networking tab, under the Network connectivity section, we can now review the following Network access settings that can be configured at the time of creation.

Figure 6.11 – Network connectivity settings for the storage account
- Enable public access from all networks: This setting is the default; the storage account’s public endpoint will allow traffic to be routed from all networks. Consider the security implications of this “any network” public access.
- Enable public access from selected virtual networks and IP addresses: This setting requires all access to the storage account to be routed via a virtual network; only the selected virtual network will be able to access the storage account.
- Disable public access and use private access: This setting will remove public access. Access to the storage account can only be provided through a private connection; a private endpoint must be created.
For this recipe, we will leave the setting as the default of Enable public access from all networks.
- In the Network routing section, you can determine the Routing preference setting; there are two options:
- Microsoft network routing: This setting will direct traffic to the Microsoft backbone (private) network as close to the source as possible
- Internet routing: This setting will direct traffic to enter the Microsoft backbone (private) network closer to the Azure endpoint
For this recipe, we will leave the setting as the default of Enable public access from all networks.
- Click Review.
- On the Review tab, click Create.
- You will receive a notification that the deployment succeeded.
- Click on Go to resource ready for the next task for this recipe.

Figure 6.12 – Resource deployment complete
This task of reviewing the network access settings that can be implemented when creating a storage account is complete. In the next task, we will look at implementing virtual network access options.
Task – implementing virtual network access
- On the created storage account page, click on Networking under the Security + networking section from the left toolbar.

Figure 6.13 – Storage account page
- On the Firewalls and virtual networks tab on the Networking page, select the Enabled from selected virtual network and IP addresses option in the Public network access section.
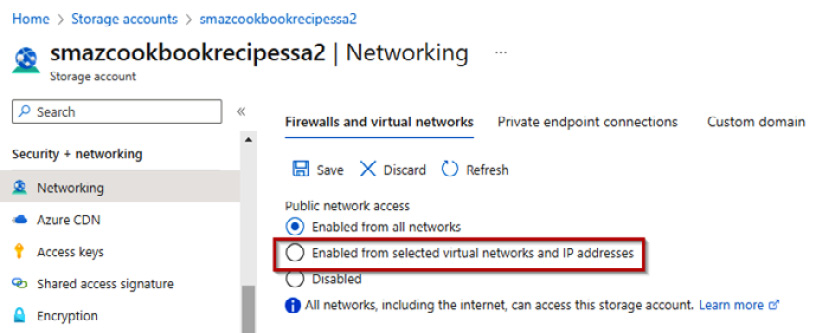
Figure 6.14 – Public network settings
- In the Virtual networks section, you can select Add existing virtual network.

Figure 6.15 – Add existing virtual network

Figure 6.16 – Add new virtual network
This task is complete. In the next task, we will implement a storage IP firewall.
Task – implementing a storage IP firewall
- On the created storage account page, click Networking in the Security + networking section from the left toolbar.

Figure 6.17 – Storage account page
- On the Firewalls and virtual networks tab on the Networking page, select the Enabled from selected virtual network and IP addresses option in the Public network access section:

Figure 6.18 – Public network settings
- In the Firewall section, check the Add your client IP address (‘Your-IP’) checkbox.

Figure 6.19 – Storage firewall settings
- In Address range, add any IP address or CIDR IP block that you wish to allow to access the storage account.
- Click Save from the top toolbar of the Firewalls and virtual networks tab.
This task of setting a storage firewall rule is complete. In the next task, we will clean up the resources created in this recipe.
Task – cleaning up resources
- In the search box in the Azure portal, type resource groups and select Resource Groups from the listed Services results.
- On the Resource groups page, select the resource group we created for this recipe, and click Delete resource group; this will delete all the resources created as part of this recipe.

Figure 6.20 – Delete resource group
This task of cleaning up the resources created in this recipe is complete.
How it works…
For this recipe, we looked at implementing the available network security capabilities for a storage account. We saw the security settings that can be set when creating a storage account. We looked at the options to restrict access to the storage account from selected virtual networks. We concluded with how to implement a storage IP firewall to restrict access by IP address or CIDR address block.
There’s more…
This recipe covered tasks including controlling network access through virtual networks and a storage IP firewall. In addition, you can also create private endpoints, so access via the internet is not possible and connections are only possible via a virtual network. A private endpoint works by assigning the storage account a network interface and private IP address for your virtual network’s private IP address space; this allows the service to be brought into the virtual network for secure private access.
The Private endpoint connections page for a storage account is represented in the following figure.

Figure 6.21 – Storage private endpoint connections
See also
Should you require further information, you can refer to the following Microsoft Learn articles:
- What is a private endpoint?: https://learn.microsoft.com/en-gb/azure/storage/common/storage-network-security
- Configure Azure Storage firewalls and virtual networks: https://learn.microsoft.com/en-gb/azure/storage/common/storage-network-security
- Network routing preference for Azure Storage: https://learn.microsoft.com/en-gb/azure/storage/common/network-routing-preference
- Virtual Network service endpoints: https://learn.microsoft.com/en-us/azure/virtual-network/virtual-network-service-endpoints-overview
Implementing encryption
When implementing a Zero Trust approach to cloud resource security, we must adopt the stance of Assumed Breach. This means assuming that bad actors have already compromised our perimeter defenses, and we are at risk of data integrity breaches and data exfiltration. Therefore, we must provide mechanisms that ensure our data’s integrity remains and our data is unreadable and unusable in the case of exfiltration.
This recipe will teach you to secure your storage account data at rest through encryption using Azure Storage Service Encryption.
In this task, we will look at the customer-managed keys encryption type; by default, storage accounts are encrypted by Microsoft-managed keys with no configuration required.
We will look at how encryption can be set for existing storage accounts.
Getting ready
This recipe requires the following:
- A device with a browser, such as Edge or Chrome, to access the Azure portal at https://portal.azure.com
- Access to an Azure subscription, where you have access to the Owner role for the Azure subscription
- Access to an Azure storage account; we will step through this process in the following Getting ready tasks
Continue with the following Getting ready tasks for this recipe:
- Creating an Azure storage account
Getting ready task – creating an Azure storage account
- Sign in to the Azure portal at https://portal.azure.com.
- In the search bar, type storage accounts; click on Storage accounts from the list of services shown.

Figure 6.22 – Searching for Storage accounts
- On the Storage accounts blade, click on the + Create option from the top menu, or use the Create storage account button at the bottom of the blade.
Figure 6.23 – Create storage account
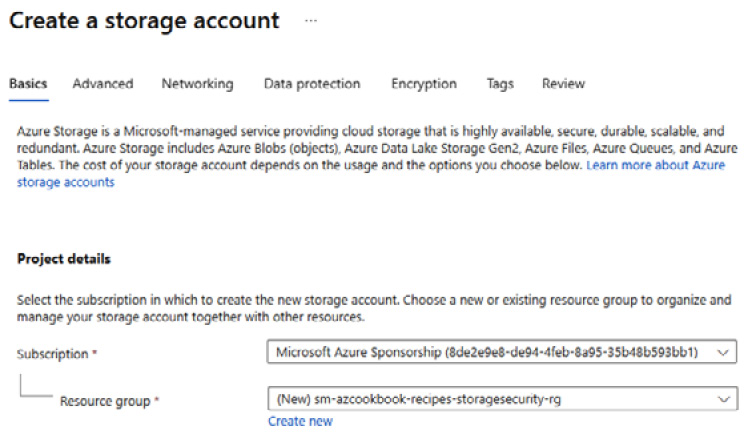
Figure 6.24 – Setting the project details
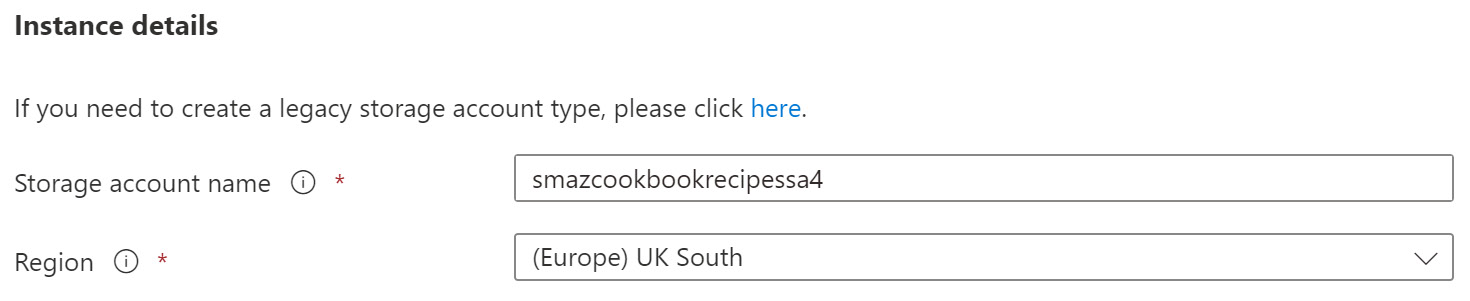
Figure 6.25 – Setting the instance details
- No further configuration is required for this recipe.
- Click Review.
- On the Review tab, click Create.
- You will receive a notification that the deployment succeeded.
- Click on Go to resource ready for the main task for this recipe.
This Getting ready task is complete. You are now ready to continue the main tasks for this recipe of setting encryption for an existing storage account.
How to do it…
This task consists of the following tasks:
- Implementing encryption for an existing storage account
Task – implementing encryption for an existing storage account
- On the created Azure storage account page, click on Encryption in the Security + networking section.

Figure 6.26 – Storage account page
- On the Encryption page, select Customer-managed keys in the Encryption selection section of the Encryption tab.

Figure 6.27 – Encryption page

Figure 6.28 – Customer-managed keys
- On the Select a key page, select Key vault for the Key store type option:

Figure 6.29 – Key store type
- For the Key vault selection, click on Create new key vault.

Figure 6.30 – Key vault selection
- On the Create a key vault page, enter the following:
- For Project details, select the same Subscription and Resource group details used to create the storage account in the Getting ready task for this recipe
- For Instance details, enter the Key vault name details as required, and select the same Region option used to create the storage account in the Getting ready task for this recipe

Figure 6.31 – Key vault creation
No further configuration is required for this recipe.
- Click Review + create.
- On the Review + create tab, click Create.
- You will receive a notification that the deployment succeeded; wait to be returned to the Select a key page.
- Once you have returned to the Select a key page, click Create a new key for the Key value.
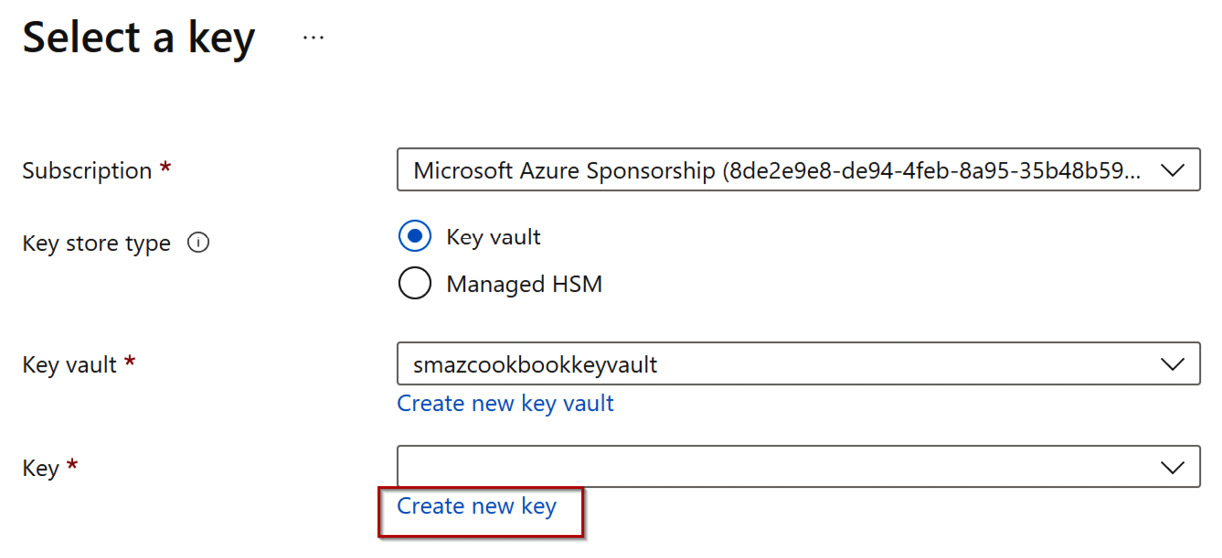
Figure 6.32 – Key selection
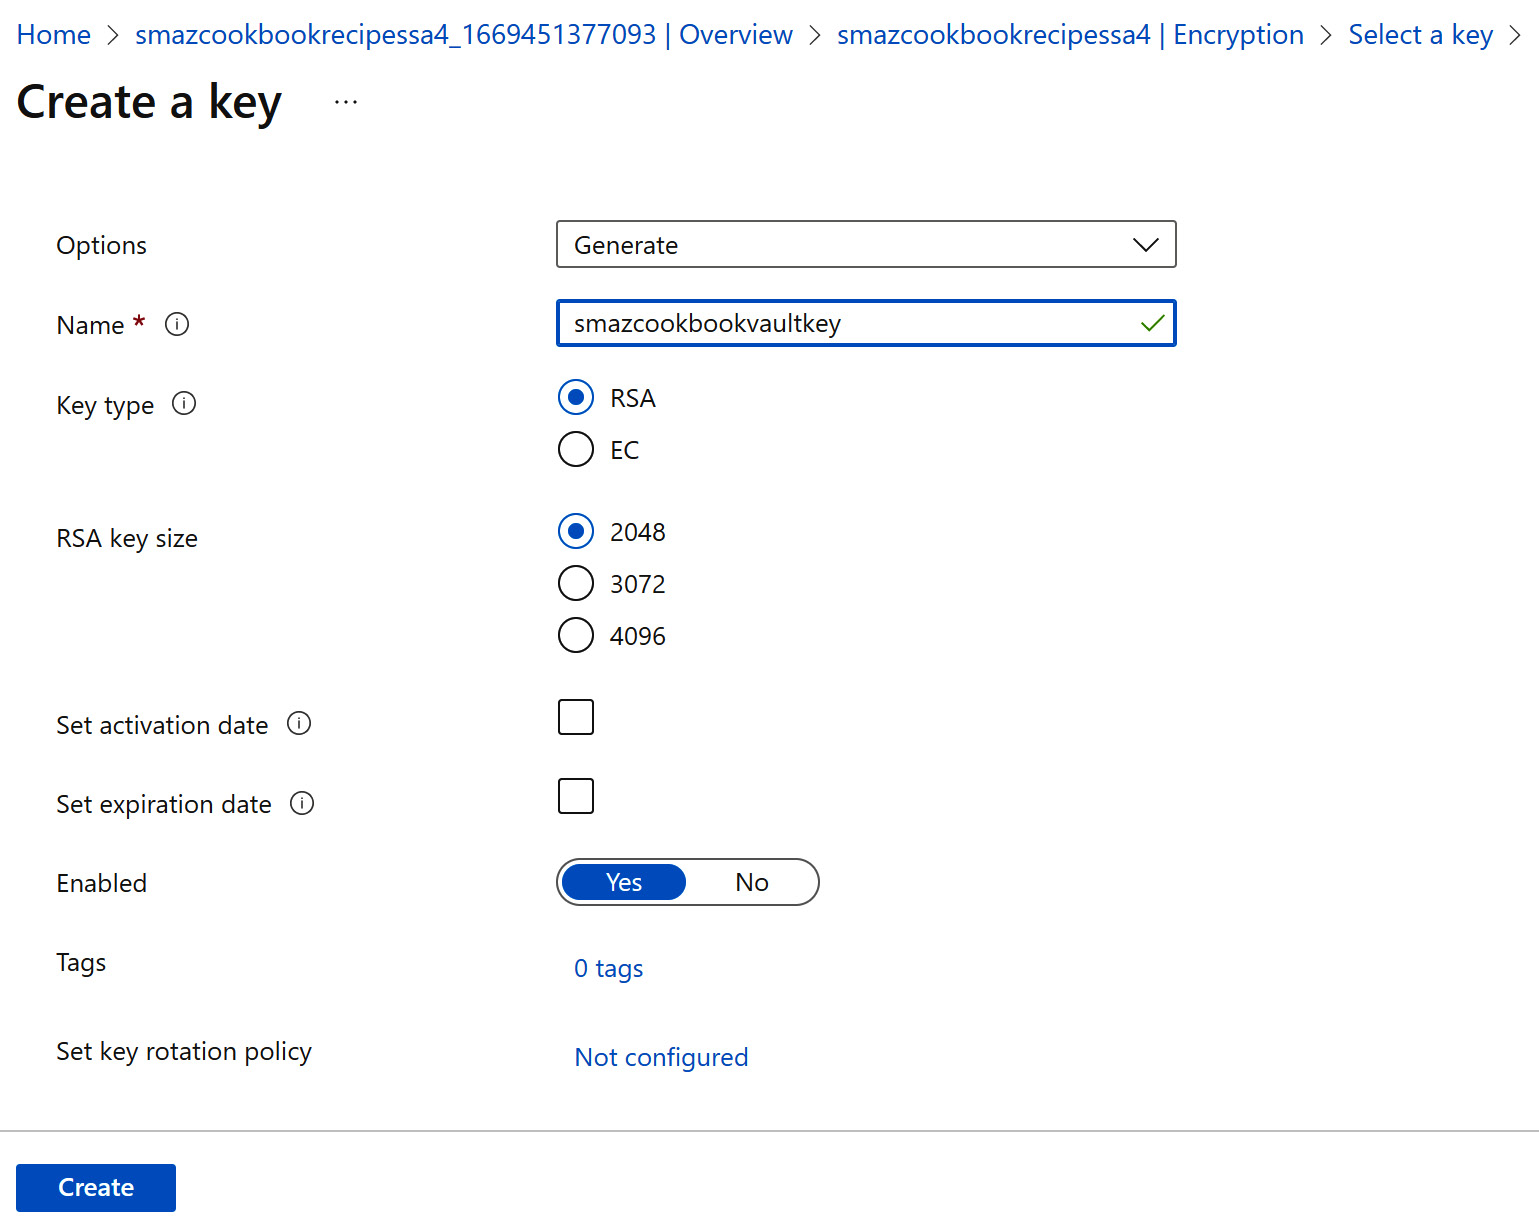
Figure 6.33 – Creating a new key

Figure 6.34 – Select a key

Figure 6.35 – Save the settings
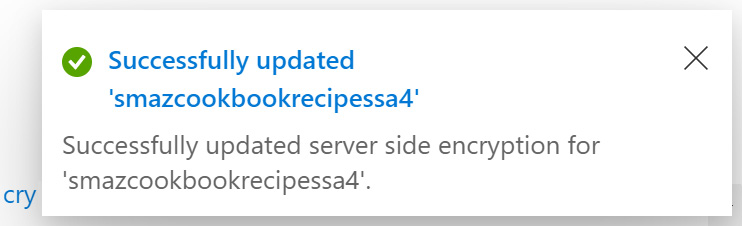
Figure 6.36 – Encryption successful
- You can now close the Encryption page.
- Click on Go to resource or navigate to your storage account.
Figure 6.37 – Encryption complete
- From your storage account, click on Encryption in the Security + networking section and review your customer-managed key information.

Figure 6.38 – Encryption settings
This task is complete. In the next task, we will clean up the resources created in this recipe.
Task – cleaning up resources
- In the search box in the Azure portal, type resource groups and select Resource Groups from the listed Services results.
- On the Resource groups page, select the resource group we created for this recipe, and click Delete resource group; this will delete all the resources created as part of this recipe.

Figure 6.39 – Delete resource group
The task of cleaning up the resources created in this recipe is complete.
How it works…
In this final recipe task for this chapter, we looked at implementing encryption for the storage account.
As a Getting ready task, we created an Azure storage account for the recipe task to illustrate setting encryption on an existing storage account.
We used Azure Storage Service Encryption using the customer-managed keys encryption option; by default, storage accounts are encrypted by Microsoft-managed keys with no configuration required.
See also
Should you require further information, you can refer to the following Microsoft Learn articles:
- Configure customer-managed keys in an Azure key vault for an existing storage account: https://learn.microsoft.com/en-gb/azure/storage/common/customer-managed-keys-configure-existing-account
- What is Azure Key Vault Managed HSM?: https://learn.microsoft.com/en-gb/azure/key-vault/managed-hsm/overview
- Prevent Shared Key authorization for an Azure Storage account: https://learn.microsoft.com/en-gb/azure/storage/common/shared-key-authorization-prevent
- Manage storage account access keys: https://learn.microsoft.com/en-us/azure/storage/common/storage-account-keys-manage
- Assign a Key Vault access policy: https://learn.microsoft.com/en-gb/azure/key-vault/general/assign-access-policy