UNIT 1
BECOMING AN ANIMATOR
One of the most wonderful things about the art of stop-motion animation is that absolutely anyone can become an animator. By learning the basics and starting with a few simple techniques, every child, every group, can create a unique take on the process. You might even invent something the world hasn't seen yet! For such an old and beloved art form, it’s wildly exciting that with stop-motion animation, there’s always room for something new.
This chapter reviews the basics to ensure that your stop-motion projects will look as professional as possible, no matter what the subject and which art medium or technology you use to create them.
THE ANIMATION PROCESS
Let’s talk for a moment about animation.
Animation is a movie-making technique that uses a series of . . . anything, really: computer graphics, photographs, drawings, paintings, handmade puppets, or even three-dimensional printed models. Each unit in the series is slightly different from the last so when they are viewed quickly in sequence, there is the appearance of movement. Imagine how flip books work, with each image on the page quickly scrolling to the next.
Another way of describing this process is when you quickly take photos of something in motion. When you scroll back through your camera’s photos quickly, there is the illusion of motion.
Stop-motion animation uses the same idea, but the action happens in real life, not constructed in a computer. The elements that are given life through stop-motion animation are often created by hand (or even by computer using three-dimensional printing). Stop-motion animators manipulate their subjects using their hands.
The stop-motion animation filmmaking process is relatively simple. First, you take a still image of a subject. Next, you move the subject a little bit with your hands, completely clear your body/hands out of the area that the camera can see, and capture a new image of your subject in that new position. By continuing to move the subject and capture each new move, in the end you will have a series of images of the subject doing an action in sequence. By playing back through these pictures very quickly, the object appears to be in motion.
There are two main ways that you can string your images together in animated sequence:
1 You can import your still photos from your camera into a photo-editing program like iMovie. In that program, you can adjust the length of time that each picture is shown and add sound, music, and text before saving your finished film.
2 You can connect your camera to a stop-motion animation program during the filming process. These programs automatically string your photos together as an animation and save them as a moving film. Often these software programs come with very helpful features, such as the “onion skin” tool that layers the last photo you took over the one you are about to take so that you can precisely plan your next move.

TOOLS OF THE TRADE
No matter what style or type of stop-motion animation you’re creating—whether two-dimensional or three-dimensional, working with art materials or with your favorite toys—there are a few tools and materials that are great to have on hand.
Basic Toolkit
Before you start, gather some of these animation must-haves:
■ For cutting: Scissors, craft knife, cutting mat
■ For drawing and making notes: Copy paper, pens, pencils, eraser
■ For gluing: Glue stick and hot glue gun
■ For holding and fastening: Binder clips, transparent tape, masking tape

A note about masking tape: As a DIY animator, you can never have too much masking tape! From taping down the legs of your tripod to making sure your puppet doesn’t move until you’re ready to take a picture, masking tape comes in handy for every project, big or small.
Art Supplies
All of the projects in this book involve art supplies. The materials lists give details of what you’ll need for each one. Here’s an overview of the kinds of materials you’ll be working with:
■ Watercolor paints and paper: Liquid tempera, watercolor pan paints, and watercolor pencils on watercolor paper are all great for painting backdrops.
■ Paintbrushes: A few inexpensive brushes in a range of sizes are handy to have.
■ Sewing supplies: Thread, sewing and tapestry needles, pins, yarn
■ Fabrics: For making sets and costumes
■ Beads and buttons: For fastening, decoration, and eyes (of course!)
■ Non-hardening modeling clay: To form puppets and props around armatures. We use Plasticine.
■ Wire cutters, needle-nose pliers, and 16-gauge aluminum wire: For making armatures
■ Wooden drawer pulls and knobs: These make great feet for puppets and clay figures.
■ Light box: Not a must-have, but useful when creating a hand-drawn animation or a flip book. The built-in light and flat surface of the box make tracing and copying frames much easier! If you don’t have one, you can use a window during the day.


THE TECH SPECTRUM
There are several animation projects in this book that don’t require any technology (see here to here). The results are simply optical illusions of something being animated. If you want to make a stop-motion film using technology, here are a few basic requirements.
■ Camera: The camera you choose to shoot your animated film depends on the animation editing software you’re working with. The various types of animation software—Windows Movie Maker (for PCs), Boinx iStopMotion (for Apple computers), and Dragonframe (for both platforms)—list on their websites which cameras are compatible. (See here for an overview on working with animation editing software.)
If you aren’t using animation software to create your film, any digital camera will do. You can scroll through your camera’s photos and see them animate right before your eyes! You can also import your photos into a computer and assemble them into a stop-motion animation using iMovie (for an Apple computer) or Windows Movie Maker (for a PC).
■ Tablets and smartphones: Tablets and smartphones have become fun tools to use for creating stop-motion animations at home. Not only are there free applications that can be downloaded but there are also tripods created specifically for these devices. Animation software, such as iStopMotion, can be used on any Mac product by using the built-in camera to take pictures. The quality won’t be quite as great as using a digital camera, computer, and tripod, but using your tablet or smartphone is a great place to start and very user-friendly!
■ Tripods: Having a sturdy tripod on which to steady your camera, tablet, or smartphone is a huge help! Quality tripods come in all shapes and sizes that vary in price and accessibility. If you are using a high-quality camera, we suggest investing in a high-quality tripod to support your camera. No tripod? No problem! Try putting some masking tape on the bottom of your camera and attaching it to a fixed object like a table or bookshelf. The idea is to make sure your camera is as steady as possible before you start animating.
■ Sound recording equipment: Using your own voice and original compositions for your animations can really set your film apart! And because most computers, tablets, and smartphones have recording devices already built in, you don’t have to spend the extra money on an external microphone. If you would like to upgrade to an external microphone, there are some high-quality options online that are not too expensive. Look for a condenser microphone, with no drivers to install.

ANGLES AND SHOTS
If you’re using technology for your project, a camera (or some other capture device) will be the main tool you use to create your film, so it’s very important to pay attention to what your camera’s viewpoint is.
Think about how you will use your camera to tell your story. Filmmakers take their audience on a journey by using different views through the camera’s lens to explain an idea or lead through a narrative. When you make a movie, you can literally create a window into other worlds. Planning your different camera shots and angles is an important part of the process!
In this book, we define the words shot and angle as follows:
■ Angle: The actual angle of the camera as related to its mount on the tripod. For example, when the camera is facing forward, it is called a straight-ahead angle. When it’s facing down, it is called a downshoot angle. For projects that use a downshoot angle, see Unit 3, “Downshoot Animation”; for projects that use a straight-ahead angle, see Unit 4, “Straight-Ahead Animation”.
■ Shot: The way that you shape your scene using camera (or software) tricks like close-ups, wide shots, pans, and so on (defined here and here). Think of it as the viewpoint of the storyteller: a place where you can really play with what the audience sees. Examples of the various types of shots are shown here and here.
Tips
■ Remember, any photos that you take during the shooting of an animation can be used later. Pictures can be copied, pasted, and looped in editing programs.
■ Changing your camera angle is a great way to pick up a project where you left off without having to line everything up perfectly from your last session.
■ Multiple viewpoints in a film make the movie more fun to watch! Next time you watch a movie, pay close attention to how the story is presented. You’ll be in for a treat!
Shots
■ Pan: A pan happens when you slowly move the camera either along the horizon or up into the sky along a straight line from one direction to another, taking photos of each incremental change.
■ Zoom: A zoom means you slowly zoom in the lens so that you can move from a close-up angle to a wide angle or the other way around.
■ Wide: Great for setting the scene, the wide angle shows a lot of information at once.
■ Medium: The medium angle still shows a good amount of information, but you can get a glimpse of the details. It’s great for capturing conversational moments.


Wide and medium shots
■ Close-up: A close-up is perfect for highlighting details or showcasing a character’s emotions and facial expressions.
■ Extreme Close-Up: The drama of zooming in!
■ Worm’s Eye: This shot is taken from the ground upward into space.
■ Bird’s Eye: This shot is taken from high above.
■ Over the Shoulder: This shot is often used to record the back and forth of a conversation or to show a character’s unique perspective.
Once you’ve established how you would like to capture your film, you can begin to plan the best way to tell your story using different angles. Using more than one type of shot will help your stop-motion animation look rich and full, and will also give your viewers an in-depth look at the world you’ve created. Just remember, be sure to spend enough “animated time” in each of these shots before you move on to the next, ensuring that your audience has adequate time to take in what they are seeing.
Whether you are using a downshoot or straight-ahead angle for your film, it’s important to keep your camera steady! Using a tripod or some other clever DIY anchoring technique for your photo-capturing device will let your subjects be the focus of the action; otherwise, the constant motion of your camera can be a distraction.

(above and below) close-up and extreme close-up;


(above and below) worm’s eye and bird’s eye;


over the shoulder
DESIGNING YOUR FILM
What will you animate with? What kind of “look” do you want to create? What kinds of materials would you like to use? Will you make everything by hand, or will you use found objects? What kind of story do you want to tell? Do you feel inspired by your experiences, art that you have seen in museums, or even something in your own home? Are you inspired by movies? These are all important questions to ask as you go about designing your film. In the animation world, two of the most exciting short film genres are abstract and narrative.
Abstract films
Abstract films provide a space to truly explore an art medium or a process. Those projects enable children to focus purely on elements of art, such as line, shape, texture, color, and space. Maybe the purpose of the project is to explore a new art-making technique or to simply play with a new material. Either way, the results are sure to be visually striking. The planning for these projects can be minimal; the art happens in the animation!


Narrative films
Creating a narrative film with children provides a great opportunity to collaborate, design, plan, and execute a real production together as a team. To create a clear story, children have to activate their imaginations, design all the elements of the story (plot, theme, and so on), build their sets and characters, and work together as a team to animate many scenes and animated moments that will go together to create a finished film. They also have to think about the audience watching their finished film. Although telling a story using stop-motion animation is possible with one filmmaker, the work can often be more fully realized with a team.

Storyboards
Creating storyboards is a great way for kids to simply plan their story and also get a little drawing in! This is a straightforward method to break down each scene and plan for camera shots, select camera angles, and create shot lists.

Script Writing
A super-exciting part of the filmmaking process, script writing can fuse a love for literature with the drama of the stage. Some stories start with a script as the root of the film’s inspiration; in other cases, script writing comes after the sets, characters, and storyboards have been created and the story has been completely shot.
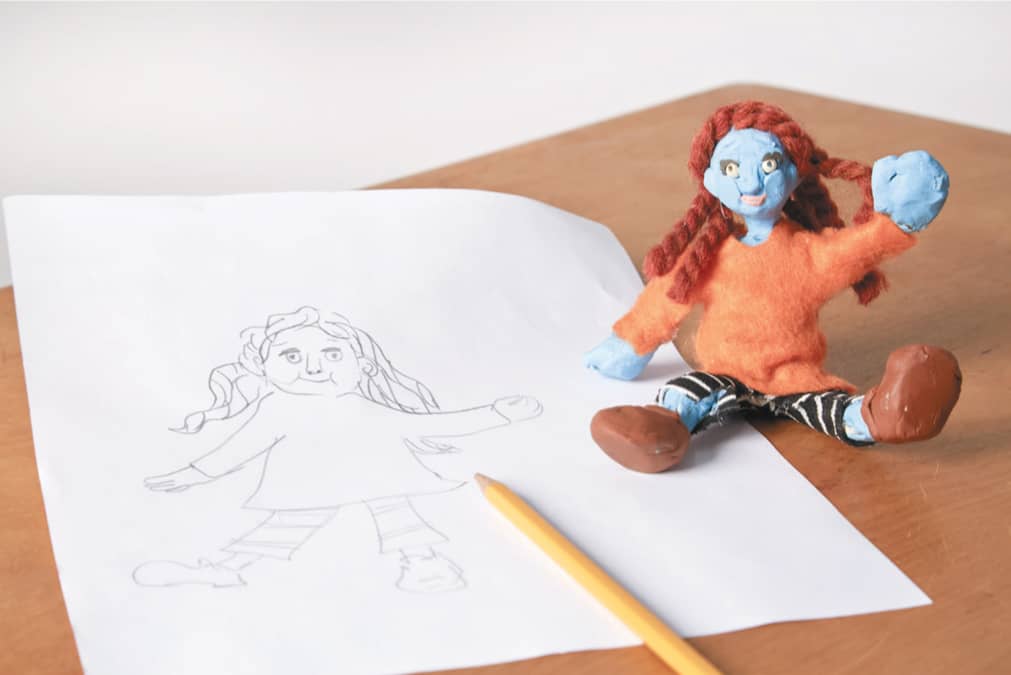
Character and Set Design
Here is a great opportunity to work on those drawing skills and create projects for kids who love to draw. Character and set design are truly one of the most exciting parts of the process! This is the stage where the imagination can run wild. Having kids visually document the look of a character or a set helps create a design that can be used to select materials, plan for scale, and create a cohesive visual feel for the film.
Shot List
When using animation to tell a story with children, it is extremely important not only to plan the many small moments that will string together to make one story but also to have a vision for the whole. Running through the story, the storyboards, and the script and writing down a list of the necessary shots to capture is an essential way to visually imagine the finished film in its entirety and to make sure that you get all that you need. Take the time to write out a list of essential shots (animated moments) that need to happen to make the story complete. Consider that you can shoot your film out of sequence, which might eliminate the trouble of switching out sets and resetting up a scene. Talk to children about the postproduction editing work that will happen and the notion that even though the story will ultimately be told in sequence, the animation process doesn’t necessarily have to reflect that order as long as you have your shot lists on hand! This ensures that you won’t miss a single scene when in production.

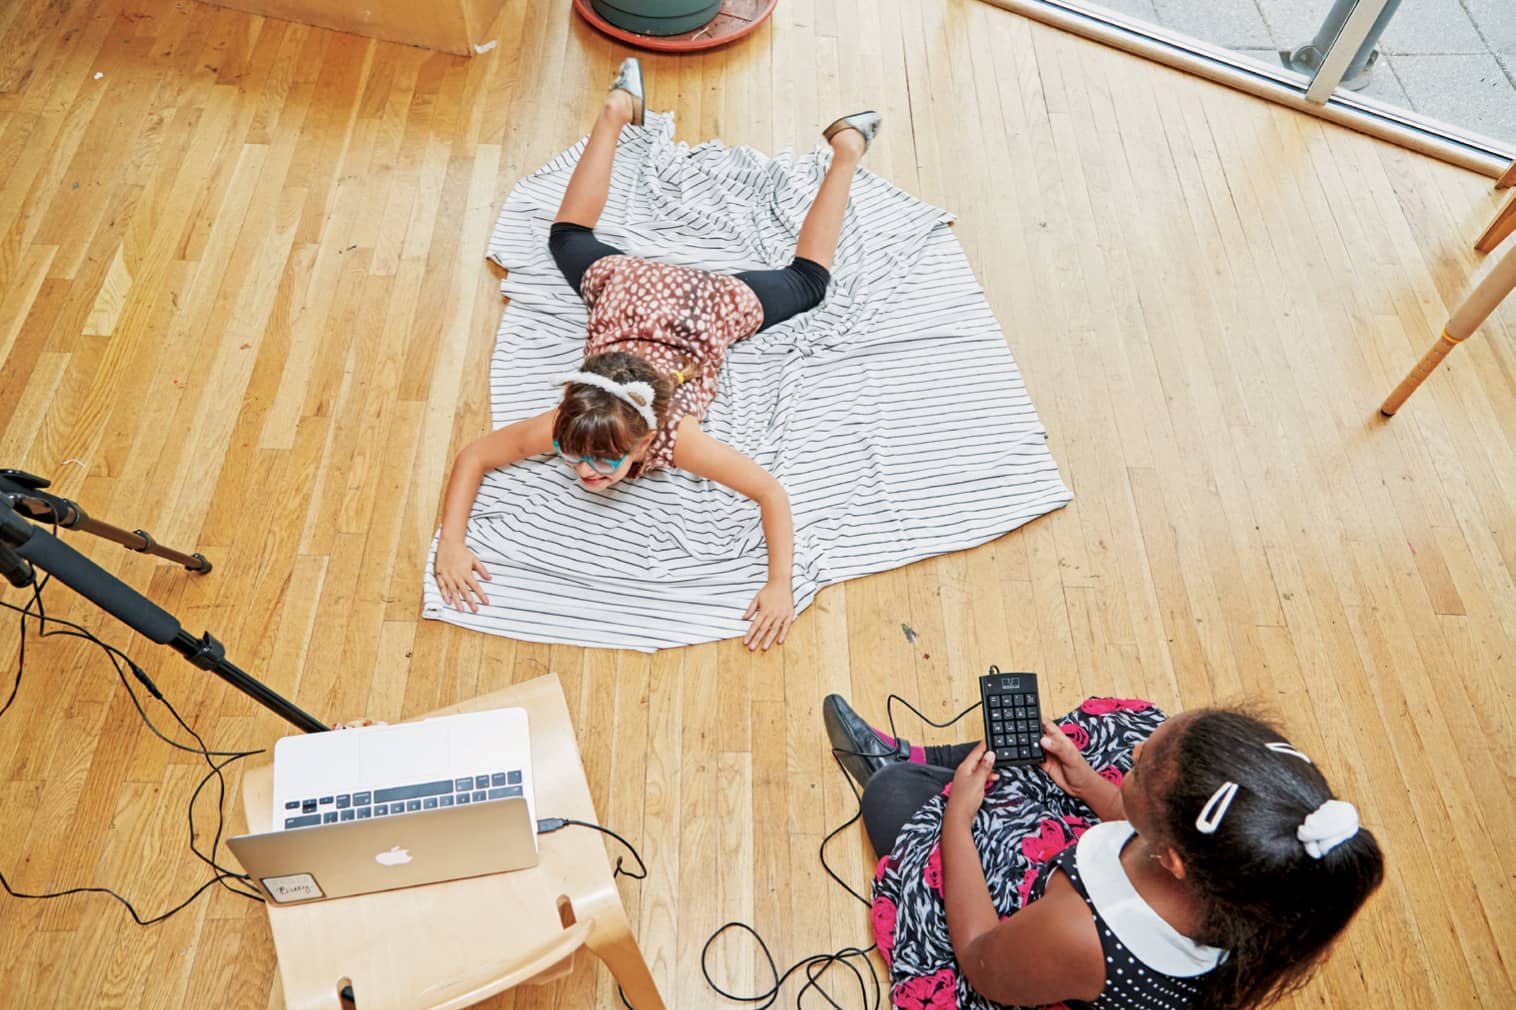
PIXILATION
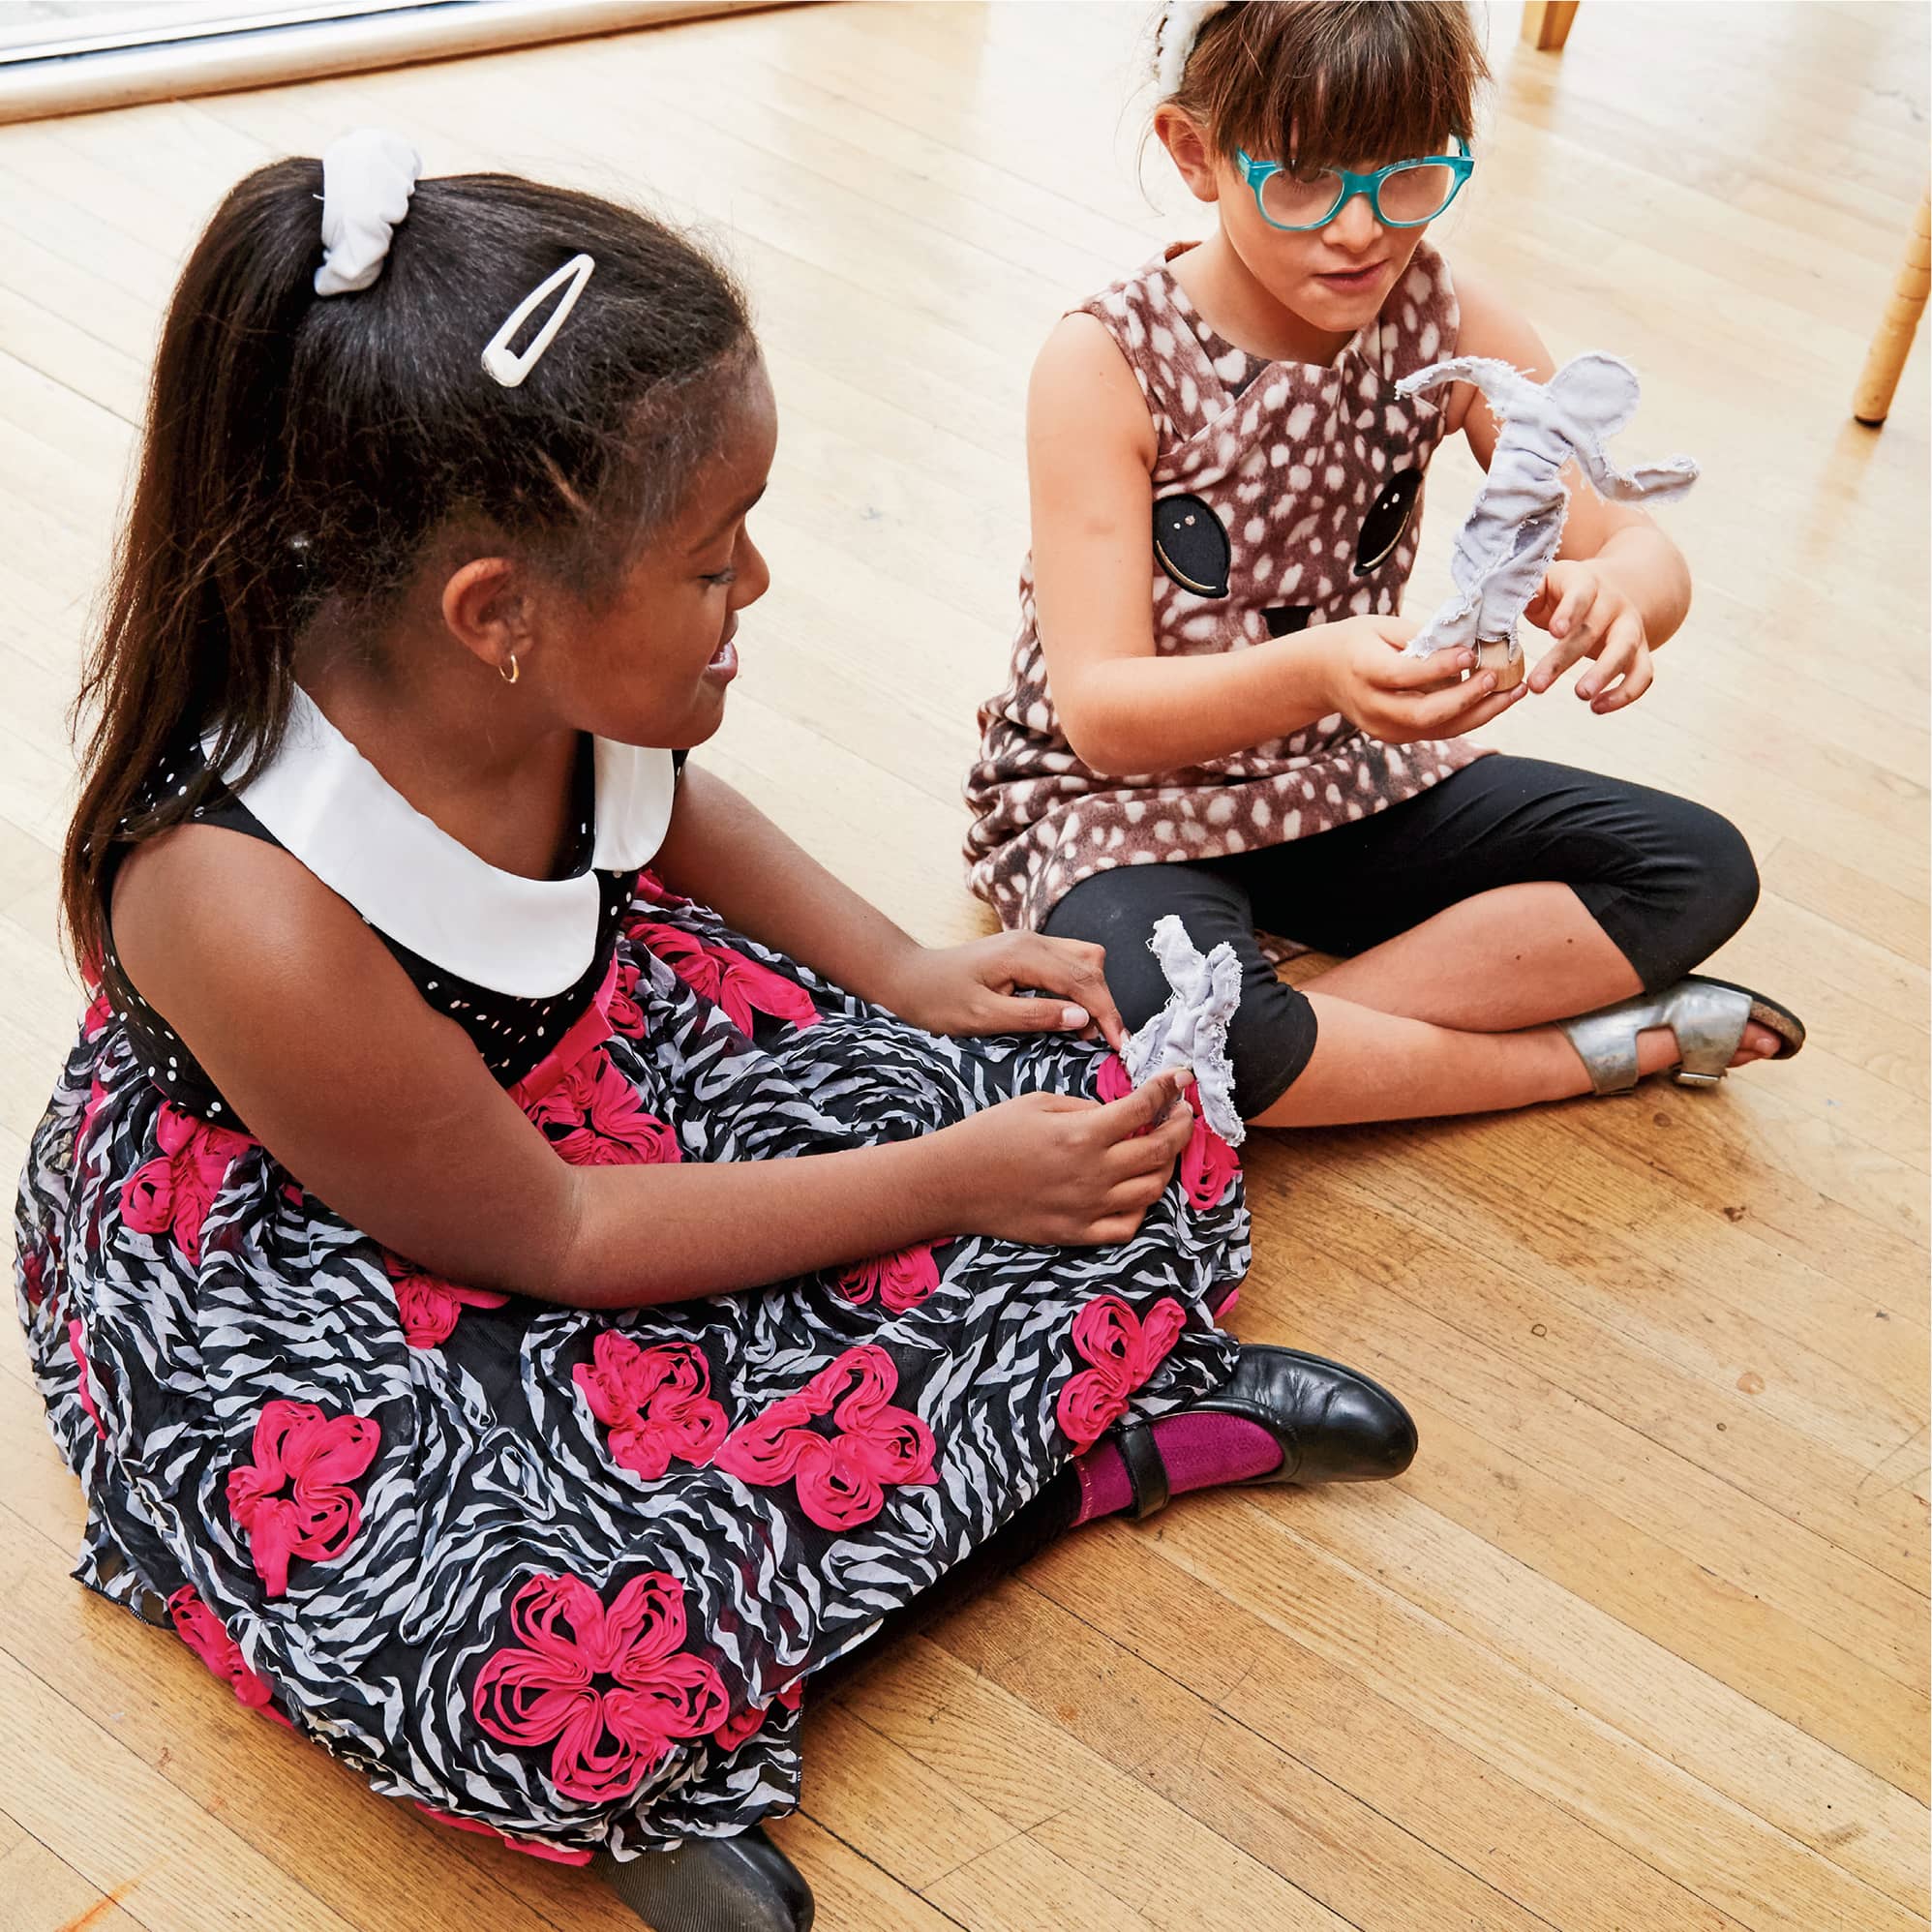
Pixilation is an enchanting type of stop-motion animation that turns the lens on the animators themselves! This is the art of animating humans (and other living subjects). The process is the same—making small movements and capturing each one with a camera—and the results are altogether magical.
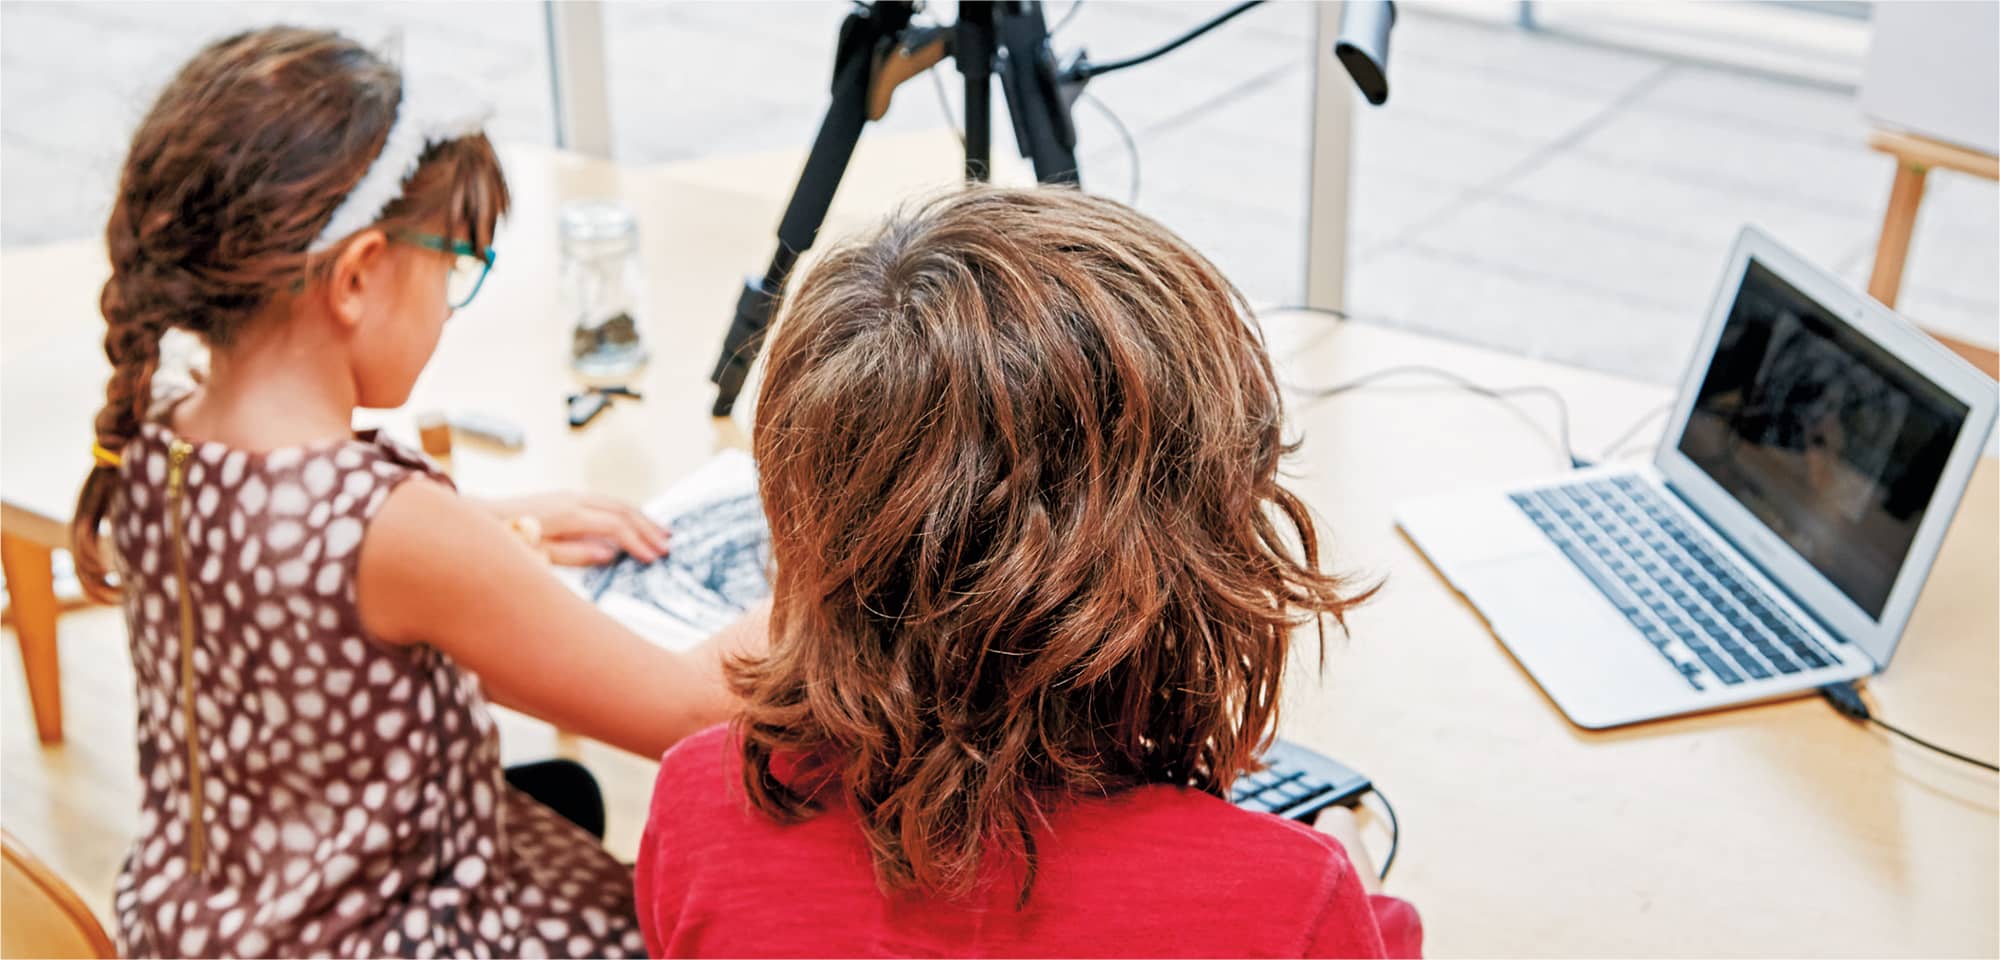
There are a few wonderful learning objectives inherent to pixilation. The first and the most obvious is the development of both gross and fine motor skills. The movements practiced in the pixilation labs (shown here to here) ask that subjects control their bodies and hold poses for short periods of time. The second is the element of collaboration and teamwork necessary for this style of animation. Nearly impossible (if not hugely difficult) to do alone, this style of stop-motion animation often asks that one or more humans are the subjects and one or more humans operate the capture device, camera, or stop-motion animation software. Filmmaking is, after all, a collaborative art form! Let’s get together and make something great!


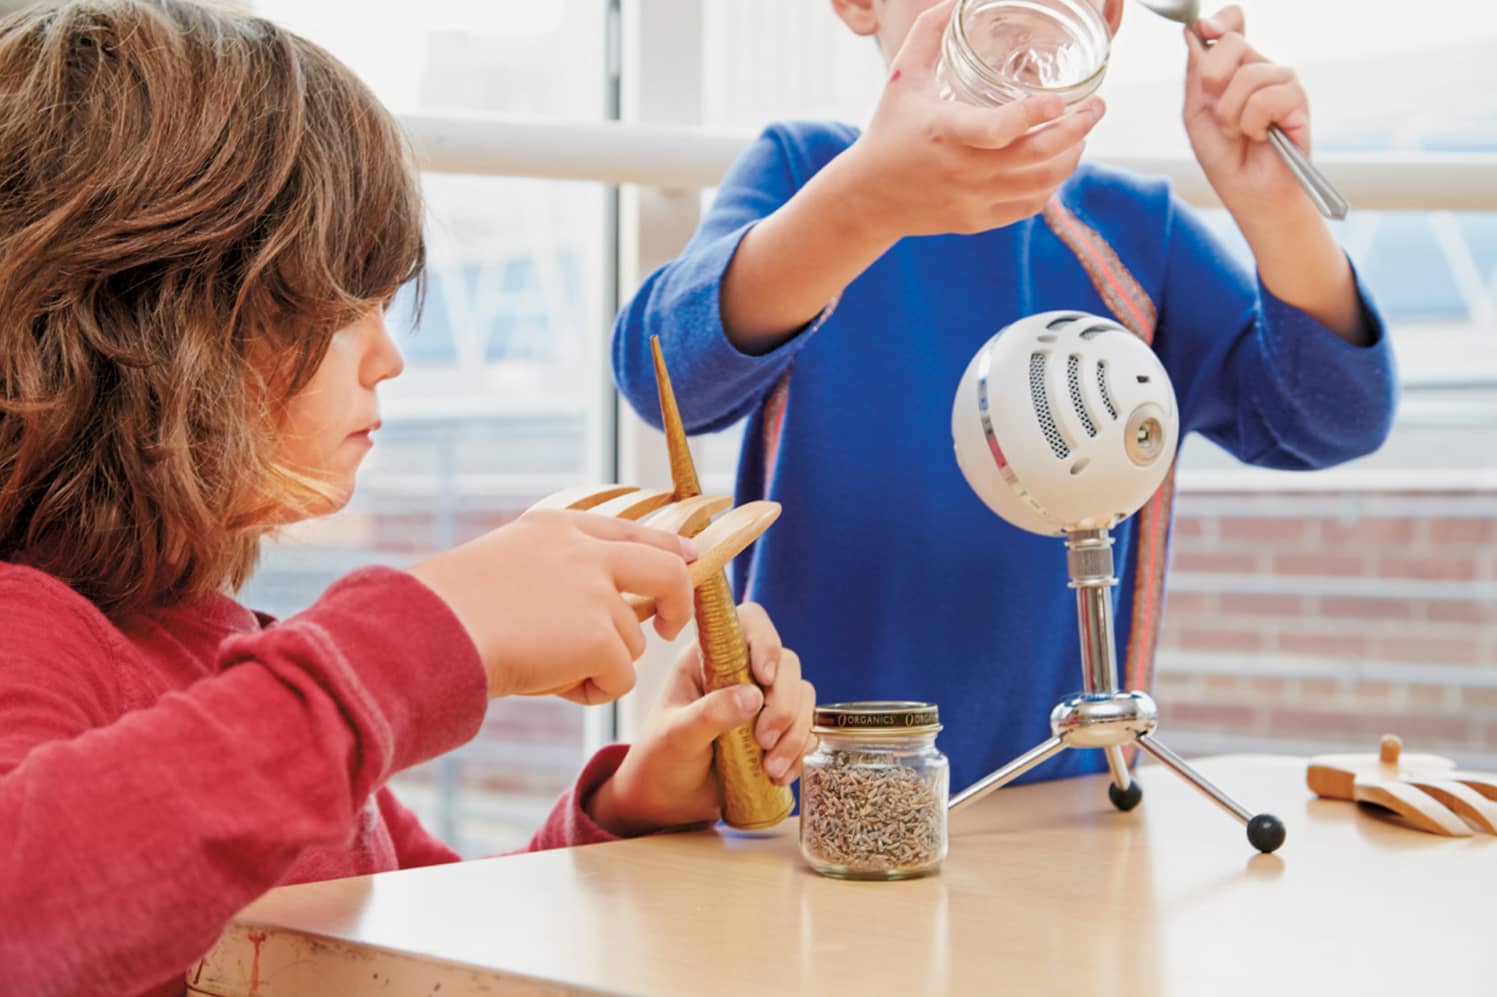
ADDING SOUND
One essential part of a great stop-motion animation is adding sound. Your film might call for sound effects, voice-overs, or a musical score. Sound sourcing has traditionally been known as “Foley” and is an amazing process that can lend so much to your film and your filmmaking experience.
Consider the film that you’re creating sound for. What kinds of sounds do you imagine in this animation? Make a list of the sound effects you’re hoping to record. Stay organized! Now the search begins. Which objects do you have around that could create some of those sounds? Will you make a rhythmic soundtrack or the sound effect for a door closing and opening? Get out there and explore!
All you’ll need for this process is a good sound recording device. This could be your smartphone with a recording feature, a more professional-grade recording microphone, or even the built-in microphone in your laptop. Once you have figured out the tech tool that you would like to use to capture your sound, you can decide whether you would like to edit or alter it once it is recorded. You can also use sound recording/editing software such as GarageBand (which comes free on Mac computers) or Music Maker Jam (available in app stores for PC/Windows computers) to both capture and manipulate the sound that you record.
It’s important to note that using sound recording/editing software isn’t necessary if you simply want to record sound and add it to your film. For instance, you could record sound with your smartphone and then import that sound file directly into iMovie or other postproduction editing software, adding it to your video footage directly. With postproduction editing software, however, you have the option to cut a sound clip and line it up with the video to your liking.

EDITING BASICS
Editing software allows you to import your film and your recorded sound, pair them, arrange them as you would like, and then add text, more sound effects, or music. The first step will be picking the best software for you. Cost and availability might be two big factors that influence your choice. The first thing you will need is access to a computer. iMovie, which comes free on most Mac products, is an easy-to-use editing program. PC users can look for Windows Movie Maker. Final Cut Pro and Premiere Pro (an Adobe product) are fantastic editing and postproduction programs but are a bit pricier and take more time to learn. But once you get the hang of editing, watch out: you will be hooked!

Most editing software that is available today is extremely user-friendly. There are often wonderful user forums and user guides available online should you run into trouble or have any questions about the specific functions of the program.
When you are editing, you might want to consider the following:
■ You can start and finish your film with “title cards,” or text that introduces the film and closes the film. Often a film starts with the name of the production company or even the title of the film.
■ If you need extra animation footage, consider looping moments that you have already recorded or even copying and pasting frames to add to a short clip.
Most editing software allows you to adjust your music so that it can line up perfectly with your animated footage. When you’re combining music and video, consider the following:
■ Play with how loud your music gets. Remember to keep the music levels low during voice-overs or key sound effect moments.
■ Using instrumental music for your soundtrack is a great way to keep the focus on the animation itself.
■ A good deal of music out there is protected by copyright. Therefore, it is better not to use music that you don’t have permission to use. There are great royalty-free music sites that can be found during simple Google searches. This music is often from the “public domain” and is free and available for use.