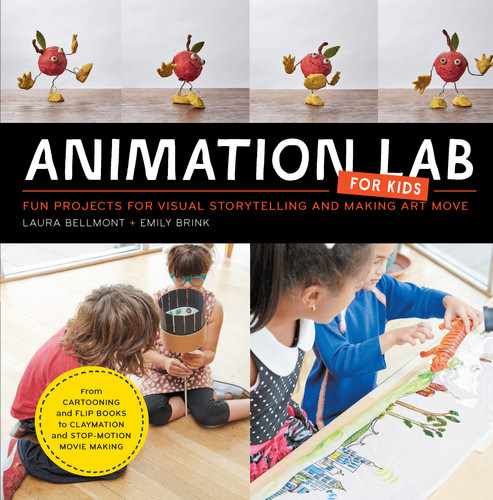
UNIT 5
PIXILATION

The original roots of “movie magic” are truly revealed in this unit. From the early days of cinema, when audiences were dazzled by viewing the seemingly impossible on the screen, these behind-the-scenes tricks now make their way into our lab investigating the art of pixilation, or the technique of animating a human or other living subject.
As you have discovered in previous chapters and labs, stop-motion animation gives us a wonderful opportunity to manipulate our subjects or scenes in between photos, creating the illusion of motion, transformation, and more. In the following labs, you can try your hands (and bodies) at animating yourselves in short film form. Become the magician you always wanted to be! Sleight-of-hand tricks have never been so easy.
LAB 19
MOVIE MAGIC TRANSFORMATIONS

This lab introduces some simple transformation tricks as well as the technique of using your hands as animate-able elements in a short film. Just using your hands is a great way to jump into what’s possible through pixilation!
Note: Kids who are practicing their fine motor skills will be challenged by this lab, because it’s essential that they use slow and measured movements for the animation to appear smooth. This lab is better with a team of at least two kids, so one can animate with her hands and the other can operate the camera or animation software.
BEFORE YOU BEGIN
First set up your camera in a straight-ahead position pointed toward a tabletop (which will serve as your animation stage). Add a backdrop using a large piece of paper or fabric, or just shoot in front of a blank wall. Start with an empty space and a box, or “transformation chamber.”

MATERIALS

Note: The focus of this lab is transformation, so start with a prop that you have lying around the house or that can be bought in multiples. Examples include dice, dominoes, playing cards, packs of small plastic toys, a bag of wrapped candy, or stacks of plastic cups. And don’t forget the most important animate-able material: YOU!
− Camera or other capture device
− Tripod
− Backdrop (optional)
− Box for a “transformation chamber”
− Animation props
ACTION!
1 Slowly move your hand in small, incremental movements, bringing your hand into view of the camera. Slowly move your hand (remember to capture photos of each move!) so that you go from a relaxed pose to one where you are pointing toward the box, or “transformation chamber.”
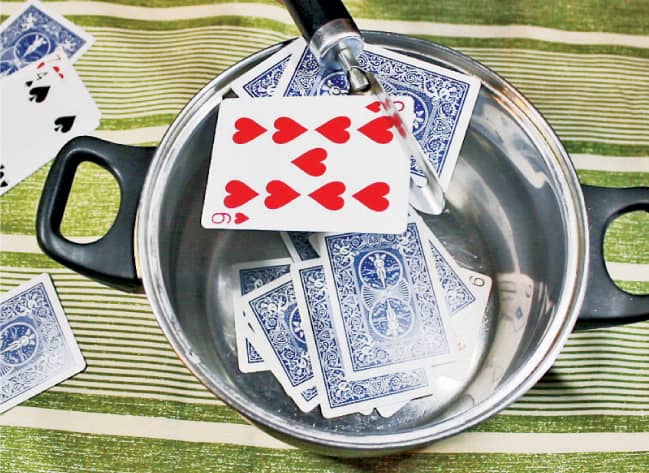
2 While holding your hand as steady as possible, carefully place one of your animation props facing the box (fig. 1). Now capture that new image. Your hand has now become a magic wand! Play with all of the different ways that you can make things appear in the scene.

fig. 1. Use your hands to magically make a prop appear near your “transformation chamber.”
3 Now, let’s experiment with making your prop transform! Again, using your pointer finger as a magic wand, slowly move your prop into the box. Now, holding your “magic” hand totally still, replace the element with a new one, coming out of the box (fig. 2). Now capture that new image. Repeat this transformation technique with all of your props.

fig. 2. A newly transformed prop comes out of the “transformation chamber.”
4 Time for some disappearing acts! Once again, use that magic hand to slowly approach each element one small movement at a time. Try something different for your grand finale: perhaps executing a slow-motion snap of the fingers. At the same time that you snap, hold your hand completely still and remove the element nearest to your hand. Now, slowly repeat, moving your hand over an element, slow-motion snapping, and removing!
5 If you are using animation software, you might consider animating at 10 frames per second rather than 15. The movements in pixilation are often more difficult to control, so a lower frame speed will allow for a slightly slower pace.
LAB 20
PIXILATED OLYMPICS

Pixilation reaches new athletic feats during this tour through what is possible using our bodies as animate-able elements! This is great for kids who are practicing their gross motor skills, and it is fun to include many kids at once, as this project gets physical.
MATERIALS
− Camera or other capture device
− Tripod
− Large piece of fabric
− Yourselves!
ACTION!
Flying
1 Ever wanted to fly? Here’s your chance! By jumping in the air and capturing each photo at just the right moment, you will appear to be in flight. First, turn the camera so that it is facing forward toward your subject. Have the director ready to take photos and direct the flying subject. The director should count “1, 2, 3, jump!” and the subject should jump as high as she can on the command “jump!” and keep her arms at her sides (see opposite). The goal is to capture the very moment when the subject’s feet are off the ground.
2 Repeat this action again, but this time with the subject’s arms up in the air, like wings (fig. 1).

fig. 1. Jump, lifting your arms in the air. It will look like you are flying.
3 Keep repeating steps 1 and 2 again and again (using the commands “1, 2, 3, jump!” “1, 2, 3, jump!” “1, 2, 3, jump!”) and capture each jump on film—the subject will appear to be in flight.

fig. 2. The landing!
Swimming
1 Set up the camera and tripod so that they are facing down toward the floor. Allow for a clear and large space directly below the camera so that the animators can comfortably move their arms and legs in wide arcs while lying on the floor without hitting or disturbing the camera/tripod.
2 Lay the large piece of fabric down on the floor within view of the camera.
3 Now, one person will be the camera/animation software director and another will be an Olympic swimmer. The swimmer lies on the floor on top of the fabric and slowly mimics the movements of swimming a tiny bit at a time while the director captures each photo (fig. 3). Try tricks like doing slow-motion flips (the subject may need to actually get up and lie back down between each photo so that the backdrop fabric stays fairly still through the process). Also, the backdrop fabric can be swirled and moved frame by frame to mimic water.

fig. 3. Swimming in a striped sea
Skating
1 What a fun exercise this one is! It’s great for helping kids develop gross motor skills and balance. In this lab, participants will be able to magically skate on solid ground. First, position your camera toward your subjects. Again, have a director on hand to take the photos and to help them find and hold the proper positions along the way. Practice standing on one foot to work on balance before you begin taking photos (fig. 4).
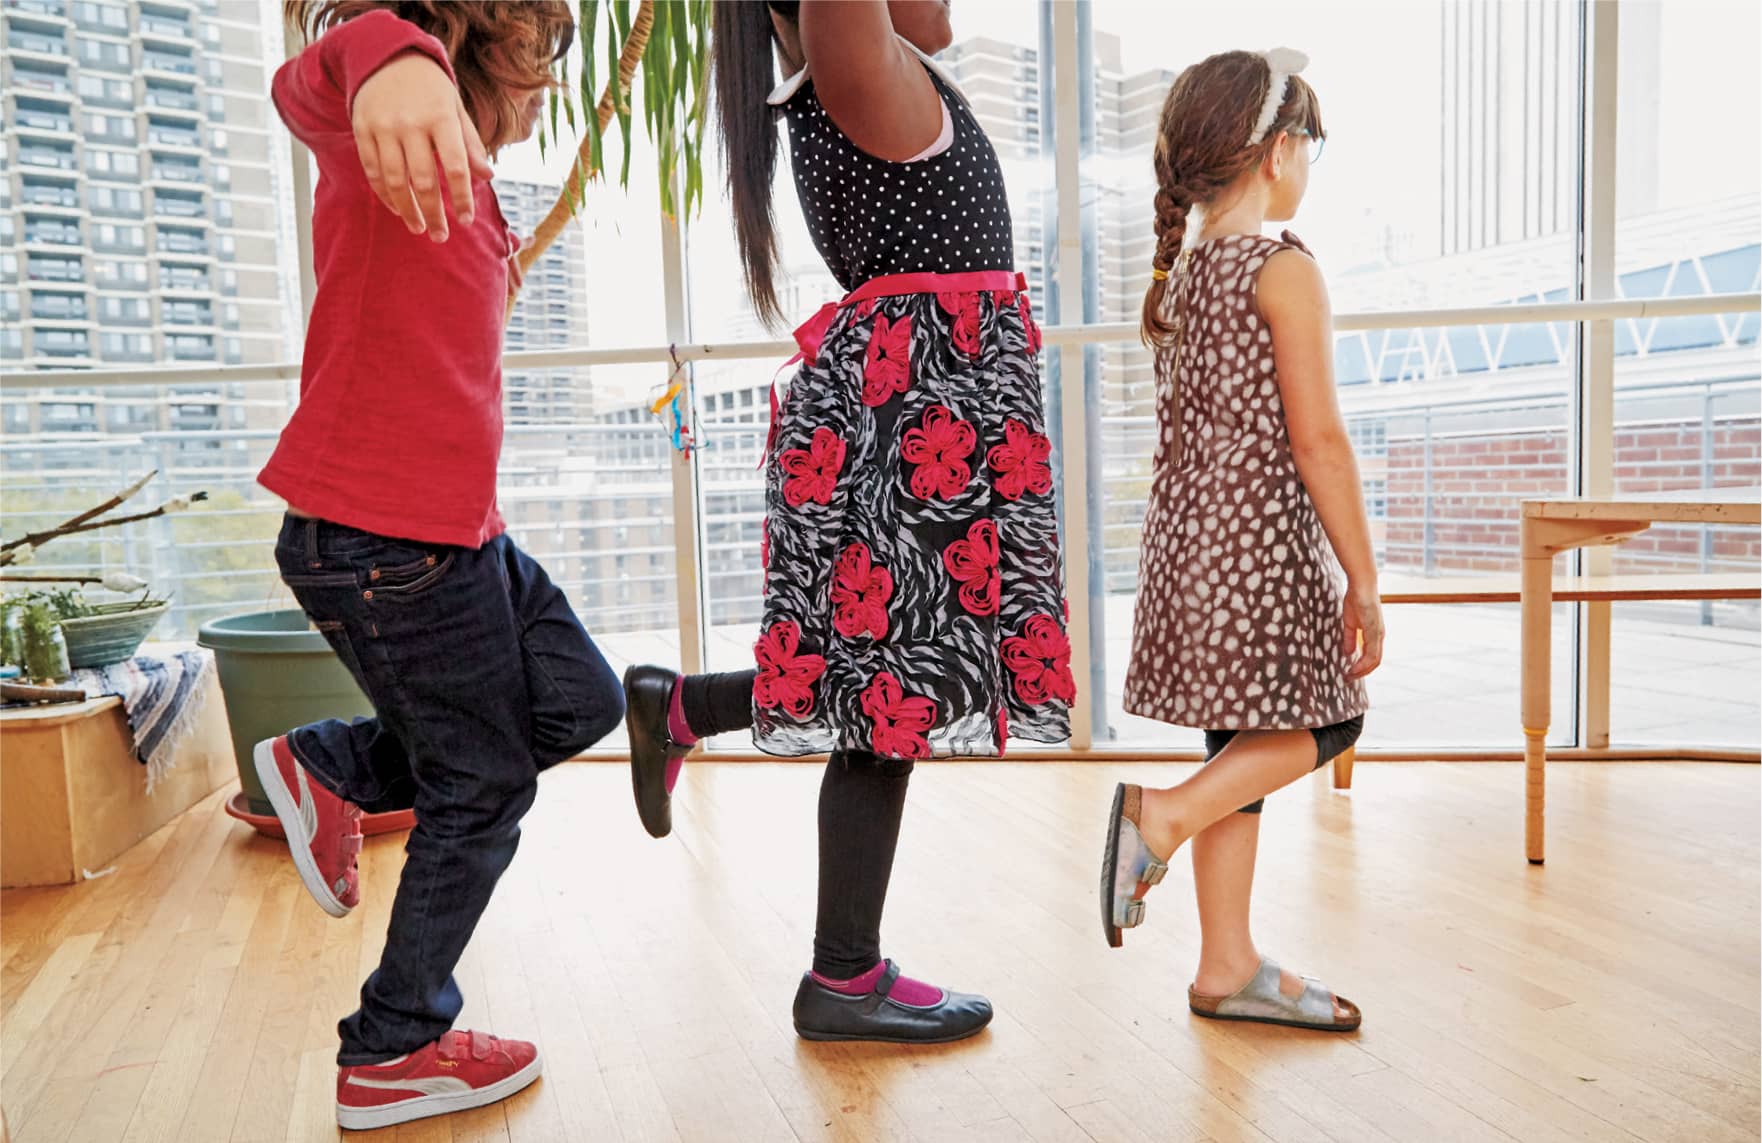
fig. 4. Synchronized skaters
2 Now have your “skaters” decide which foot they will stand on as each photo is captured. Once you are ready, have your skaters stand on one foot, balancing with the other bent behind them: take a picture! Now have your skaters take a tiny step forward and return to their skating position, standing on the same foot: take a picture. Repeat again and again until your skaters have to take a break. When you play back your film, it will appear that your actors are skating magically on one foot without any effort!
LAB 21
COOKING 101: ANIMATED MEALS

This is a culinary take on pixilation transformations that will come out as a real feast! Using a variety of materials mixed up together in one pot will create the illusion of a cooking project, and the resulting short film is sure to satisfy your appetite. As with our other pixilation labs, this one is most easily accomplished with the help of a friend or collaborator who can be the director taking photos while another person creates the recipe.
BEFORE YOU BEGIN
Set your stage. Angle the camera toward your animation environment in a shot that will show your arms and cooking set OR point the camera down so that you can see the inside of the pot and your hands positioned above.
MATERIALS

− Camera or other capture device
− Tripod
− Bubble wrap
− Cooking tools to be used as props: pots and pans, spoons, whisk, tongs, cheese grater, etc.
− Found objects in multiples, such as googly eyes, pipe cleaners, dice, dominoes, candy, or beads
ACTION!
1 Start with bubble wrap lining the inside of your cooking pot to look like boiling water. After taking your introductory 15 photos to set a foundation, begin moving the bubble wrap a little bit at a time, capturing each movement with a photo.
2 Next, moving in very small, incremental motions, add a new material to your pot.
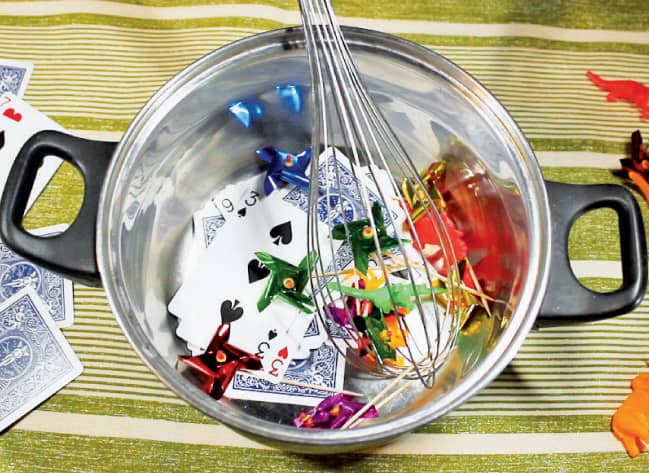
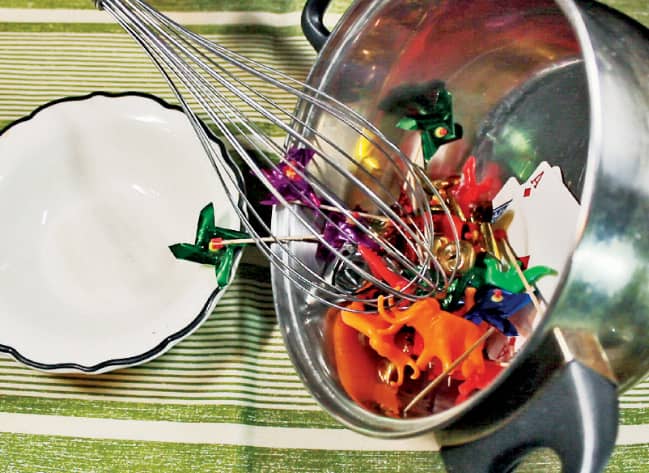
3 Repeat step 2, using different cooking implements to add new “ingredients” to the pot (figs. 1 and 2).

fig. 1. Use tongs to add some bendable pipe cleaners.
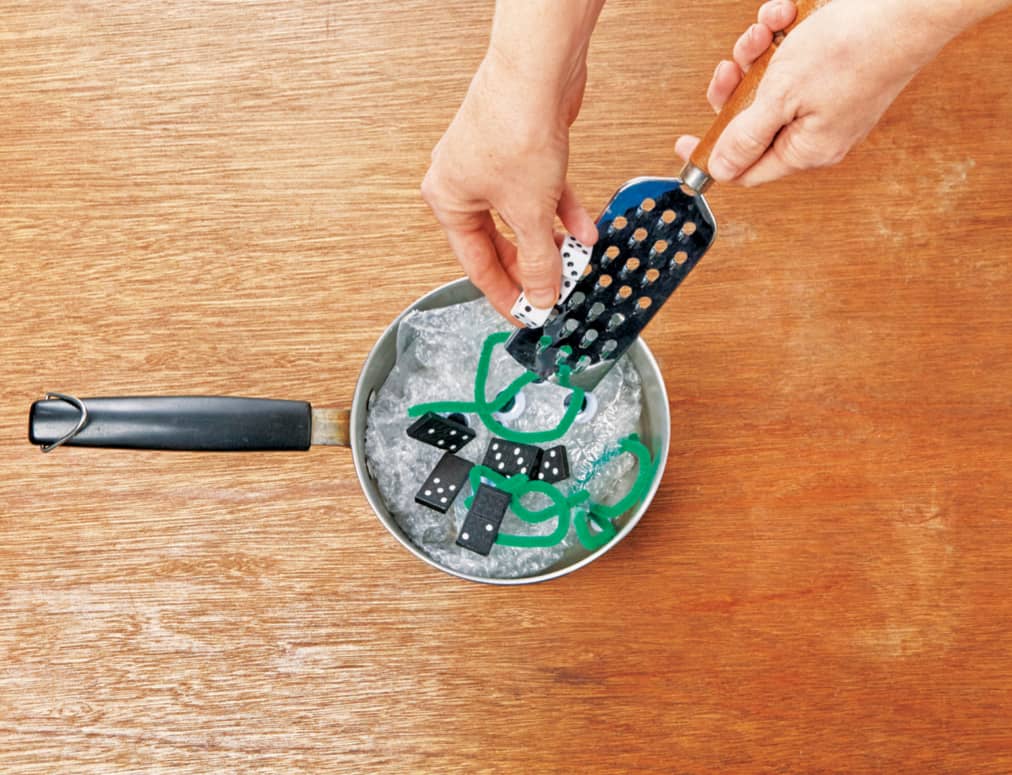
fig. 2. “Grate” some dice into the pot to transform them into dominos.
4 From here, it is up to you to play, replace, transform, and combine ingredients to make a masterful meal. The only thing to remember is that you must make small movements and capture photos of those movements!


MEET THE ANIMATOR
PES
PES is the creator of some of the most widely viewed stop-motion films of all time, including KaBoom!, Game Over, Human Skateboard, Western Spaghetti, and Fresh Guacamole. On YouTube alone, his films have been viewed more than 150 million times.
PES’s uncanny knack for transforming familiar objects through stop-motion animation has earned him global recognition and dozens of honors, including an Academy Award nomination for Fresh Guacamole in 2013. (It is the shortest film ever nominated for an Oscar.) In addition to his original content, PES has directed more than fifty commercials for major international brands, including Google, Honda, Orange Telecom, Kinder Surprise, PlayStation, Sprint, Samsung, and Bacardi. You can see more of PES’s work by visiting http://pesfilm.com.
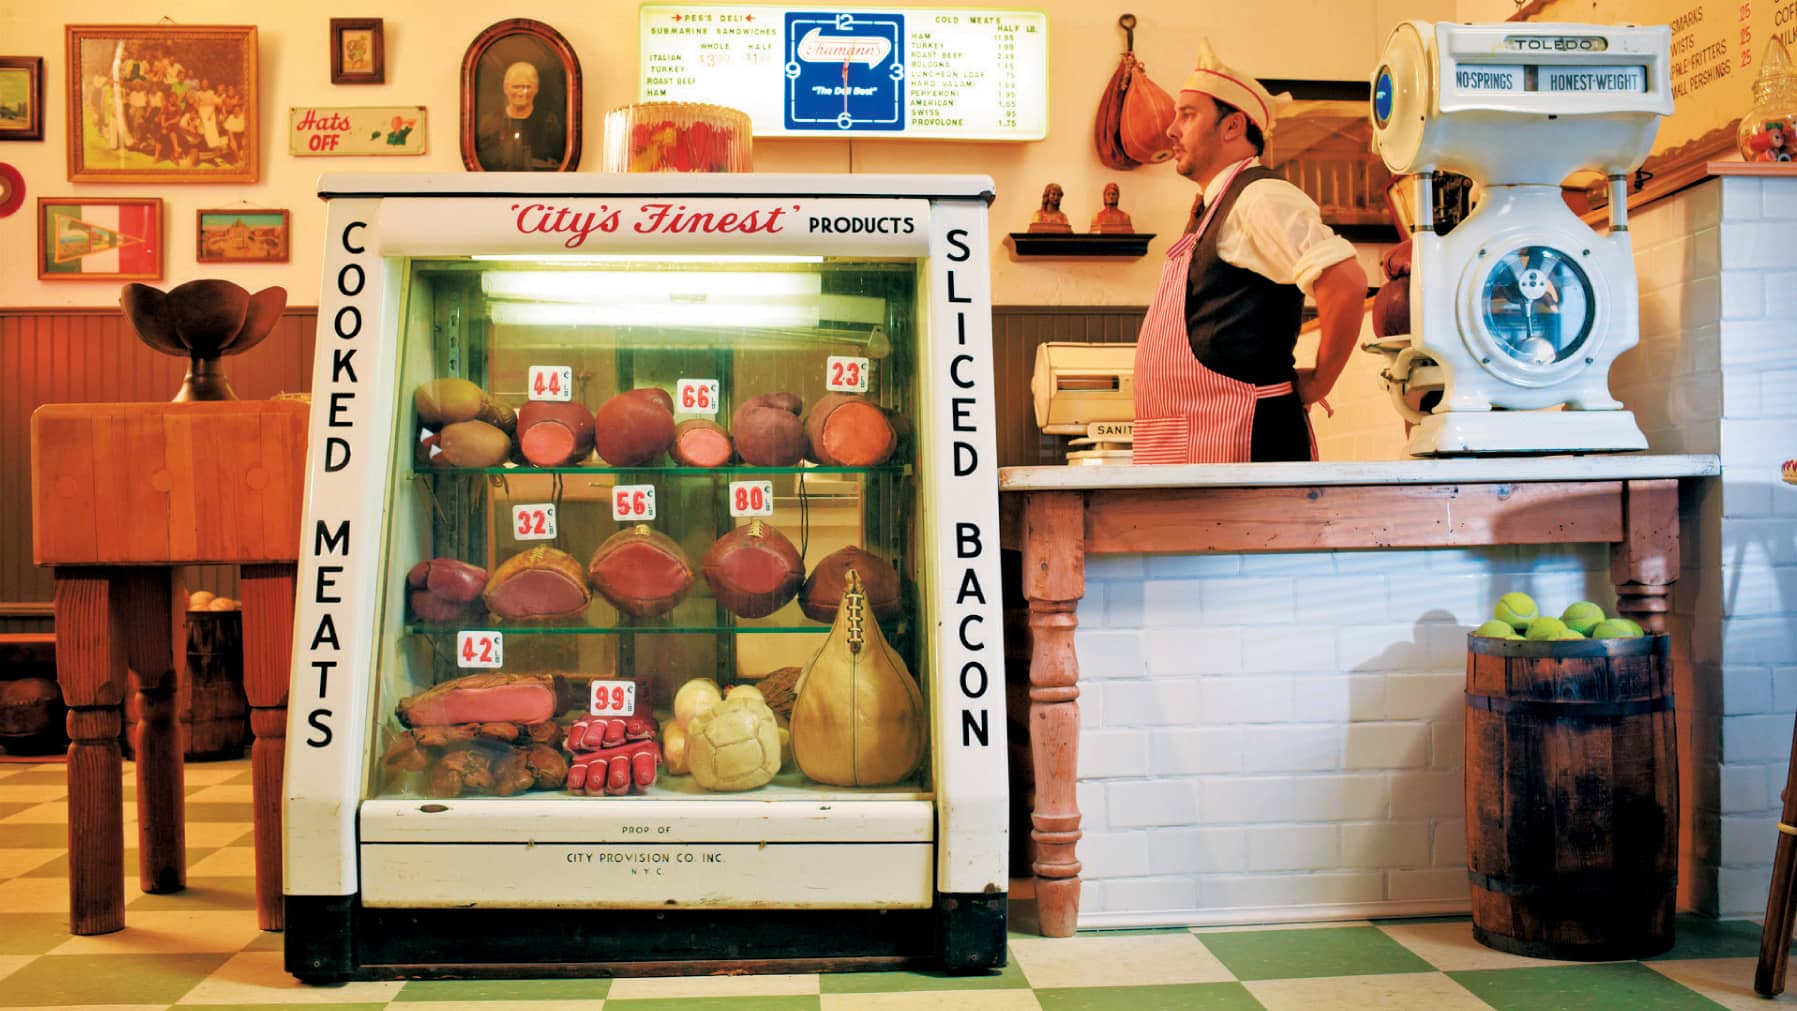
Still from Submarine Sandwich


Stills from Fresh Guacamole


Stills from Western Spaghetti