
CHAPTER ONE:
BASICS
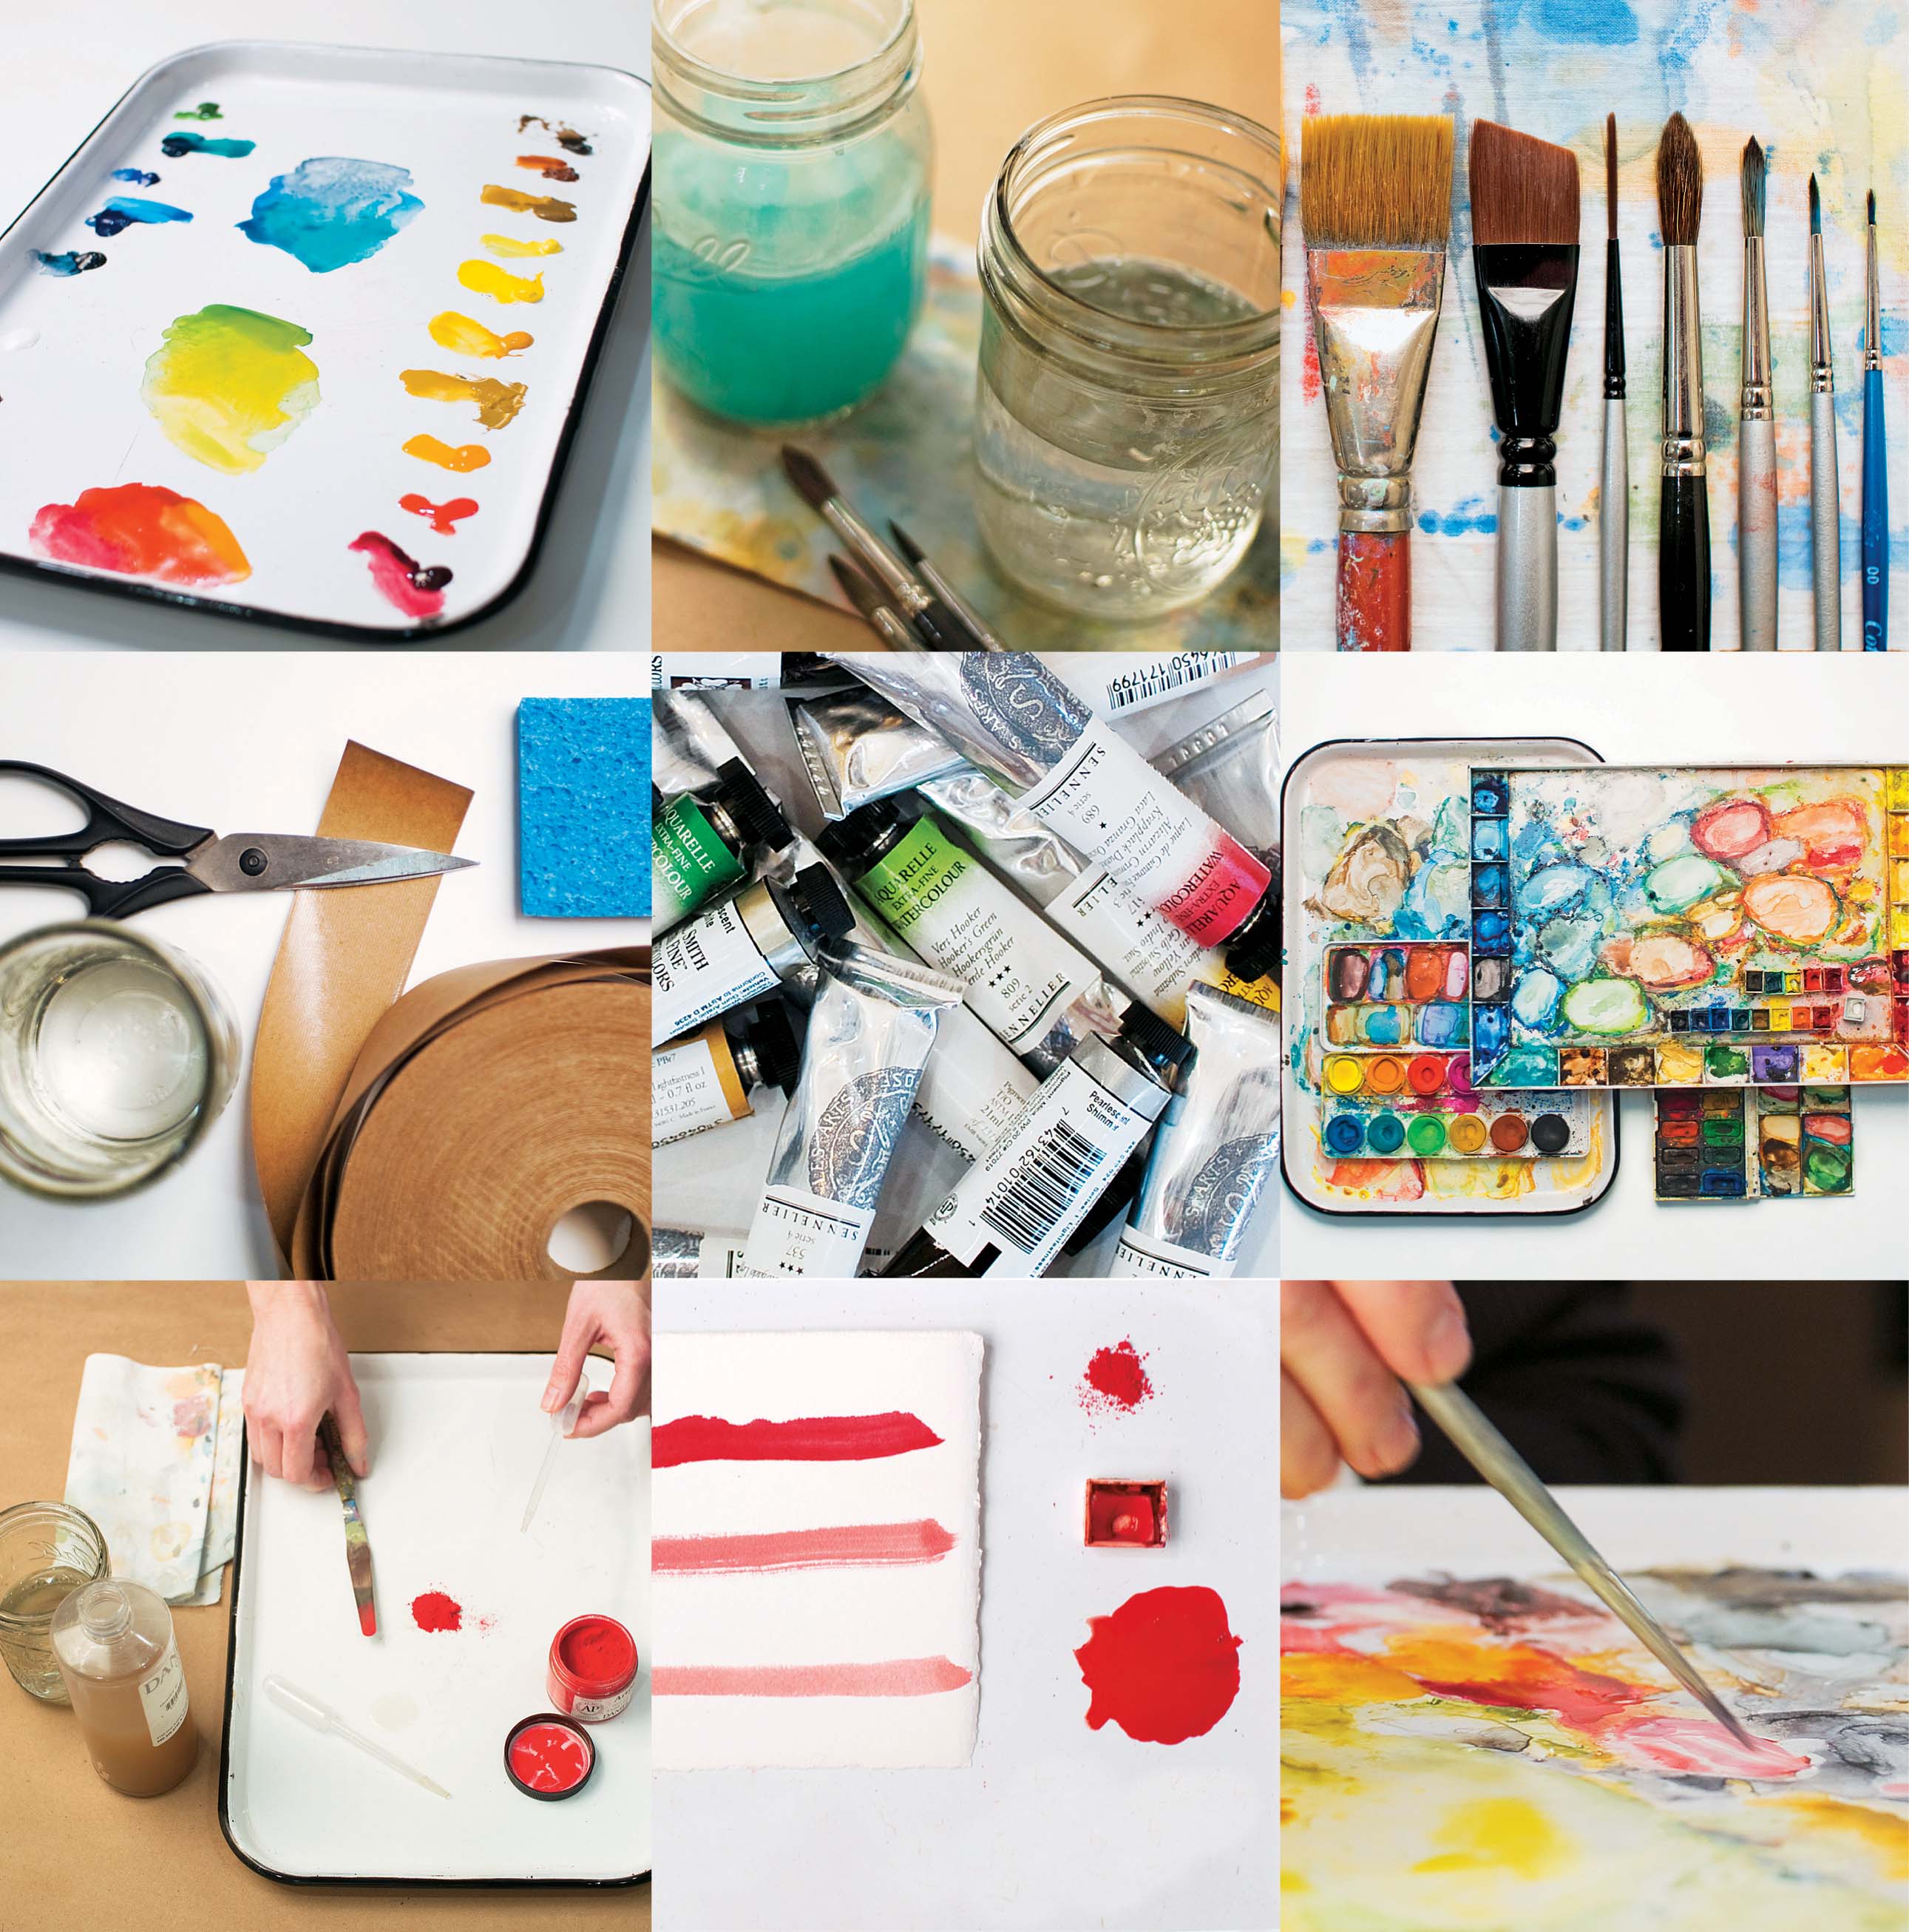
Not everyone has had the opportunity to experiment with watercolor as a child or even as an adult. If you want to try painting with watercolor for the first time and wonder how to begin, take a few moments and read the basics chapter which discusses paper, paint, palettes, and brushes. Become familiar with the materials and how to set up for a painting session.
The paper section discusses the different types, how it is made, and how to prepare paper before painting. The paint section covers the three types of watercolor used in Water Paper Paint, as well as how to make your own paint. The palettes section is comprehensive and begins with examples of palette supports and ends with a discussion about the color wheel and color systems. You will also learn about the characteristics of color, how manufacturers label paints, and a suggested selection of paint colors with which to begin painting. The brush section introduces the types of brushes, how to use them, and the numbering system manufacturers use for sizing. It includes a suggested list of brushes to use for the projects chapter of the book and some simple tips for brush care.
PAPER
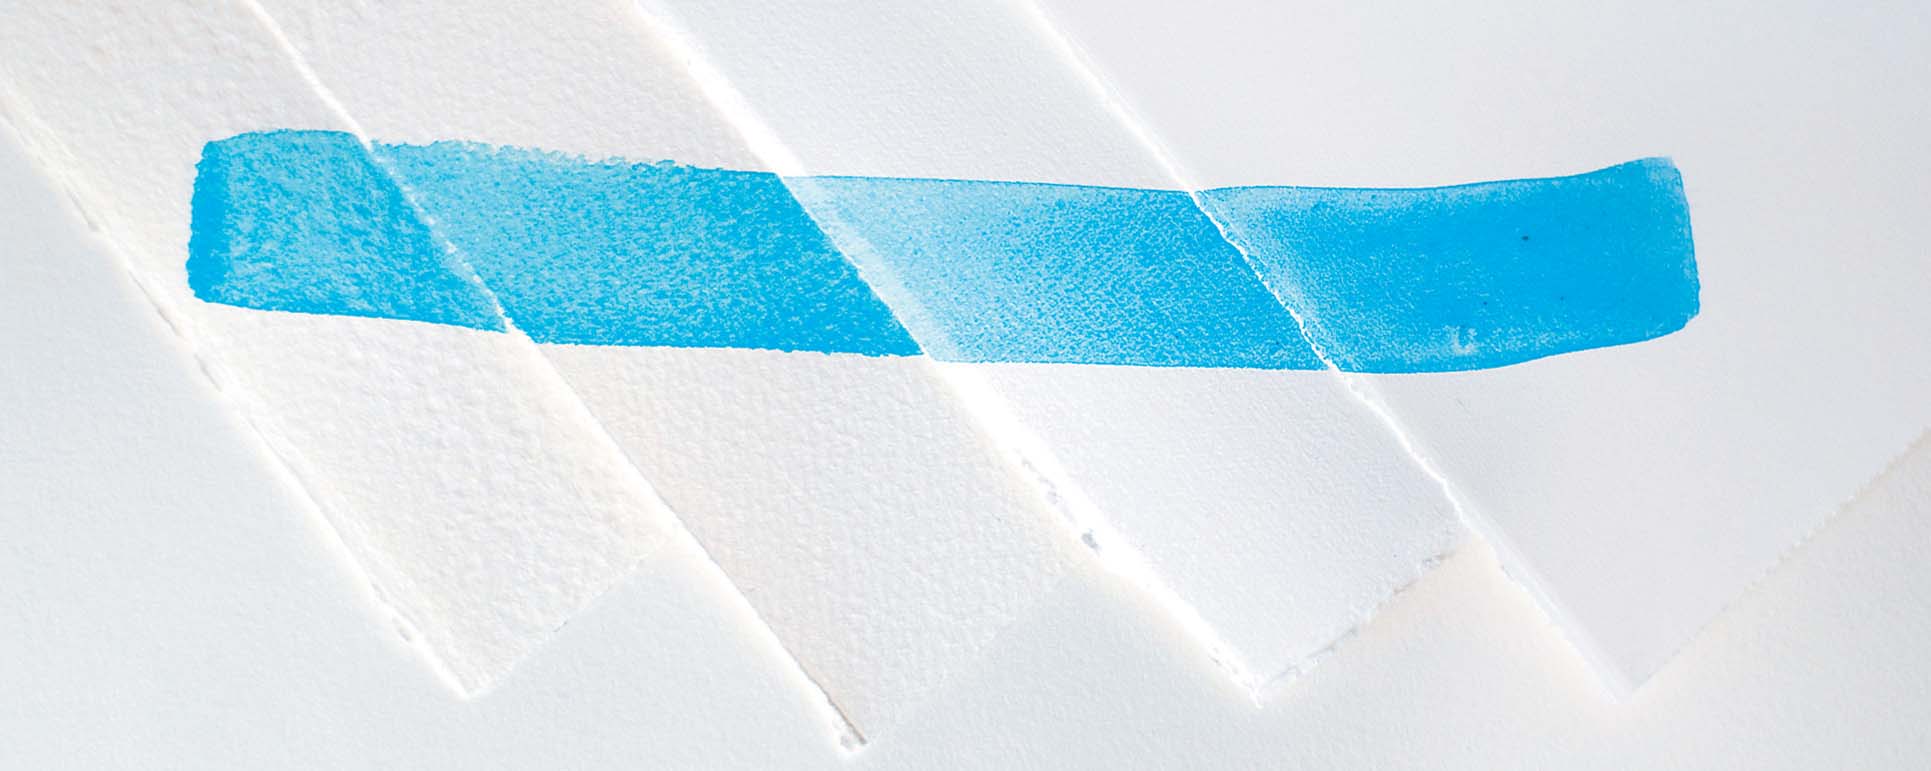
The projects in Water Paper Paint use three main types of paper: rough, cold-press, and hot-press. These terms refer to the surface quality or smoothness of the paper. We’ll review the substrate options, their characteristics, and how to use them on the following pages.
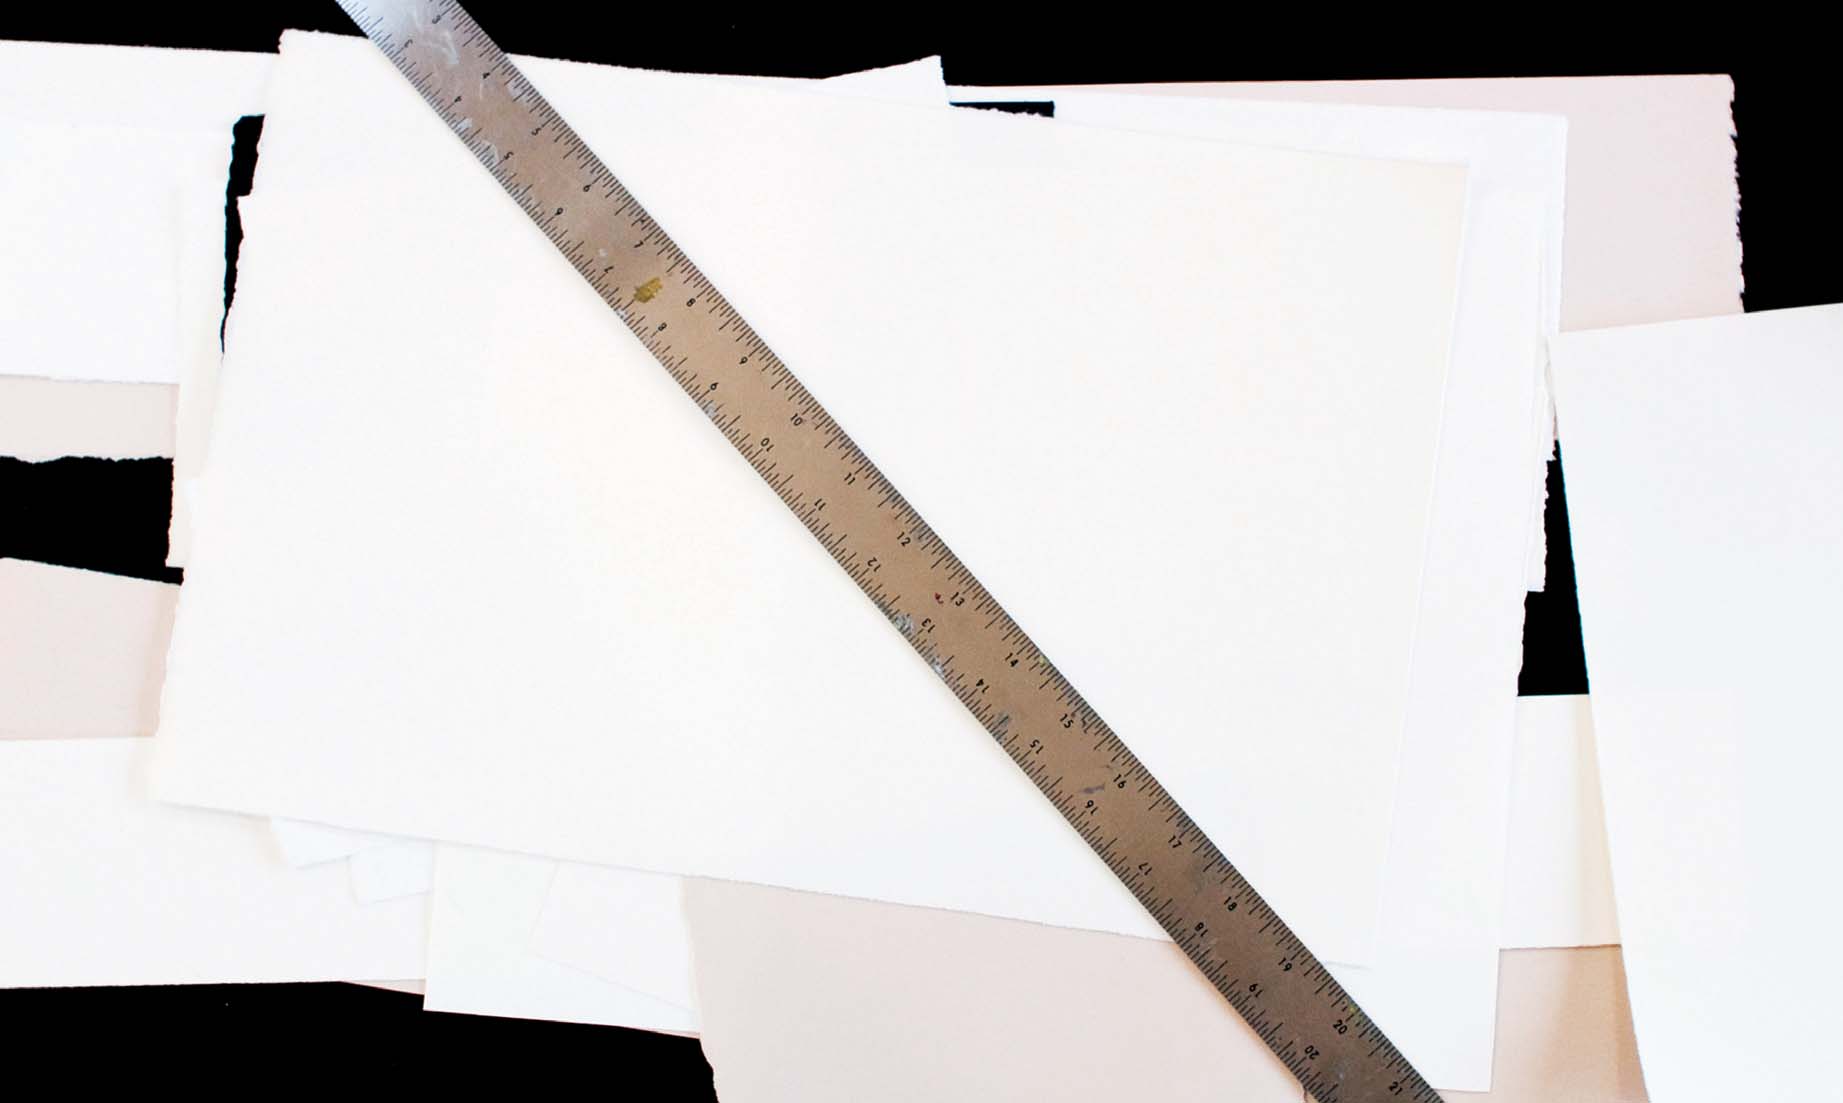
Watercolor paper types (left to right): rough, cold press, soft press, hot press
Paper Types
For centuries, fine paper makers have used a mold to form the sheets. A mold is a wooden frame with a fine screen stretched across it. It is dipped into a mixture of cotton fibers, sizing, and water and when lifted, it holds what will be the sheet of paper. As the fibers dry they bind together. The irregular border of the fibers form what is called a deckle edge. Today the screens used to make paper are much longer, so once cut to size, watercolor papers may have a combination of deckled, cut, or torn edges.
Cotton fibers, or linters, are used in making watercolor paper instead of tree fibers. Tree fibers have been found to yellow over time as the paper becomes more acidic from exposure to ultraviolet light. Substances like calcium carbonate are added to the cotton pulp to make it more alkaline and increase the life of the paper.
Once the sheets are made, they are rolled through cylinders to press the paper fibers. Cold cylinders produce cold-press paper, a sheet with a texture between rough and hot. Cold-press paper (CP) is a popular choice among watercolor artists. Hot cylinders make hot-press paper (HP) a paper with a smooth and satiny finish. Hot-press paper is a good choice for work that involves detail either in drawing or paint. Rough press paper is not pressed, giving it a very toothy grain. Generally, rough paper is suited for wet-into-wet techniques since the surface is highly absorbent. Because it is also very durable, it is a suitable choice for mixed-media work. In addition, some paper makers, such as Fabriano, make a soft press paper, which has a velvety surface, offering a version between hot-press and cold-press.
During the paper-making process, manufacturers size the paper sheets with natural or synthetic gelatin. The sizing permeates the paper to allow for better paint adhesion and vibrancy of color. It also makes the paper more durable and less absorbent to excess water when painting.
Preparing Paper
Stretching watercolor paper before painting is sometimes necessary to prevent rippling. While some artists do not mind paper rippling, it is helpful to know what causes it. Two factors help determine if stretching is needed: the weight or thickness of the paper and the intended painting process. Watercolor paper is available in sheets, rolls, and blocks and is measured in pounds per ream (lb) or grams per square meter (gsm). Two common and easily found weights are 140 lb (300 gsm) and 300 lb (640 gsm). Paper of 300 lb or more is very thick and generally sturdy enough without stretching. For paper that weighs less than 300 lb, such as 140 lb or less, the second determining factor warrants consideration. If you intend to saturate the paper with paint, then you should stretch it first. The more water you apply to the paper, the more likely it is to buckle.
If the painting process entails drawing with additions of watercolor or thin glazing, you may be able to skip the stretching step.

Process
1. Before stretching the paper with watercolor tape, make sure to cut or tear the paper larger than necessary. Allow for an additional 2″ (5.1 cm) on top of your desired margin in both length and width. To tear the paper, set it on a clean flat surface and hold a straight-edge ruler down on the line where you want to tear. Hold the ruler steady with one hand as you use the other hand to lift and tear the paper against the ruler edge. It will form a deckle edge as you tear.
2. Lay the watercolor paper on a work surface. Use a large flat brush dipped in clean water and wet the entire surface of the paper. Make sure the paper is thoroughly wet but without puddles. Turn the paper over and repeat on the other side. Alternatively, use a clean sponge rather than a brush to wet the paper or soak the sheet of paper in a large vat of water for a few minutes.
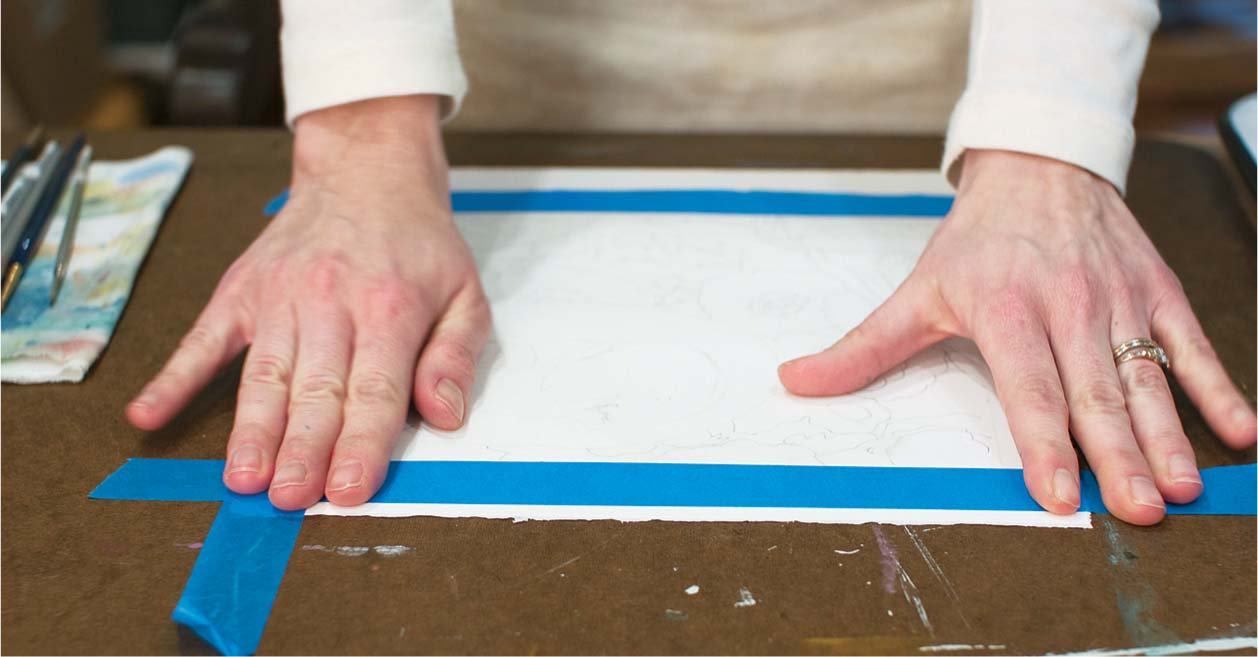
3. Place the wet paper on a wood drawing board or fiber board, such as Masonite. Use clean hands to smooth out any ripples, rubbing from the center to the edges of the paper. Tear four strips of watercolor tape, each slightly longer than the edges of the paper. Dip a clean sponge in fresh water and moisten the gummed side of one tape strip. When it is completely moist, lay the strip on an edge of the paper with one-third of the width of the strip set on the paper and two-thirds adhering to the board. Press it down firmly with your hands, rubbing from the center to the edges. Repeat the same steps with the remaining three strips. Wait for the paper to dry before painting.
4. After the painting process is finished, remove the watercolor tape. There are two ways to remove the tape, and depending on the type of painting, it is helpful to know both. Use a clean sponge to wet the tape, rubbing carefully along the tape surface. Try not to disturb your painting with stray drops of water since watercolor remains soluble even when dry. Once a strip of tape is moistened, begin to gently remove it from the paper by peeling and lifting a corner. If some of the tape sticks to the paper as you pull, wet the tape a little more and try again. The alternative to wetting and peeling the tape is to cut it. Use a straight-edge ruler and a craft knife to cut the tape completely away from the paper. You will be cutting off the extra paper margin that you allowed for when first preparing the paper.
5. If you don’t have watercolor tape, don’t let that prevent you from stretching paper when it’s necessary. Instead you can use removable artists’s tape, a low-tack painter’s tape, or staple into a wooden board with a heavy-duty stapler. Since these other types of tape don’t need to be moistened, you simply wet the paper as suggested above and adhere the paper to the board with the tape. You may need to encourage the tape to stick since it will want to resist the damp paper. If using a staple gun, place staples 2″ or 3″ (5.1 or 7.6 cm) apart.
To Flatten a Painting
It is possible to flatten a buckled or warped painting if you did not stretch it first. Lightly wet the backside of the paper with a clean flat brush or atomizer, making sure not to disturb the painting on the front. Place the paper face side down on a clean piece of Plexiglas which has a fine woven piece of cotton fabric on it. Lay another piece of cotton fabric over the painting and cover with a second piece of Plexiglas or a board. Add weight on top, such as several books, and let it rest and dry for at least an hour or up to a day or two. The pressure and weight will help to restore the paper to a near flat state.
PAINT
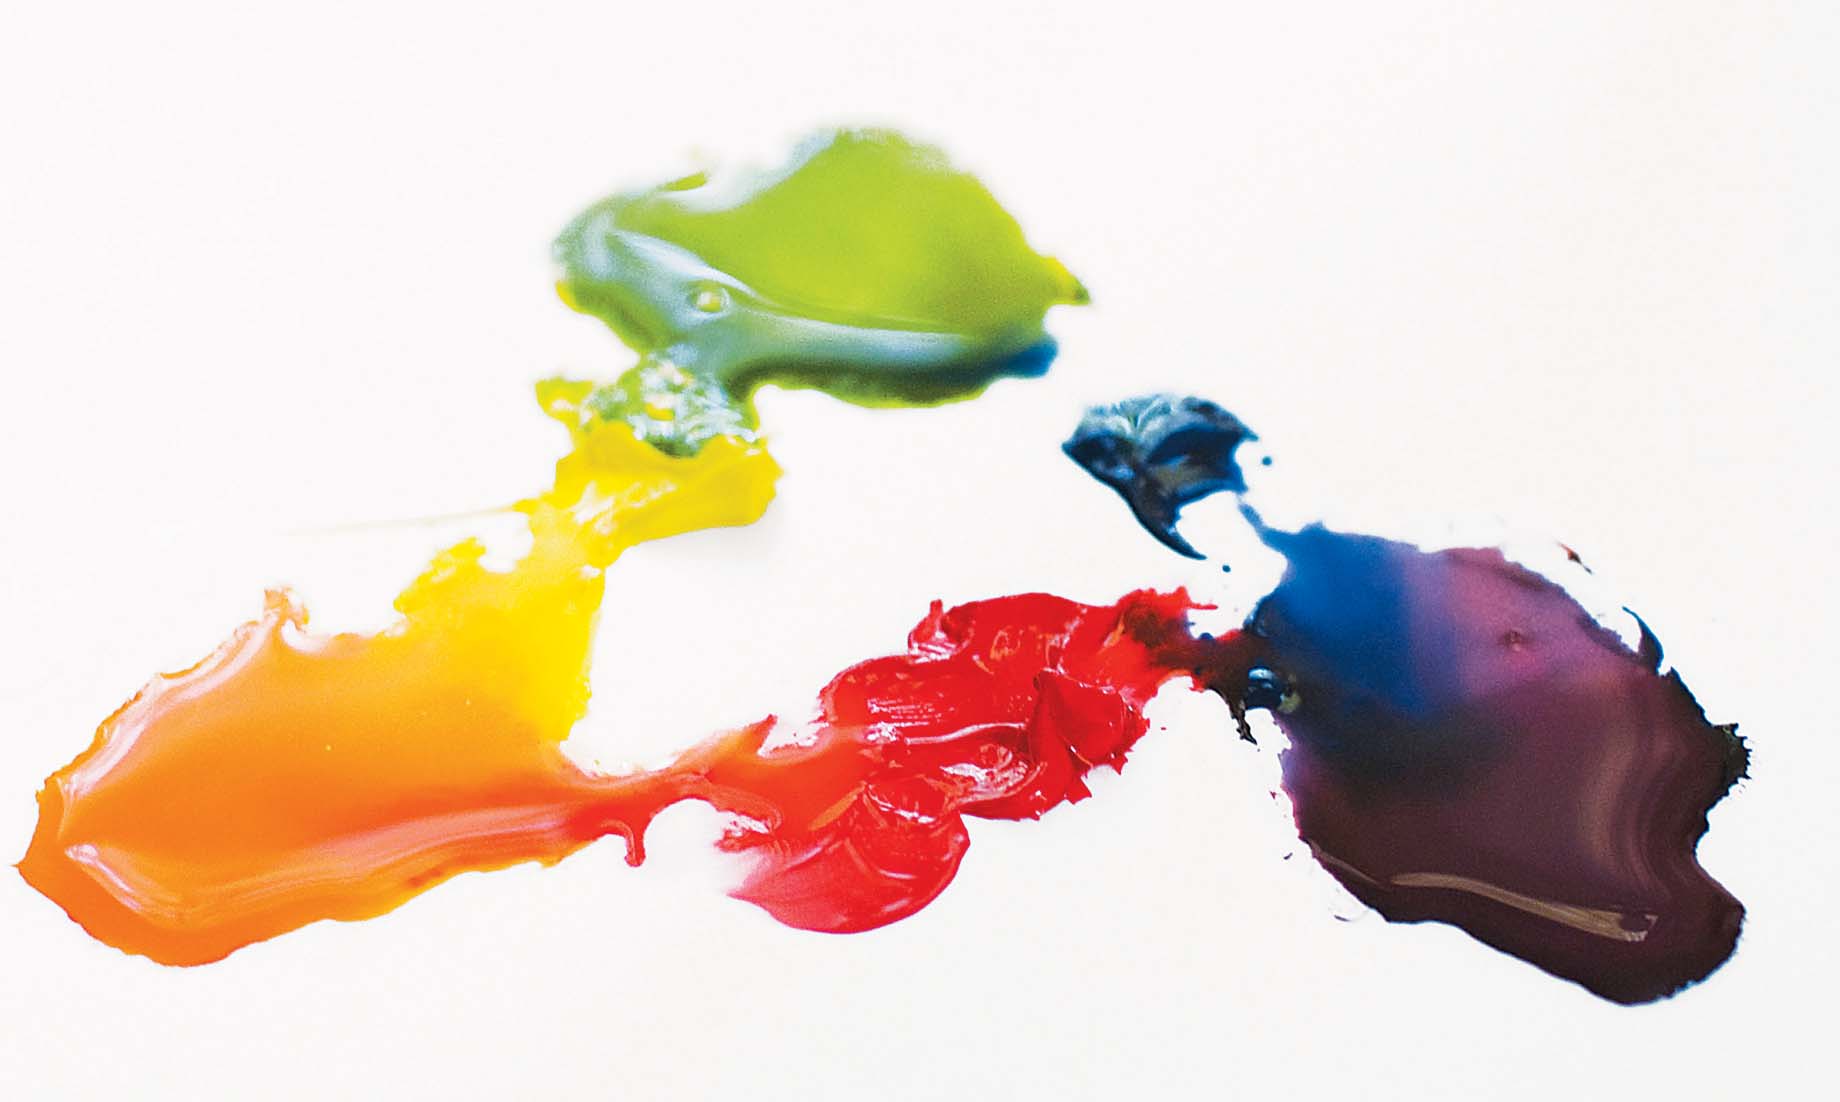
Traditionally, watercolor paintings are admired for relaying a sense of fluidity and for conveying lightness and color. The process of making a watercolor painting that evokes those sensations takes practice. A number of attempts may be made before one gets that “ah-ha” moment when it clicks. Perhaps that moment happens when layering a particular combination of colors turns out just right, when reserving the whites in the desired place finally happens, or when the combination of factors culminate in the making of the painting you imagined. Practice and experimentation with different types of watercolor may aid your explorations.
Types and History
Three types of watercolor are used in Water Paper Paint: tube, pan paint, and handmade watercolor. In most cases, any type is compatible with the projects, so simply use what you have. Good commercial paint is easily accessible; yet making your own paint by hand can be a simple and gratifying process.
Prior to the nineteenth century, artists had to make their own watercolor paint. It was a very laborious process to prepare for a painting session. Artists would have to grind hard dry clumps of pigment with water on a stone or ceramic slab, rubbing them into a usable consistency. Not until the late 18th century did paint come in a more soluble form. In 1766, William Reeves invented cake paint, which offered a much-improved paint for artists. He eventually developed the use of honey in the paint mixture that made the consistency more viscous and kept the paint moist. Those cakes were similar to the pan paints of today. Pans are typically small, square, or circular containers that hold individual dry colors. They are set together in a tray and are simply moistened with water during use. Their size and portability make them a suitable choice for working in the field or en plein air.
Seventy-five years after the invention of cake paint, John Goffe Rand patented the first metal paint tube in 1841. Then five years later, in 1846, Winsor & Newton developed a liquid watercolor formula and improved the design of Rand’s tube. Since then, many manufacturers have adopted the screw top metal tube, and watercolor paint has become available to many. The tube keeps the paint creamy and smooth, a much wetter consistency than pan paint. While the pigment to vehicle ratio can vary today from 10 to 50 percent depending on the particular color, paint in tubes provides fine color and transparency. Because of the moisture content in tube paint, once it is squeezed onto the palette, a one-hour wait time is suggested before use.
Commercially made watercolors offer the best quality of paint. And while this is true, some artists like to make their own paint for more individual reasons. Making your own paint provides the opportunity to invent new color combinations and control the saturation or intensity. Some enjoy the simplicity of the raw materials and being involved in the hands-on process.
Watercolor is made of three basic ingredients: dry pigment, a binder (typically gum arabic), and water. Dry pigments and liquid (or powdered) gum arabic can be purchased from art suppliers. (See “Resources,” on page 152.) Gum arabic is a sap harvested from the acacia tree and is light to medium amber in color. Gum arabic is the medium that binds the paint to the paper. It can also be added to store bought watercolor to prevent color bleeding in watery techniques and to add lustre to the paint surface.
The consistency of handmade paint is solid, similar to commercial pan color. Additionally, a humectant such as corn syrup or honey and a plasticizer like glycerin can be incorporated to help retain moisture or soften the paint. Store-bought paint may also include additional ingredients and fillers to improve the viscosity of the paint, make it more durable, and prolong its shelf life.
How to Make Watercolor by Hand
These instructions are an introduction to making watercolor by hand. They follow the simple method by which I was taught. If you want to pursue mixing paint, consult The Painters Handbook: A Complete Reference by Mark David Gottsegen for detailed information.


Process
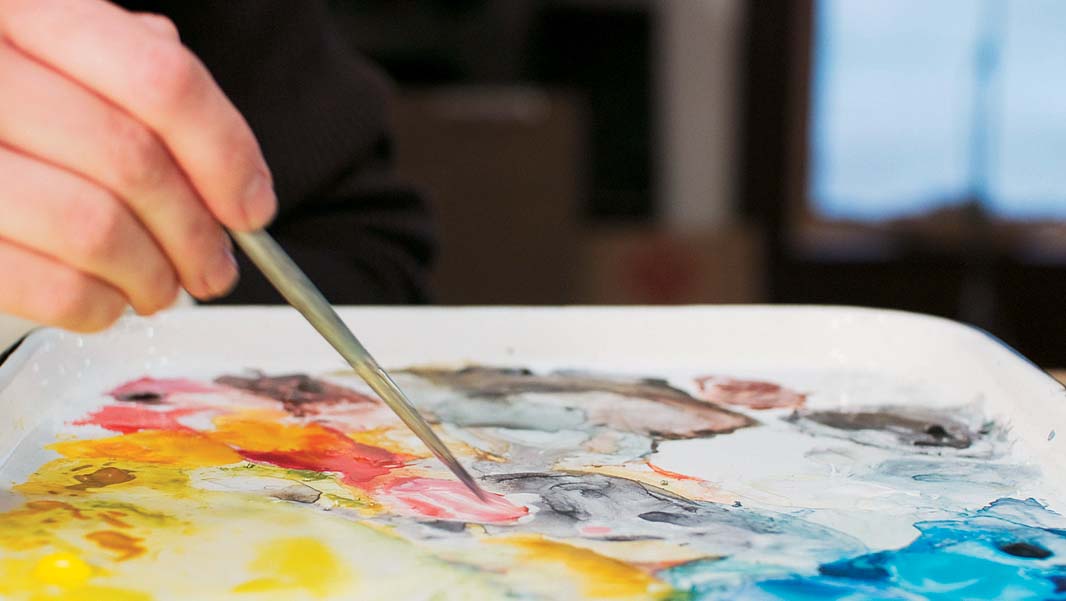
1. Using a spoon, scoop 1 to 2 tablespoons (15 to 30 ml) of pigment onto a clean mixing area on the palette. Use an eyedropper to add a few drops of fresh or distilled water into the pigment. Grind with the flat side of a palette knife to disperse the pigment into the water until a paste forms. Some pigments accept water more readily than others. If the pigment becomes too dry during mixing, add a few more drops of water. If it becomes too wet, add more pigment (fig. A).
2. Once the pigment is the consistency of toothpaste, add drops of gum arabic and mix together with the palette knife. Alternatively, a glass muller may be used for mixing. Handmade watercolor can be very opaque. Test the color on a scrap of watercolor paper and notice the color saturation. Increase the transparency if desired by adding gum arabic. Clean the mixing area and palette knife before mixing a new color (fig. B).
3. Store handmade watercolor in small, lidded containers or on your palette. Before a painting session, dampen the watercolors by adding small droplets of water with a pipette, just as you would to commercial watercolor.

This sample shows color saturation with handmade watercolor (top), pan watercolor (middle), and tube watercolor (bottom).
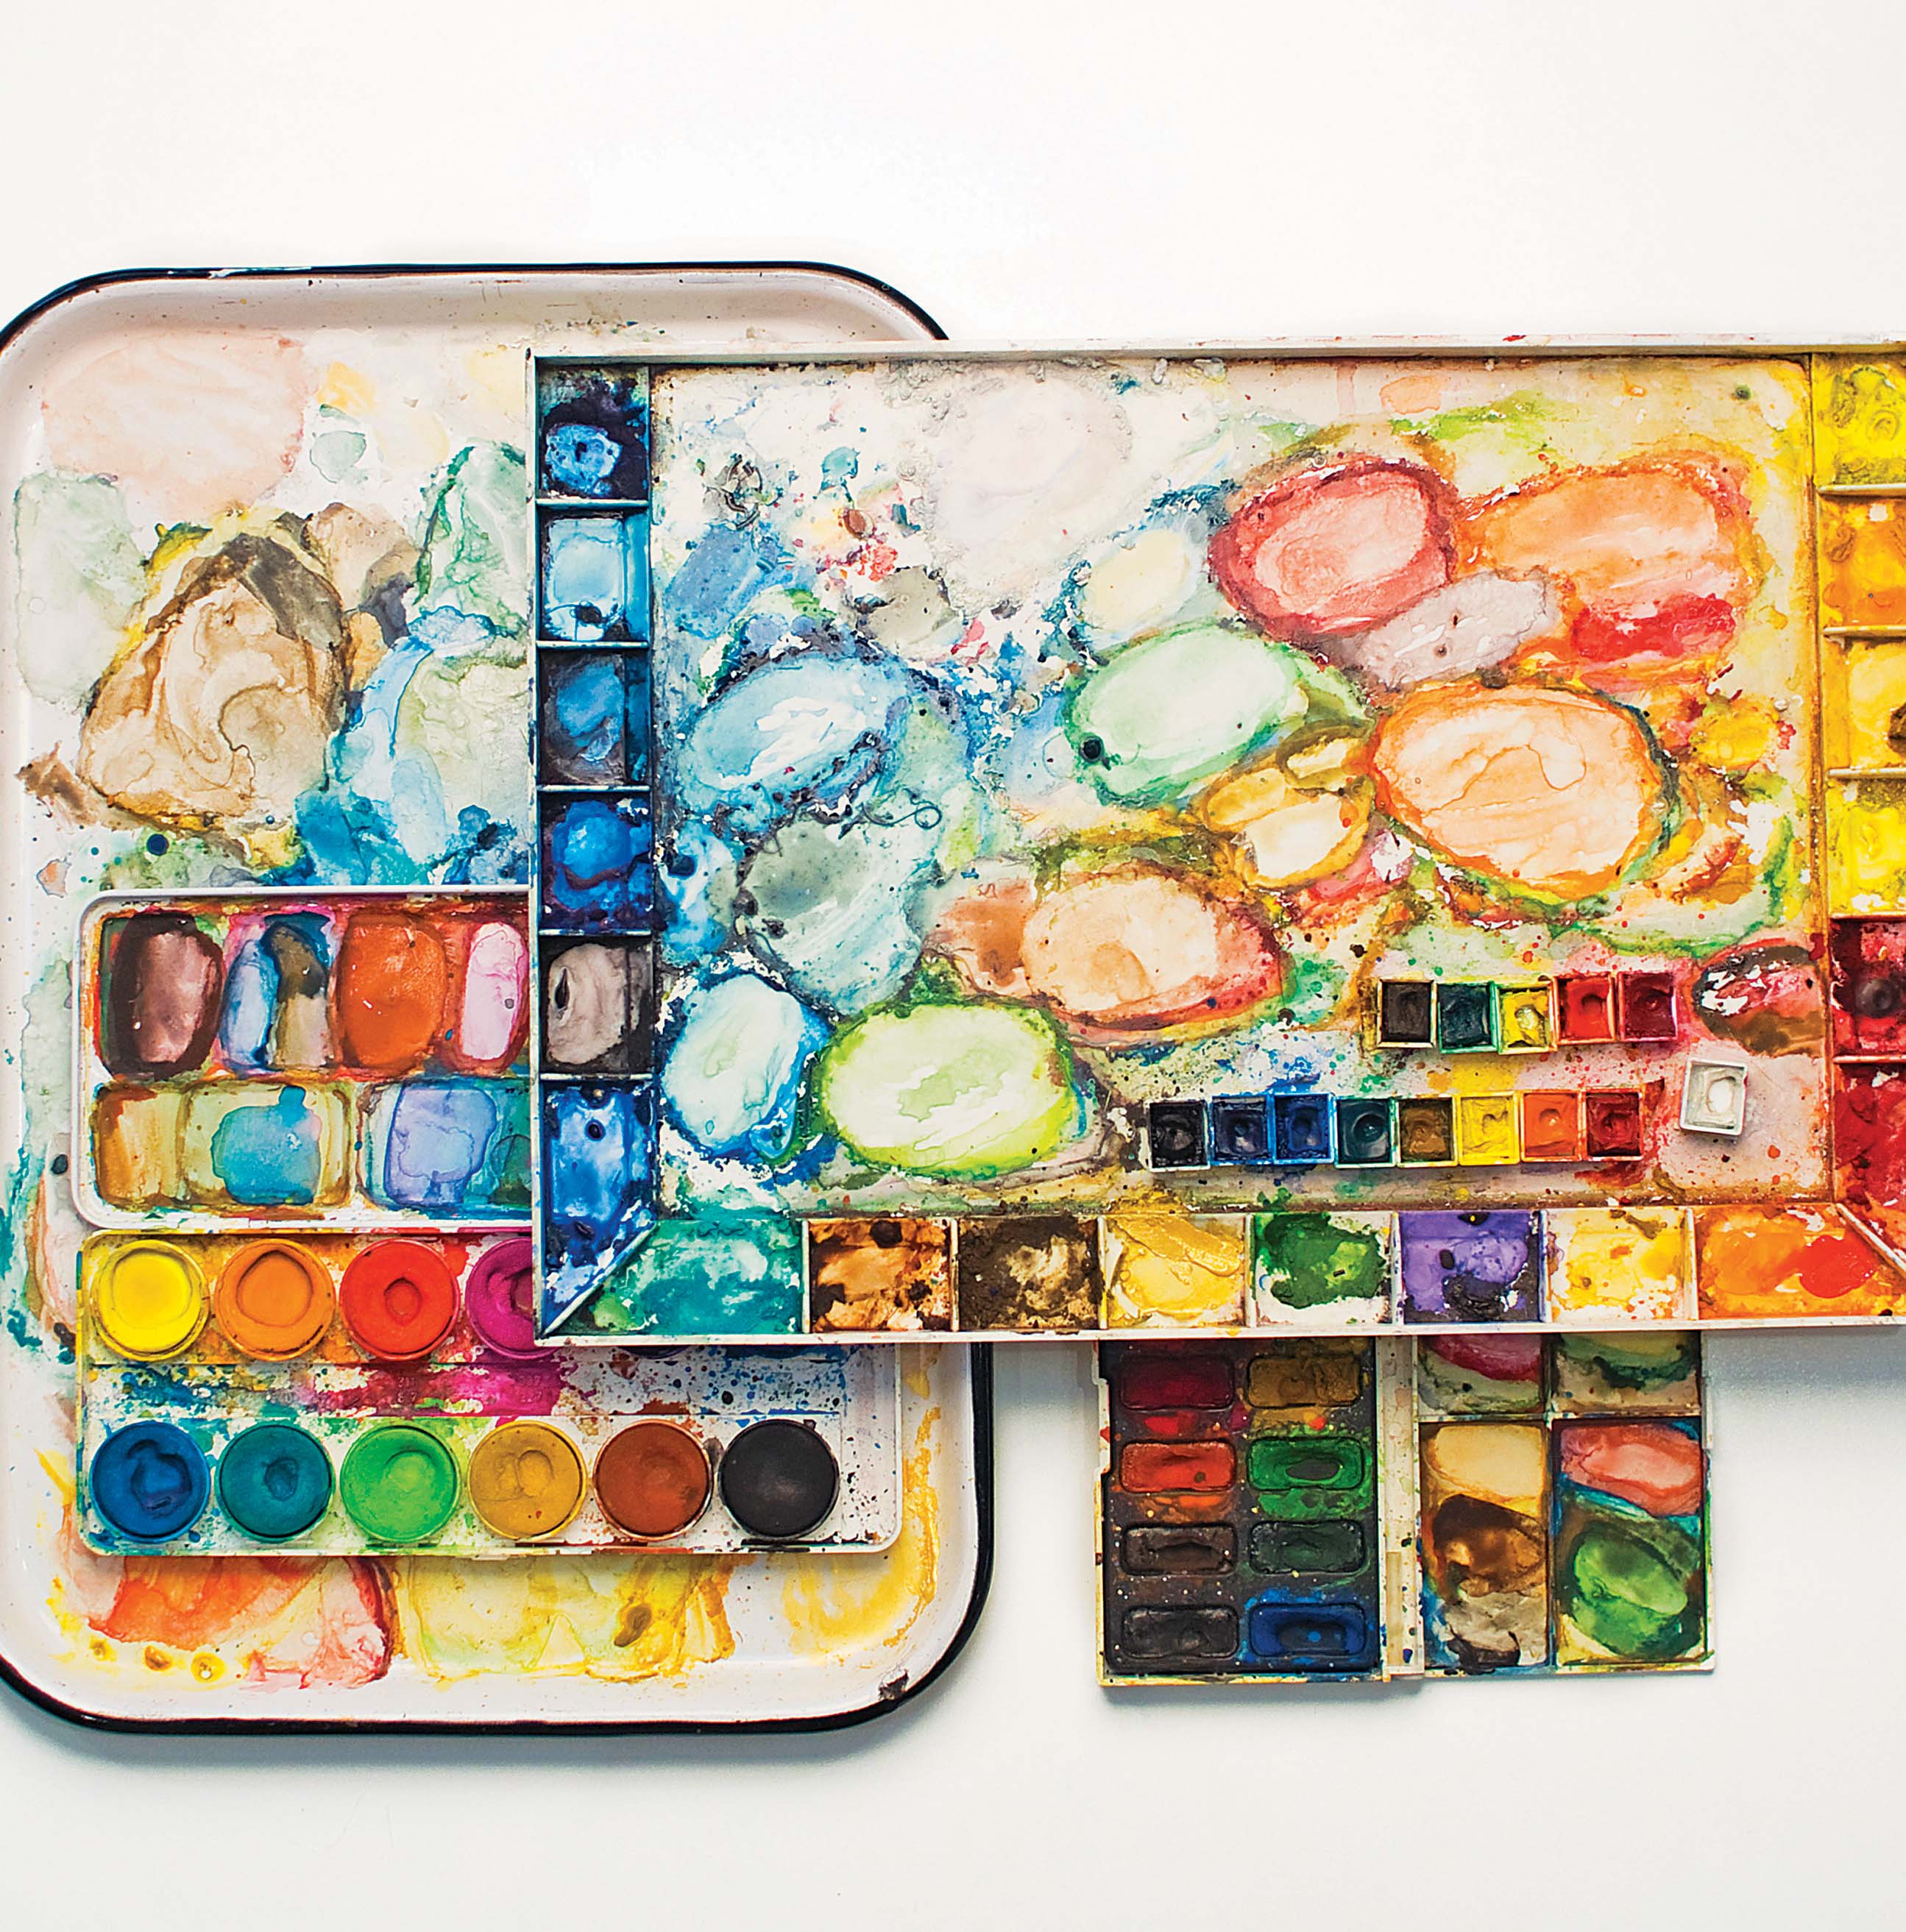
PALETTES
Palettes are the support on which artists mix paint and their preferred combination of colors. Where you paint can determine the type of palette or support you choose. When working in your own space, be it the studio, craft room, or on the dining room table, there are several options.
Types
A metal or enamel tray, a piece of Plexiglas, or even a piece of windshield or picture frame glass make good palettes and are economical. In your own space, you have the ability to set the palette on a worktable and not need to move it around. Enamel trays can be found from kitchen or restaurant suppliers and sometimes in thrift shops or flea markets. Glass and Plexiglas are easy to come by and give lots of mixing space. Make sure to bevel or tape the glass edges to prevent injury. When using a transparent palette, place a large sheet of white paper underneath to better see your colors. If you like to keep colors separate, try individual ceramic dishes or ramekins for storage and then mix colors on a large flat palette.
For fieldwork, something small and portable is favorable for toting to the location. Some tins or palettes come with the paint already supplied while other travel cases allow you to add your existing tube colors. Either way, a palette with a lid is necessary.
Most palettes available today have compartments for individual colors with separate open space for mixing. Whether you purchase a palette or utilize a support you already have, the surface you choose should be smooth, sturdy, and flat. One of my favorite palettes is an enamel baking tray that belonged to my grandmother. I use it for commercial watercolor as well as mixing my own paint with a palette knife. Within the open space, I let my color mixtures accumulate over time. Yet the surface is easy to clean when I am ready to mix a fresh palette.
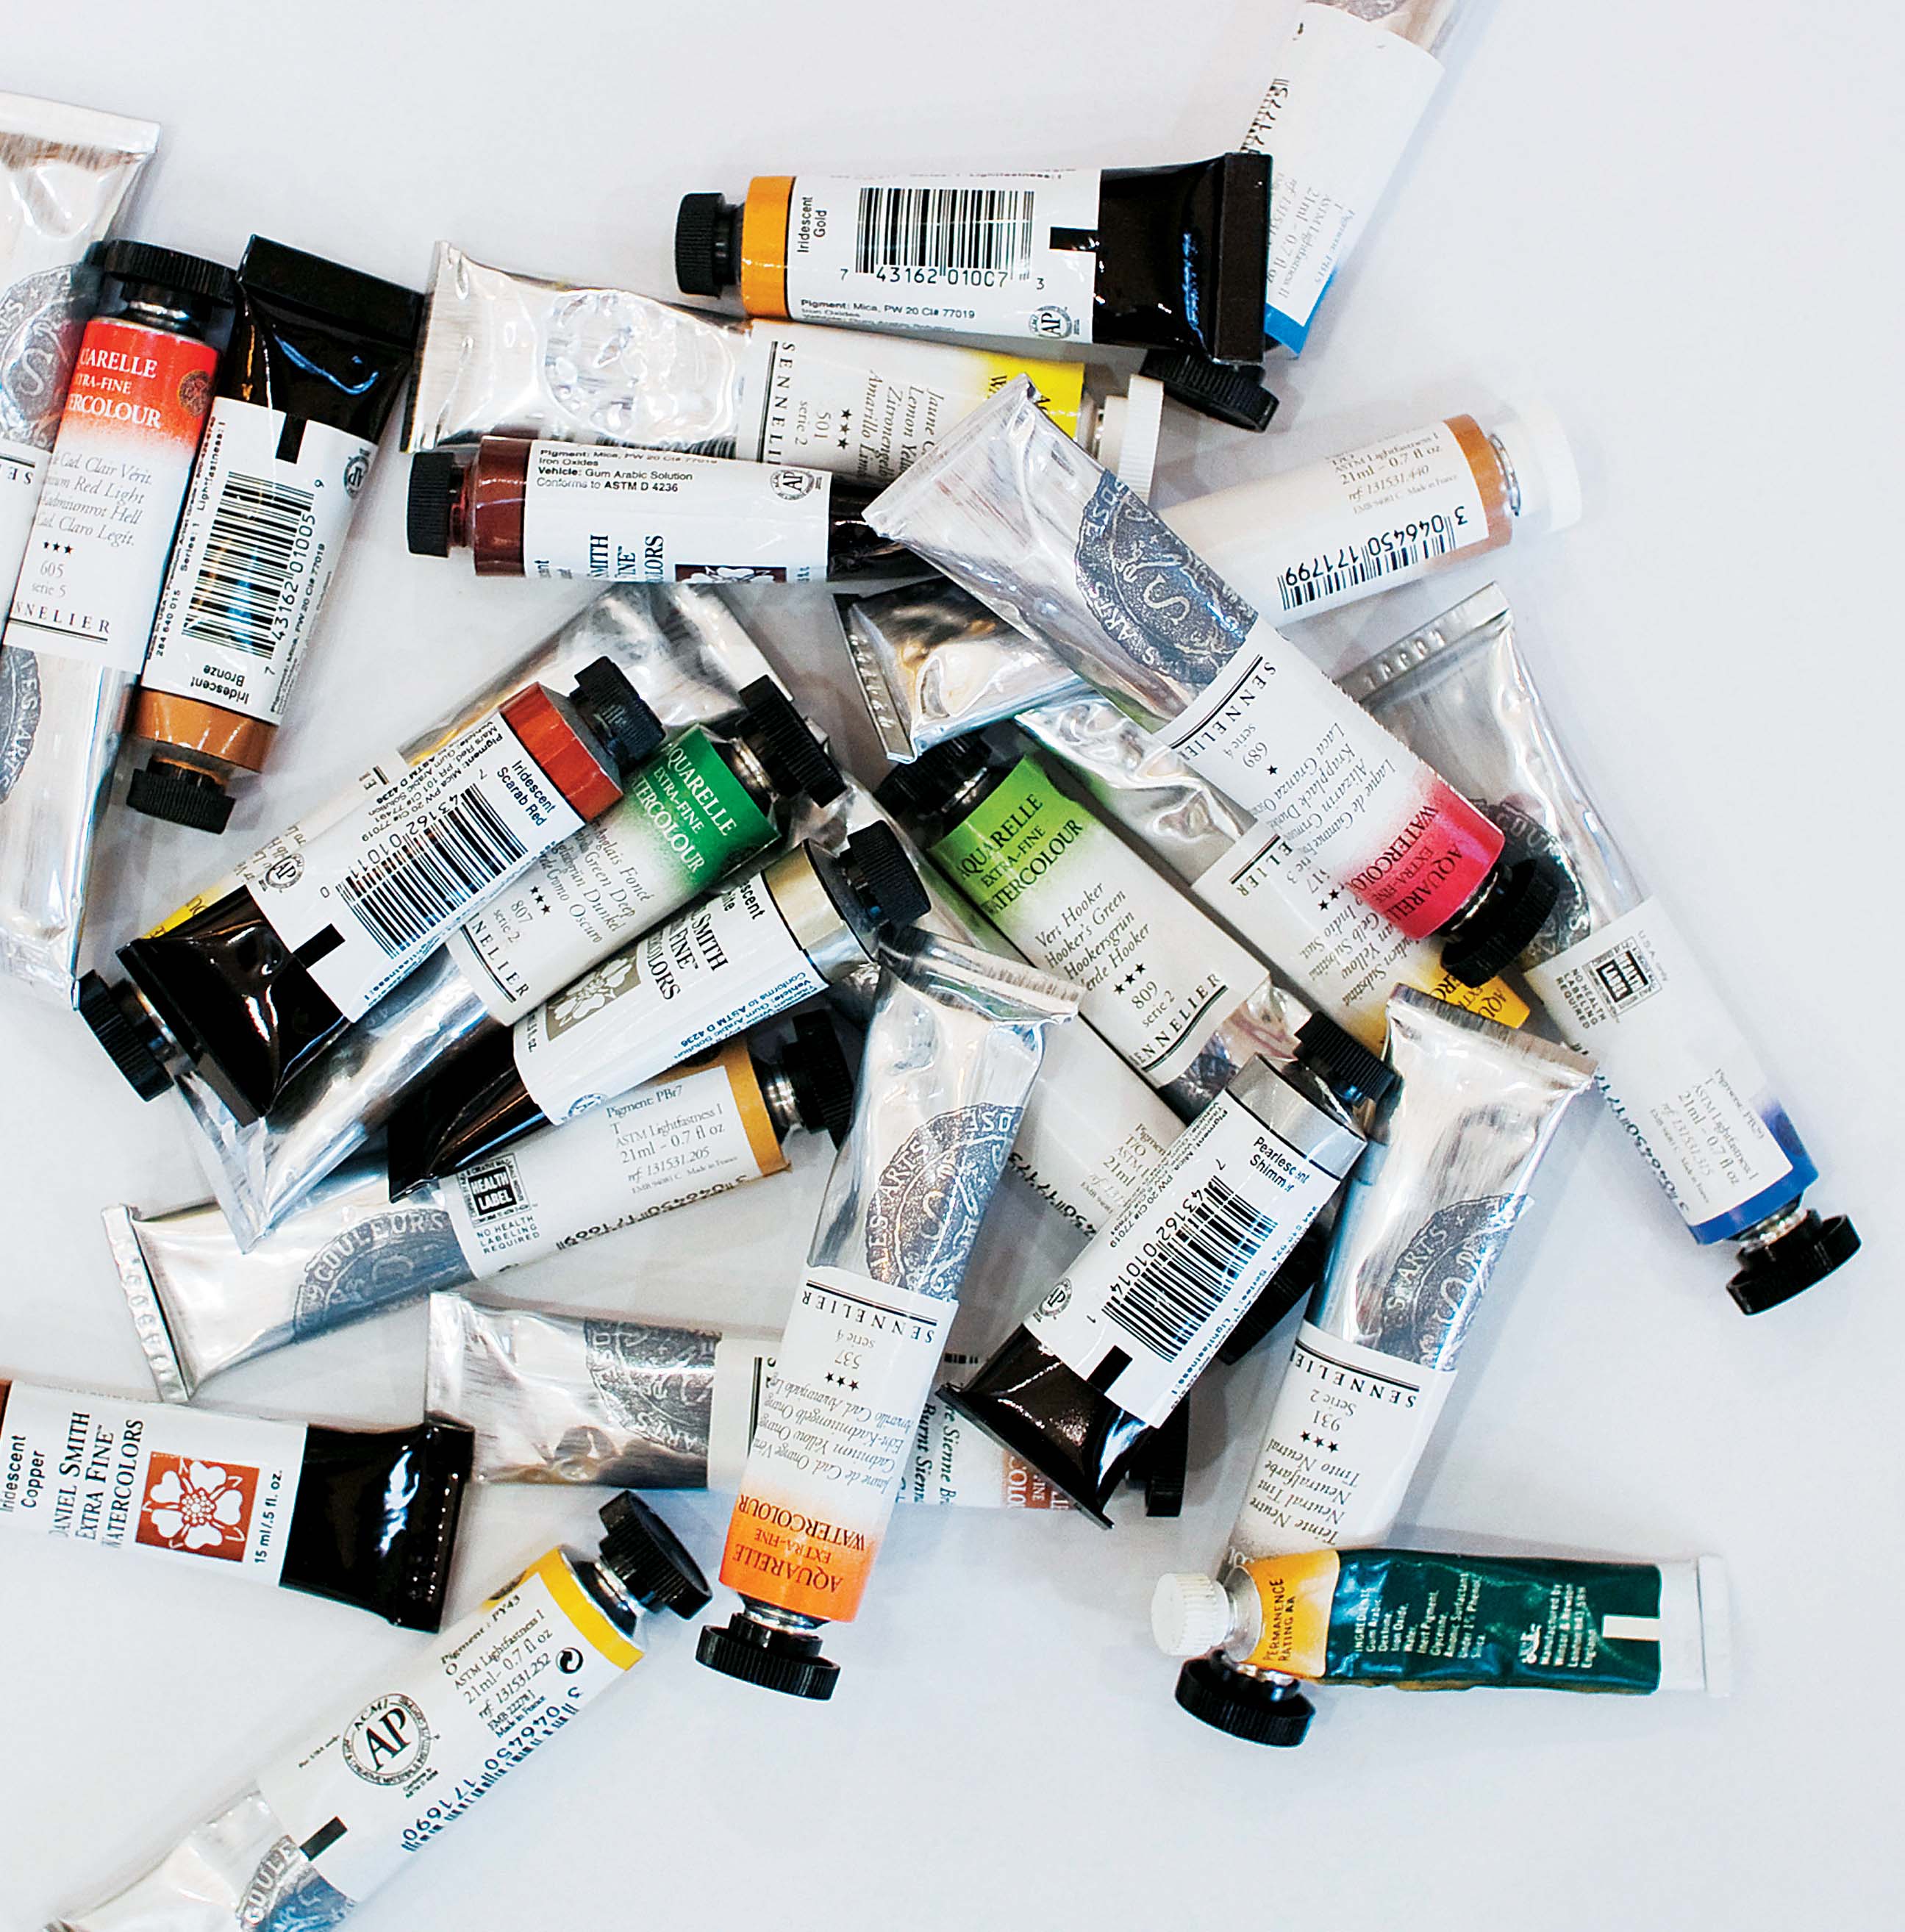
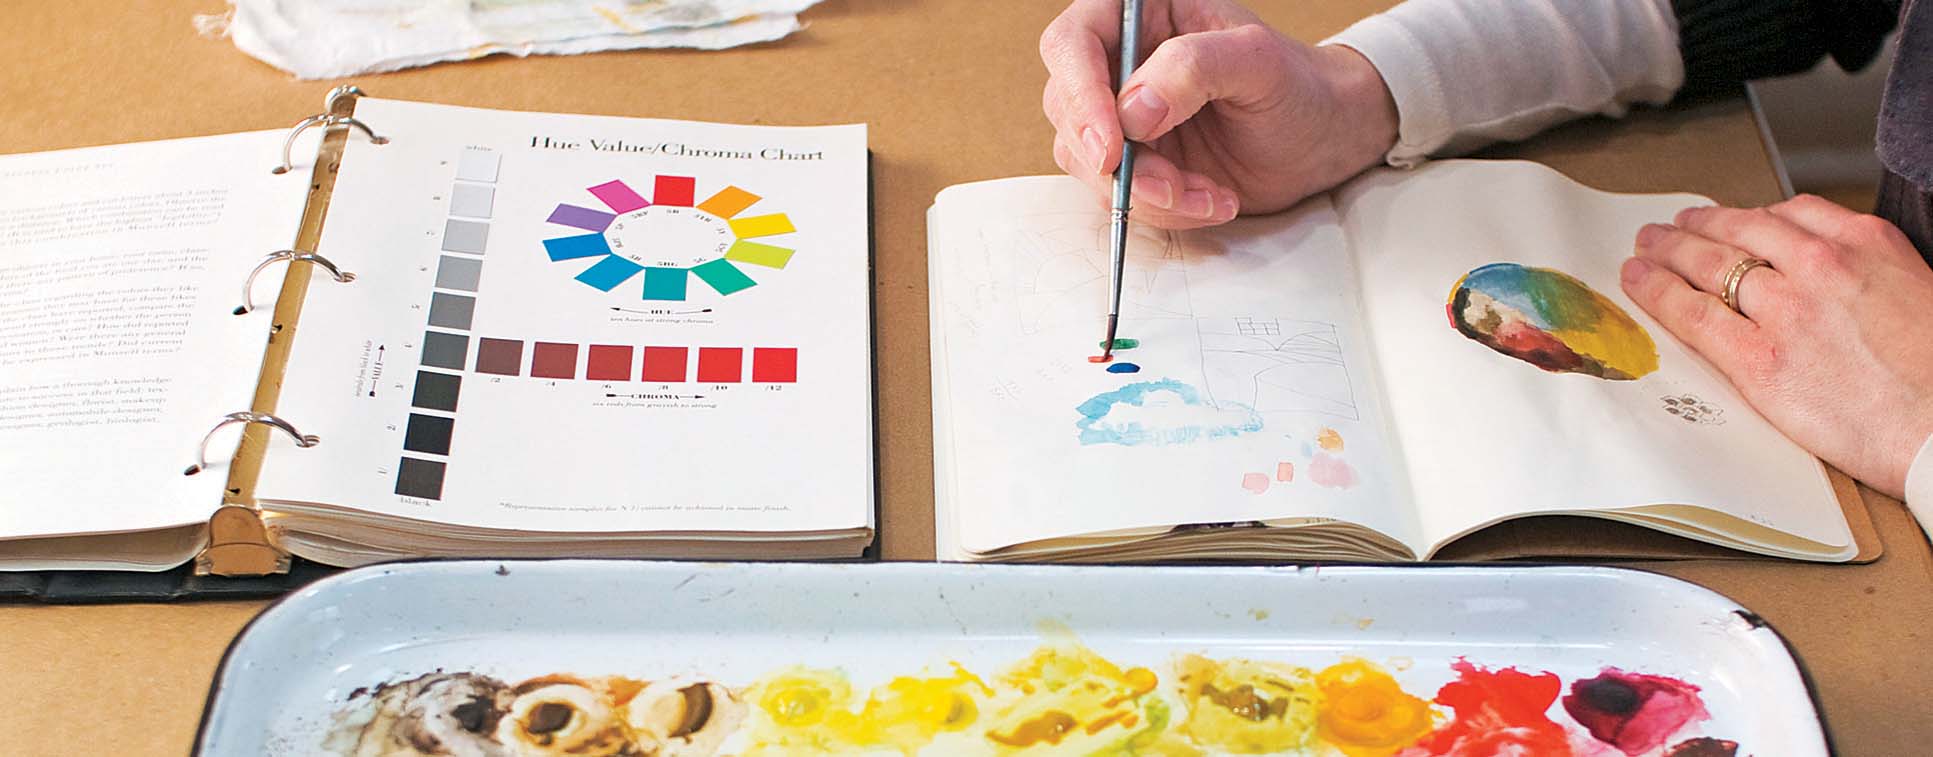
Color and Paint Labels
Paint selection in stores can be both mesmerizing and daunting with hundreds of colors from which to choose. Starting with too few colors can limit your mixing possibilities while choosing too many is overwhelming and expensive. So before you buy an unnecessary amount, it is good to know a few things about color and paint cataloging.
Color is described by three characteristics; color, value, and chroma. Color refers to the hue or name, such as red, yellow, or blue. Value, or lightness, describes how a color is light, dark, or somewhere in between on the value scale. And chroma refers to the concentration or purity of color, whether it is dull or intense. Paint used directly from the tube is more concentrated than paint diluted with water or tinted.
Each color of watercolor, and others paints as well, have names conceived by manufacturers. Names like “Monte Amiata Natural Sienna” and “Pompeii Red” stamped on the labels sound beautiful and appealing. Yet these terms do not necessarily tell you what mixture is inside. It is helpful to read the individual pigments listed on the tube or pan label. Both of the colors mentioned above contain the same pigment, PBr 7. That combination of letters and numbers is a universal system called the Colour Index International and is used by manufacturers to identify colors. In this example, P means it is a pigment rather than a dye, Br refers to its general hue, which is brown in this case, and 7 is its assigned number. With the hundreds of color choices available, some colors you like may be duplicates in disguise that are made from the same raw pigments.
Other information noted on labels is the lightfastness rating. Lightfastness refers to how durable the paint is over time when exposed to sunlight. Various manufacturers have different nomenclature to describe these ratings. Colors with excellent resistance are extremely permanent. Colors with very good resistance are durable with good resistance to light. These ratings mean that these colors have proven through testing to be very strong and long lasting and won’t fade, discolor, or become opaque. Fair or fugitive ratings indicate that the color could be less stable and deteriorate when exposed unprotected for long periods of time to bright light. Fugitive paint could deteriorate within a year’s time. Artist or professional and student grade paint alike should have a rating system on the tube packaging. Choose what you can afford with knowledge of the ratings and what they mean.

Arranging a Palette
How many colors do you really need to set up a palette? Select a dozen or so colors that offer variety and a broad mixing range within each hue. Arranging the paint colors on the palette in a particular order helps you know where they are and find them easily while working. Generally, artists arrange the colors so they are in a spectrum, but you may find a way that works better for you. Having an organized palette can help someone beginning in watercolor see relationships between colors and values. Specific color choices should be based on individual preferences and traditions, but here is a suggested list (shown, left) to get started.
Color Systems
MONOCHROMATIC
A monochromatic color system is made of one color, white, and black, with a wide range of values and intensities. With watercolor, values can be achieved also by layering thin washes of color to make it appear light or dark.
PRIMARY
A primary color system uses the three primary colors to organize the painting: red, yellow, and blue.
SECONDARY
Mixing two primary colors together make secondary colors. Red and yellow makes orange, yellow and blue makes green, and blue and red makes violet. A secondary color system uses orange, green, and violet.
TERTIARY
Mixing a primary color with a secondary color next to it makes tertiary colors. The tertiary colors are red-orange, yellow-orange, yellow-green, blue-green, blue-violet, and red-violet.
COMPLEMENTARY
Complementary colors are those directly across from one another on the color wheel. Blue and orange, red and green, and yellow and violet are color complements. Pairing a color with its opposite creates a dynamic contrast.
SPLIT COMPLEMENTARY
A split complementary system is made of three colors: a color plus the two colors next to its complement. For instance, yellow, blue-violet, and red-violet would make a split complementary system.
DOUBLE SPLIT COMPLEMENTARY
A double split complementary system is made of four colors. It is made of two pairs of color complements. Blue, orange, violet, and yellow form such a system.
BRUSHES
The paintbrush is an indispensable tool to distribute paint to the paper and communicate your thoughts and ideas. There are about a half dozen common types available in sizes from small to large. Knowing about brush composition, types, and sizes can help you choose the brushes to suit your needs.
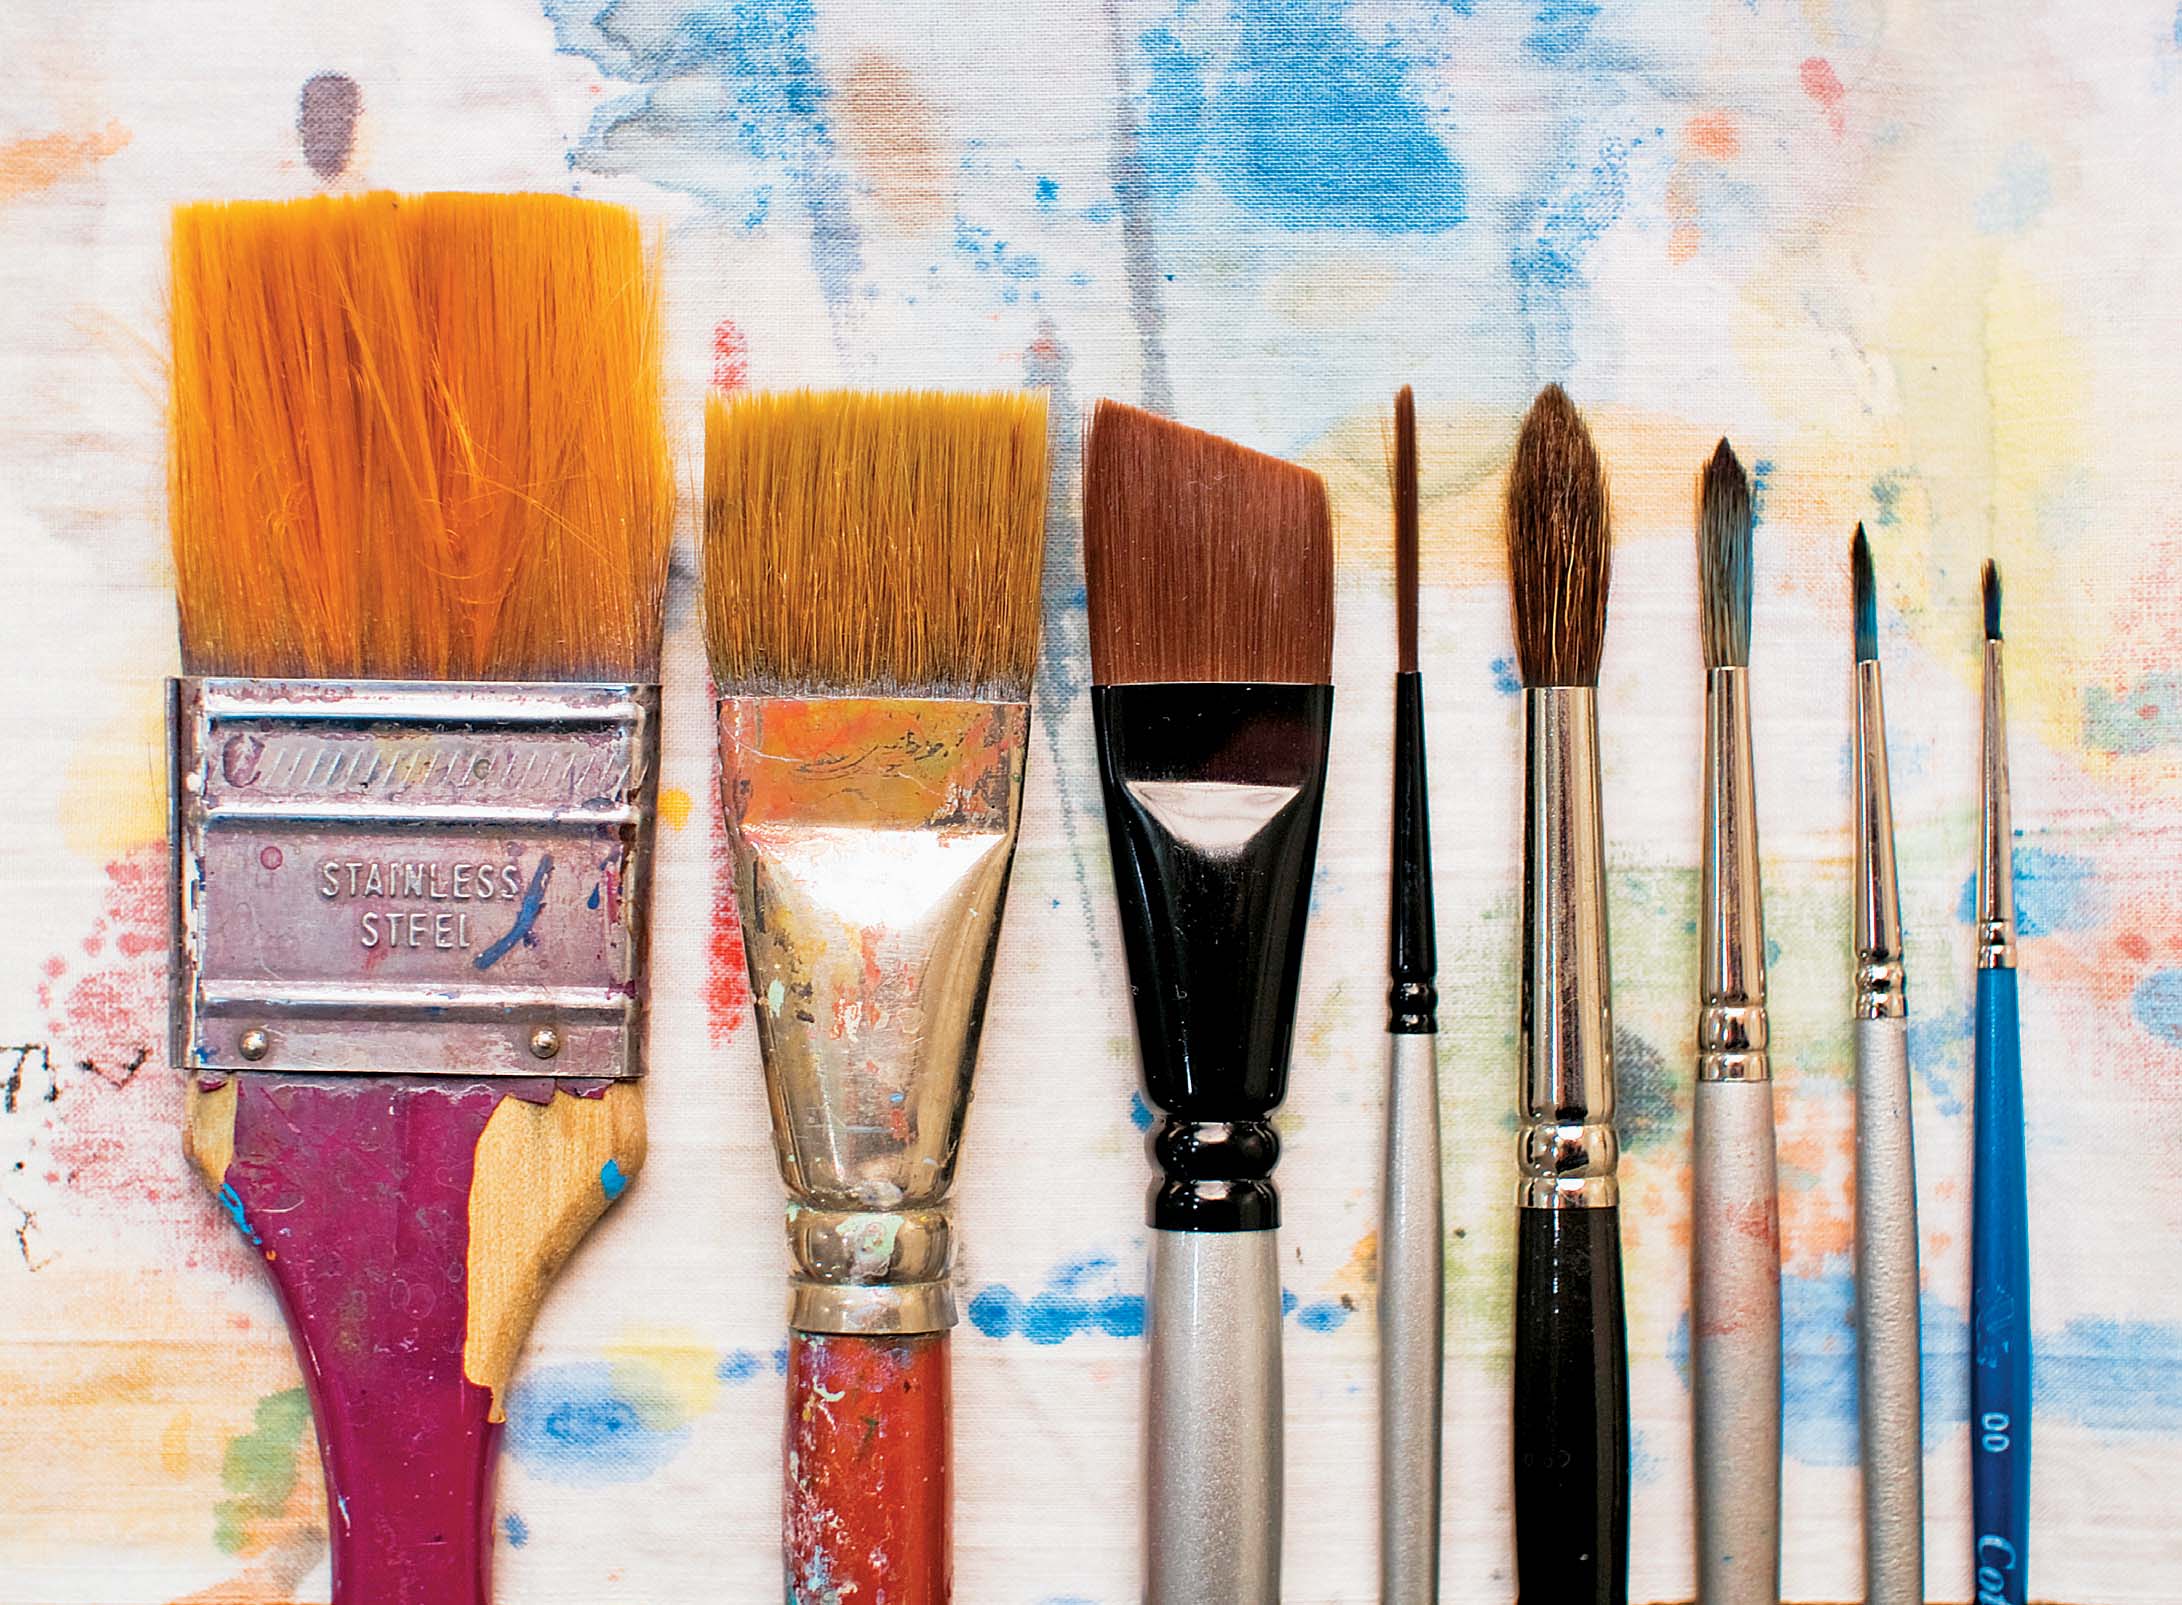
Brush types (left to right): examples of wash, flat, angle, script, and round brushes
Brush Composition
A brush is made of three parts; the tuft, ferrule, and handle. The tuft, or bristle, are the hairs that can be of either synthetic or natural origin. They are tied together and glued inside the metal ferrule. The metal ferrule shapes and supports the tuft. It also helps keep water from destroying the glue that holds all the hairs in place. The handle is the part you hold and is made of wood coated with lacquer. The shape is wide near the ferrule and tapers to a point at the end. It is most comfortable to hold the brush near or just behind the thickest part of the handle.
The hairs used in brush tufts can be from natural sources or made of synthetic material. Natural hair is harvested from animals like mongoose, squirrel, and sable or from hair in the ears of ox and pigs. Natural fiber brushes hold paint well and make soft continuous strokes. For centuries, sable brushes have been prized because of their fine quality and durability, and they are also the most expensive. Synthetic nylon is an alternative to animal hair. Synthetic brushes continue to improve in quality and offer an affordable alternative to sable. A good watercolor brush, whether natural or synthetic, needs to be soft and flexible and able to hold and distribute paint fluidly.
Types
A wash brush is similar to a flat brush but has a different shape handle, resembling something like a hardware store-variety utility brush. The sizes are larger than flats and are measured in inches. Wash brushes are good for distributing large amounts of paint or water to an area.
A flat brush has ferrules that hold the tuft horizontally, forming a row of hairs. Depending on how the brush is held, the flat side can make a broad wash and the narrow edge of the tuft can make thin or thick lines.
An angle brush is comfortable to use. It resembles a flat brush in ferrule structure but with a slope or angle at the tips of the tuft.
A script brush looks like a small round brush, but it has longer tuft. It is useful for delicate line work or writing with watercolor. A regular round brush would make a fine substitute.
A round brush has a round ferrule and bristles that form a point at the tip. A round brush is one of the most flexible watercolor brushes as it can make broad washes when the belly of the bristles is pressed to the paper but also fine lines when the tip delicately scrapes the paper.
Other useful brushes that are not shown in the photo on page 28 are mop, filbert, fan, and acrylic brushes. A mop brush is a soft, natural-hair brush and is traditionally wrapped with wire around the base of the bristles. Mop brushes hold a lot of water and are good for wetting paper. A filbert brush is flat with hairs tapering in an oval shape at the tuft end. A fan brush has hairs arranged like a fan and is useful for making textural marks. An acrylic brush is a flat brush with a clear acrylic handle and synthetic bristles. The handle has an angled tip that can be used to burnish or rub paper.
Sizes
Brushes are sized with a series of numbers ranging from 000 (very small) to 24 (very large). Oftentimes flat brushes and wash brushes are measured in inches, 1 1/2″ (38 mm), 1″ (25 mm), 3/4″ (19 mm), 1/2″ (13 mm), and so on. With both measuring systems, the numbers are visibly marked on the brush handle. Artists are inclined to have favorite kinds and sizes of brushes based on the scale and approach of their work. My preferences include a range of round brushes from sizes 00 to 14, as well as a few flats and a large wash brush. If you are buying brushes for the first time, here (shown, left) is a suggested selection to get started. Try both synthetic and natural bristle brushes to see which you prefer. And remember the sizes you need are partly determined by the scale of your work.
Brush Care
Following a few common sense tips can help you maintain the life of your brushes. Synthetic brushes are generally inexpensive enough that if one becomes ruined, it is easily replaced. Sable brushes, however, can cost anywhere from $15 to over $400 per brush depending on its size. Nevertheless, brushes of any kind are an investment, and these practices will help prolong their life.
Brushes should never be left standing on their bristles, whether they are dry or in a jar of water. Doing so will bend the bristles and cause them to become permanently warped. While you are working, keep the brushes you are using flat on the table.
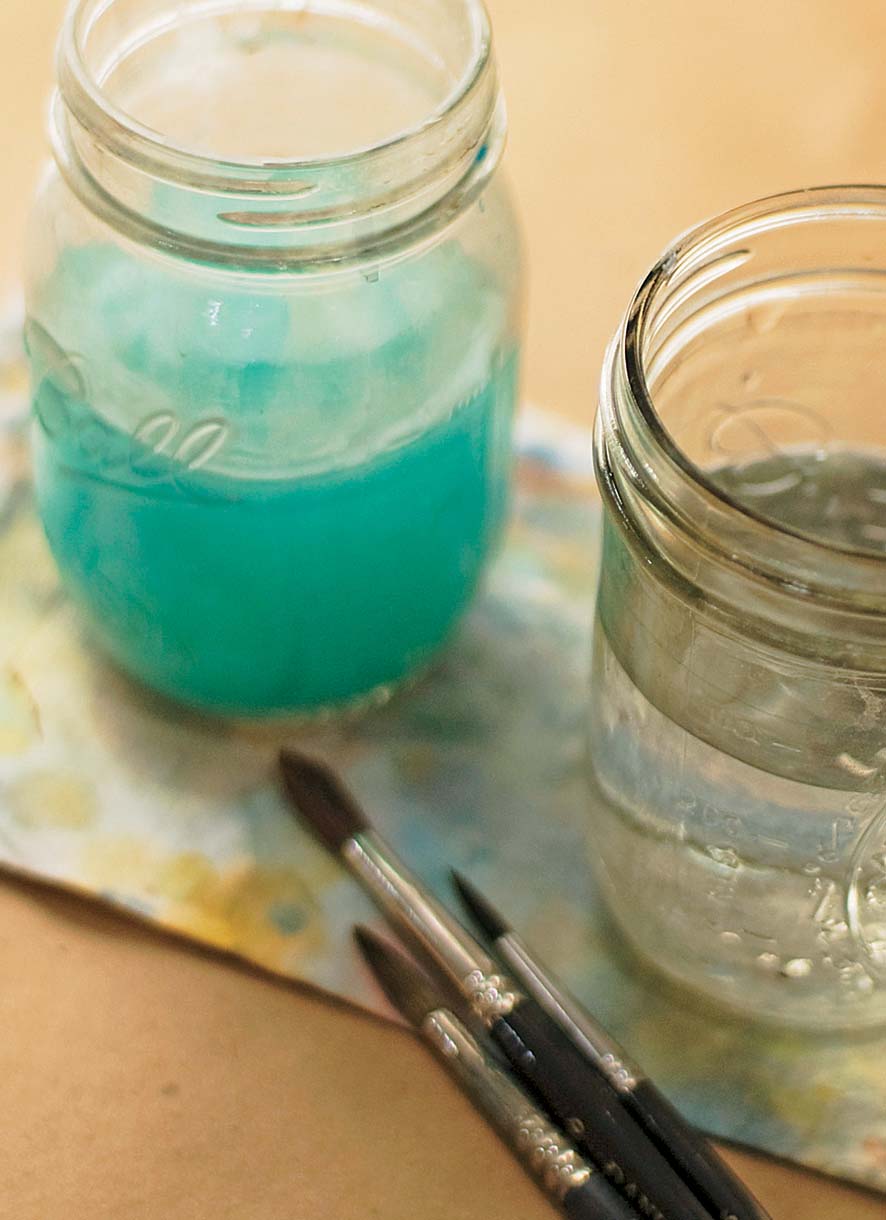
When a work session is over, rinse brushes thoroughly in clean water. Then wash in lukewarm water and use a glycerin or mild vegetable-based soap to remove paint. Some pigments stain the brushes easily. Using a little soap will help remove the paint that gathers in the tuft. Do not use hot water or detergent on brushes.
When rinsing brushes in water during work time or when washing, try to limit the amount of contact that water has above the ferrule. Water damages the glue hinge and can cause the lacquer handle to peel. Let clean brushes air dry on a flat surface rather than rubbing them with a towel.
Once brushes are dry, you can store them upright in containers. Once completely dry, natural hair and fine sable brushes can be stored in a sealed, plastic container to prevent damage by harmful insects and moths that eat the hairs. Never close a damp brush of any kind inside a sealed container.
Watercolor brushes should be reserved only for watercolor paint and not used in other paints or mediums. Do not use a good brush for masking fluid or any latex material. Only use an old or cheap brush for those purposes.