
Twisting Leaves
There are so many sizes and shapes of leaves found in nature. Drawing accurately is always important, but the drawing must also flow to make it truly come alive on the page.
Plastic Leaf Model
This exercise helps accurately depict a leaf turning and twisting in space. Even better, these plastic models can be kept and reused time and again. The flexible wire allows for the leaf to be turned and twisted in different directions.

Cut a 6-inch piece of floral wire for the midrib. Tape the wire onto the acetate, ensuring that the wire is in the center of the tape. Draw an elliptical leaf shape in black marker, approximately 1” on both sides of the wire. Cut out the leaf.
Drawing a Twisted Leaf
Follow this easy, step-by-step demonstration to use your new plastic leaf to practice drawing twisted leaves.

Twist the leaf into position, as demonstrated here.

Hold the leaf in your non-drawing hand, and draw the midrib first, shown here in black. Use a dotted line to show the part hidden by the leaf. Draw the closest outer edge of the leaf, shown here in red. Then draw the furthest outer edge of the leaf, shown in blue. This line is partially obstructed (note the dotted portion), as it is hidden from view. Finish by drawing the fold of the leaf, shown in green.
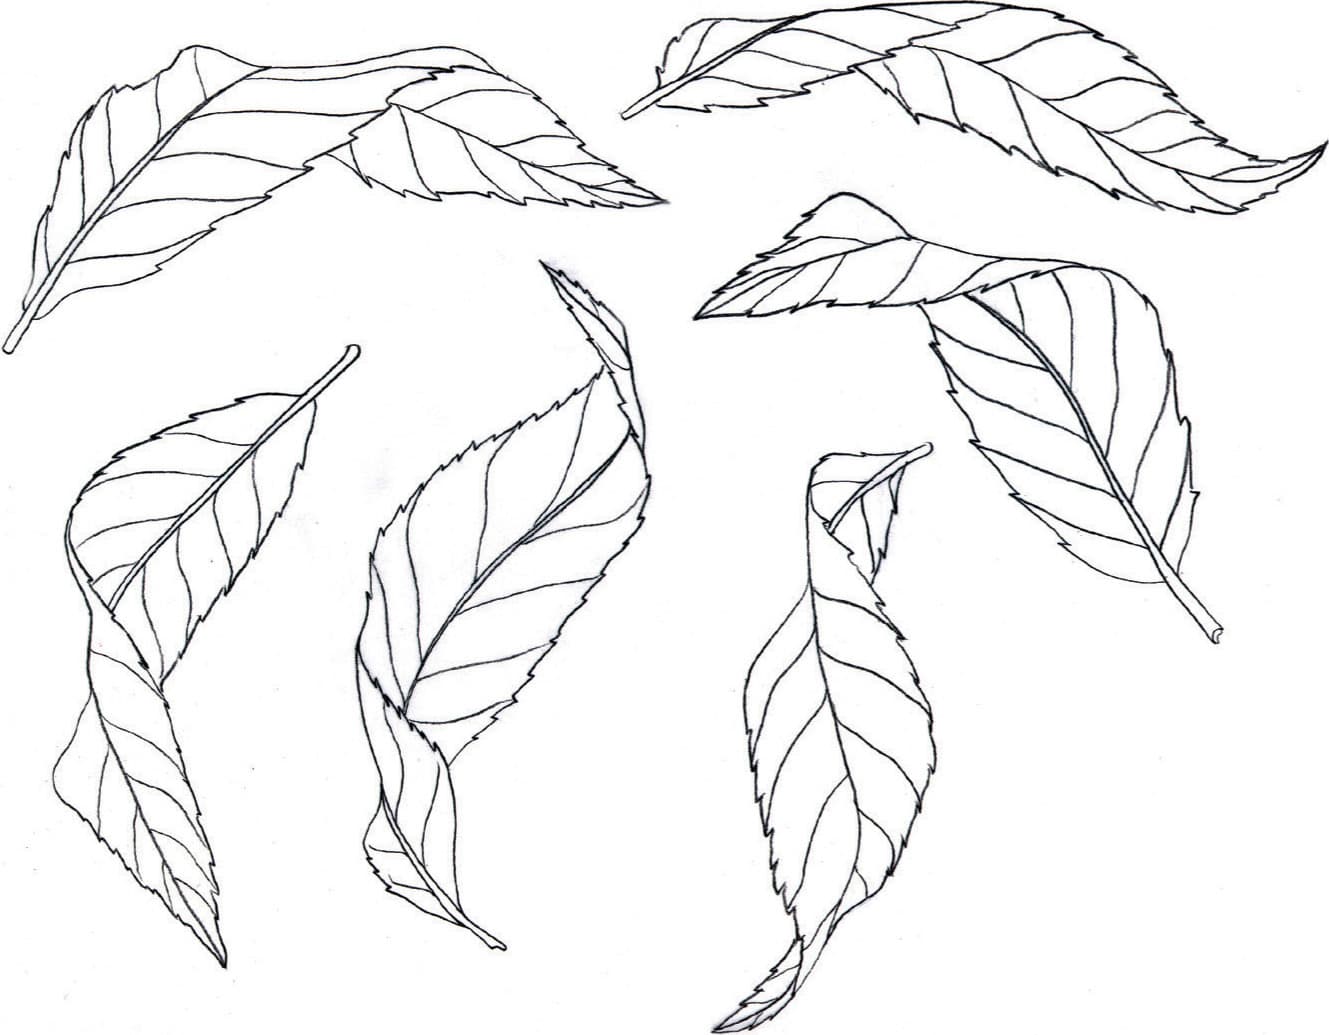
Place a piece of tracing paper over your drawing, and refine it to make the leaf come alive. Add serrated edges and veins. See how many ways you can twist and turn the leaf-this is a great drawing exercise!

When drawing veins, make sure that the veins from the underside do not intersect with the veins on the topside. This can ruin the perspective of the leaf. The veins should alternate.