
Collaborate with a Whiteboard
It sometimes feels like Zoom throws everything and the kitchen sink into its apps in the interest of figuring out which features work. Unfortunately, the company doesn’t always go back and prune, consolidate, or integrate earlier features. You see that prominently in Zoom Whiteboard, a feature introduced in April 2022 that’s part of the Zoom One subscription bundle.
Zoom Whiteboard has many similarities to the whiteboard feature available within screen sharing during a Zoom session (see Mark Up a Screen). But, like Zoom’s chat feature described in the next chapter, a whiteboard can be used independently of a Zoom videoconference.
What do you use a whiteboard for? It’s a visual collaboration tool, a kind that became popular during the pandemic. You can draw, add text, attach sticky notes and comments, and revise in real time with multiple participants. It can be a great way to brainstorm ideas or plan and sketch out actual implementation.
Start with a Whiteboard
You can access the whiteboard feature from desktop and mobile apps and via your Zoom account (not the Zoom web app):
Desktop: In the main Zoom app window, click the Whiteboards icon in the upper-right corner.
Zoom account: Click My Account and then click Whiteboard or go directly to the Whiteboard section.
Mobile: Tap the More
 icon and tap Whiteboard.
The desktop and web interface are effectively identical, making me think that the desktop version is a web view—a kind of embedded website within an app—rather than a fully native app.
To create a new whiteboard, click the New button. Zoom presents a Templates dialog you can select from to avoid starting from scratch (Figure 62). Examples include XY Plot, Kanban Table, and Product Feature Roadmap.

You can click the Close ![]() icon to skip, or select a template and click Use This Template.
icon to skip, or select a template and click Use This Template.
After you create whiteboards, they appear in the main view. If you have an account that allows creating many whiteboards or have many shared with you, you can use links like All/All Whiteboards or Shared/Shared with Me to drill down. You can also search and sort.
Edit a Whiteboard
A whiteboard consists of one more pages of something presented like graph paper. There are dots in a grid that help you arrange things, but which also make a whiteboard look like a draft instead of a finished product. (This grid appears only when editing outside a meeting.)
Zoom provides a set of drawing and editing tools that resemble, but aren’t an exact copy of, those available for annotation when you share a screen (Figure 63). The tools include selection, shapes, lines with optional arrowheads, image insert, eraser, and color selection where contextually appropriate.

Hover over a tool to see its name. Click a tool to select it, thus revealing a pop-out for many tools with options to choose among. For instance, click the Shape tool and pick one of 16 shapes as in Figure 63.
As you populate your whiteboard with lines, shapes, and other elements, you can select them to make modifications. You can also select items that are part of a template if you started with one. Zoom reveals a contextually appropriate floating toolbar for each kind of object. For instance, select a shape, and you can set its color or shading style (Figure 64).

You can also change the selected shape into another one, or click the More ![]() icon to reveal a contextual menu for basic features like copy and paste, duplicate, delete, and layering control. The Bring Forward/to Front and Send Backward/to Back options are useful for managing items that overlap to ensure they appear visually in the right order.
icon to reveal a contextual menu for basic features like copy and paste, duplicate, delete, and layering control. The Bring Forward/to Front and Send Backward/to Back options are useful for managing items that overlap to ensure they appear visually in the right order.
To view different parts of the page, you can click the Select tool and then choose the Grab tool to drag around. You can also click to zoom in or out in the lower-right corner.
Zoom lets you add any number of objects, text boxes, shapes, images, and other items, and arrange them as you please (Figure 65).

Zoom automatically saves change as you make them. You can click the More ![]() icon and choose Lock Board and confirm the choice to prevent changes by anyone but the owners. Reverse that by choosing Unlock Board.
icon and choose Lock Board and confirm the choice to prevent changes by anyone but the owners. Reverse that by choosing Unlock Board.
Collaborate on a Whiteboard
While you can work on a whiteboard solo, its primary purpose is to allow a shared working space. People can collaborate at the same time and see changes other people make immediately. Or you can work on it at different times with no one else present.
You can use whiteboards inside or outside of Zoom meetings. I’ll start with how to share a whiteboard with others, whether within your account or not, including setting up modification permissions. Next, I’ll show how to share a whiteboard within an active Zoom session. Finally, I’ll explain the two tools useful for annotating a whiteboard without modifying it.
Share a Whiteboard Outside of a Meeting
As in many areas of Zoom, whiteboards have roles defined as:
Owner: Original creator of the whiteboard, who has full permissions, including sharing
Co-Owner: Someone granted owner-like permissions
Editor: May edit the document, but can’t lock or delete it
Commenter: May add comments, but can’t manipulate items
Viewer: View only, no editing or commenting
To share a whiteboard you created, follow these steps:
Click the Share button.
Enter email addresses, the starts of contact names, or chat channels. Contacts and channels offer auto-complete suggestions (Figure 66).
Choose the role for these invitees: Co-Owner, Editor, Commenter, or Viewer. You can use multiple invitations to appoint people to different roles, but can’t mix roles in a single invitation.
Click Send.

To invite people from outside your Zoom One account, you need to enable an admin setting, otherwise you’ll see a warning (Figure 67).

Go to Account Management > Account Settings and click the Whiteboard link in the upper-right corner. Under “Whiteboard cloud sharing” select “Allow sharing with anyone…” With this enabled, you see the alert “The user is not in account name organization” as shown in Figure 66, above.

You can also click “Copy link” to get a URL that can be shared. You can set parameters for how someone with the link can access the whiteboard, however, by choosing a combination of items from the pop-up menu to its right:
Who can access: You can allow anyone, only people in your organization, or only people invited via a Share invitation. That last option is useful if you want to resend the link to someone you invited who has misplaced it.
Role: Set the role to Editor, Commenter, or Viewer. However, with Anyone selected for access, the only role available is Viewer.
Once you’ve selected a combination of options for the link, Zoom changes the text to match it, such as “Anyone with the link can view.”
If you receive an invitation to a whiteboard via chat or email, you can click it to open the whiteboard. But you can also just visit the whiteboards section in a desktop or mobile or via the account website and click or tap Shared (Figure 69).

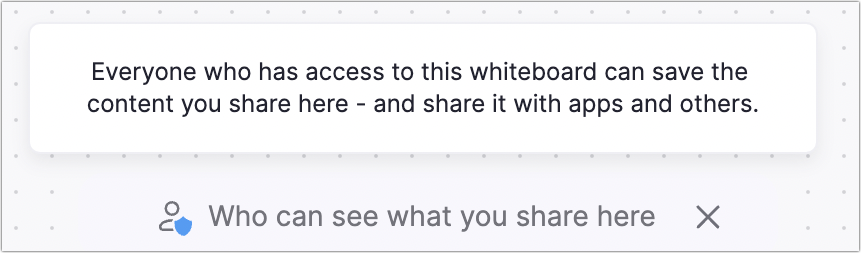
While working on a shared board, Zoom shows a message at the bottom that explains who can see what’s shared (Figure 70).
If the whiteboard owner’s account admin has enabled the export feature or make you a co-owner, you can save the whiteboard:
Desktop or website: Click the More
 icon, choose Export, and choose PDF or PNG.
Mobile: Tap the More
icon, tap Export, and the current view is saved to the local photo library.
Use a Whiteboard within a Meeting
It’s far simpler to use a whiteboard inside Zoom because everyone with whom you want to collaborate or to whom you want to show the whiteboard is in the meeting.
To share a whiteboard with meeting participants in a desktop app, click the Whiteboard icon (Figure 71). In a mobile app, tap the More ![]() icon and tap Whiteboards.
icon and tap Whiteboards.
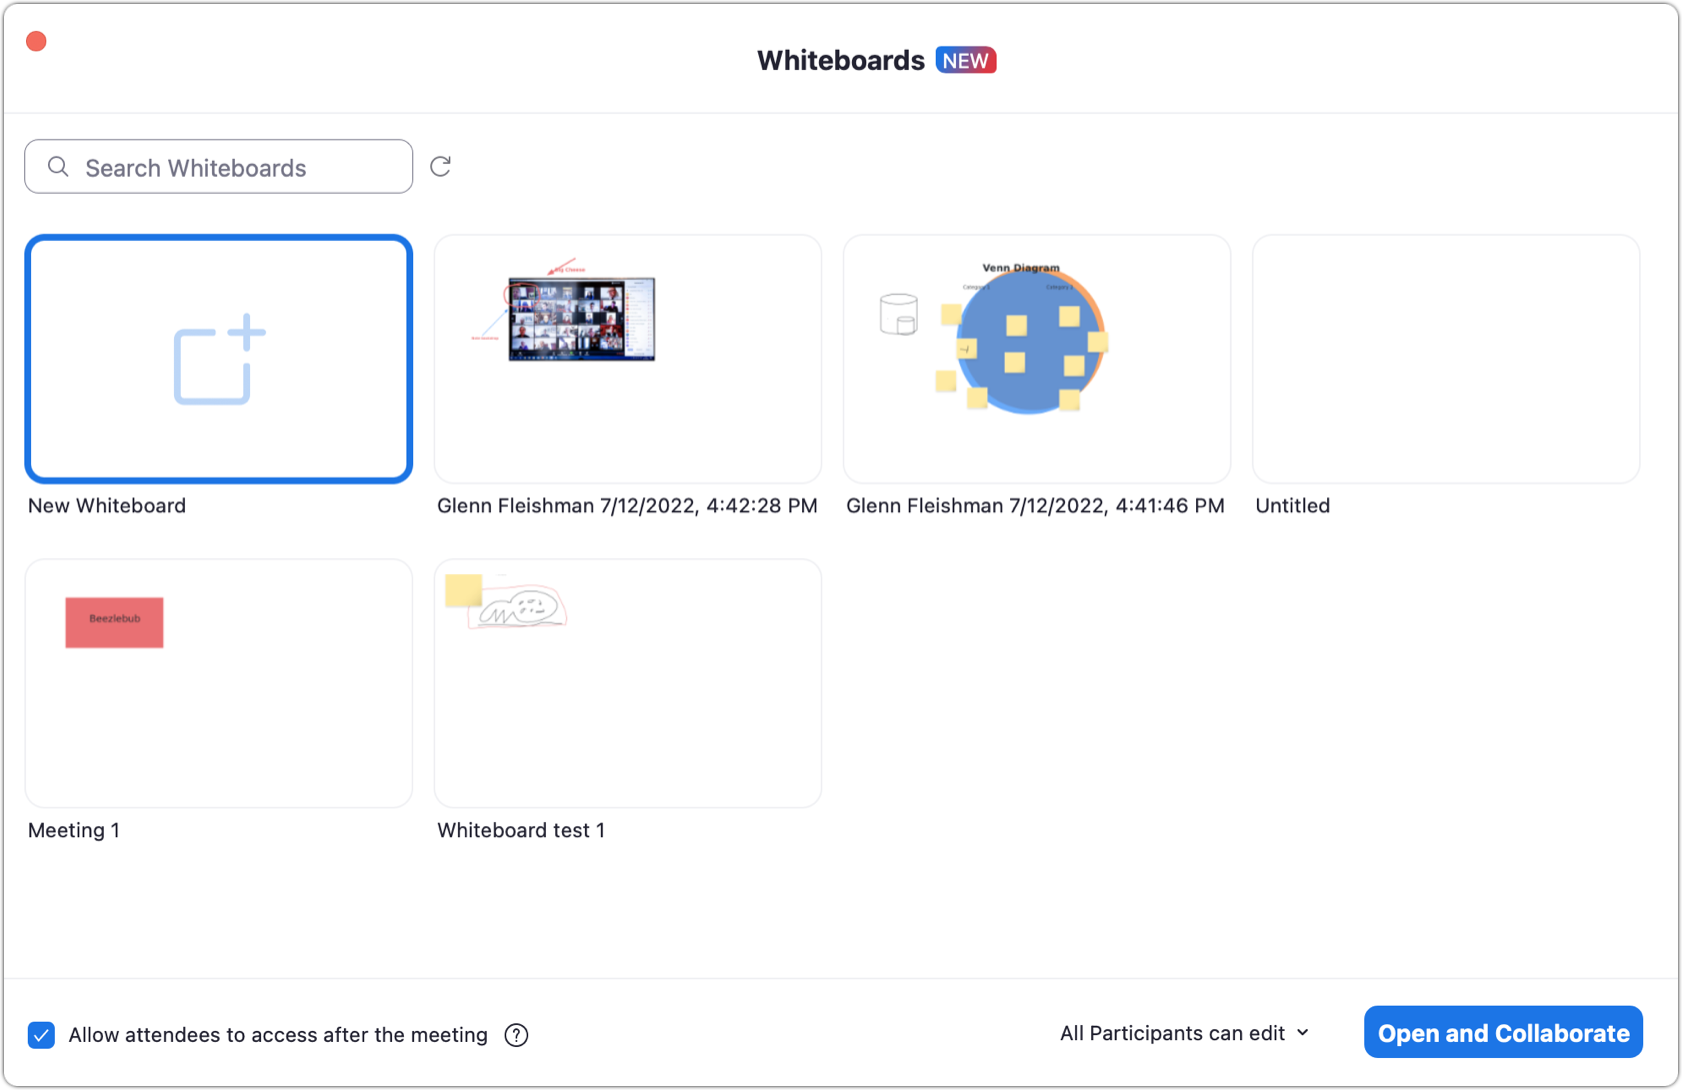
You have a couple of options to consider at the bottom:
Check “Allow attendees to access after the meeting” and it’s just like you shared the whiteboard with them.
You can opt to choose either “All Participants can edit” or “All Participants can view” as makes sense.
Tap Open and Collaborate. All the expected tools are available to the host, co-hosts, and participants using a desktop Zoom app if that option was chosen. Mobile and web app meeting members can only view the whiteboard.
Click Close Whiteboard at the top of the screen to stop sharing.
Comment on a Whiteboard
Zoom offers two ways to leave comments on a whiteboard, designed in part to allow different kinds of remarks:
Sticky Note: A Sticky Note is part of the set of drawing tools. Using it requires editing permission. A Sticky Note acts like an object into which you can type text when you double-click the note. You can resize it, set its background color, and change its text alignment. The text in a Sticky Note is always visible.
Comment: Anyone with commenting or editing permissions can leave a comment. However, comments are available only outside meetings. A comment is less visible than a Sticky Note, and can be used to start a back-and-forth dialog. Once you leave a comment, only a Comment icon appears on the whiteboard, though the text also appears in the Comments pane.
Sticky Notes need no additional explanation. To leave a comment, you need to read the following instructions:
Click the Comment
 icon in the upper-right corner to reveal the Comments pane. Then—and this is the tricky part—leave the pane open and hover over the whiteboard.
Now you’ll see a Comment
 icon with a plus in it. Click on the whiteboard where you want the comment to be left.
An Add Comment dialog appears. Enter your comment and click Add (Figure 72). The comment appears as a small Comment
 icon.
icon.

To reveal open a comments thread, click a comment in the Comments pane or click the Comment ![]() icon on the whiteboard (Figure 73). If you can see a comment, you can reply to it by entering your response and clicking Reply. Comment entries are marked by the person who left the comment or reply, and timestamped for additional context.
icon on the whiteboard (Figure 73). If you can see a comment, you can reply to it by entering your response and clicking Reply. Comment entries are marked by the person who left the comment or reply, and timestamped for additional context.

The person who posted a comment or a whiteboard owner or co-owner can click the More ![]() icon and choose Edit or Delete to modify or remove the comment.
icon and choose Edit or Delete to modify or remove the comment.
While viewing the comment, anyone with commenting, editing, or ownership permissions for the whiteboard can also click the checkmark ![]() icon to indicate the comment was reviewed; the comment is then removed.
icon to indicate the comment was reviewed; the comment is then removed.