It’s often said that content is king in a Web site. If that’s true (and I agree that it is), graphics definitely hold the title of queen. Quality graphics often make the difference between an amateur Web site and a professional one. Nothing can add an aura of professionalism like quality graphics.
Not all graphics are created equal, however. Part of projecting a professional impression is the proper choice of image formats. The most common image formats on the Web are GIF and JPEG. PNG is another image format that is growing in popularity for many reasons, some of which we’ll go into in this section.
The GIF format is best suited to non-photographic images that contain mostly straight lines. (Text, for example, is best suited to the GIF format.) GIF images can contain a maximum of 256 colors, but you can also save them with fewer colors to save file space.
The GIF format has the advantage of being a lossless format. That means, in most cases, you can edit a GIF image as many times as you wish without reducing the quality of the image. GIF images are also color-indexed, meaning that each image has a table of colors saved with it. By reducing the number of colors in the color table, you can reduce the file size of an image. If you remove a color that actually exists in the image, the GIF format can combine other colors in the color table to try and reproduce the color that was removed. This process is known as dithering.
GIF images also support transparency. Colors in the color table can be marked as transparent. A color marked as transparent will not be visible in the final image. Instead, the content underneath the image will show through. Transparent images are not only useful when you want background colors to show through, they are also useful as a formatting tool. Many designers will place a transparent GIF inside a table cell to act as an invisible spacer.
JPEG images are best suited to photos and other graphics that consist of many colors. The JPEG format supports full-color images and can be compressed with excellent results. However, unlike GIF images, once you compress a JPEG image, it will lose quality that can never be recovered. If a JPEG is edited multiple times, the quality can be dramatically degraded.
JPEG images do not support transparency, so if you want an irregularly shaped JPEG to appear on a particular background color, make the background of the actual image the same color as the background color on which it will appear.
PNG images combine the best features of GIF and JPEG together in a single format. PNG images support transparency and full-color reproduction.
Note
The PNG format supports alpha transparency, meaning that a color can be set to varying degrees of transparency.
Caution
Not all browsers fully support the PNG format. You can check your browser’s compatibility at www.w3.org/Graphics/PNG/.
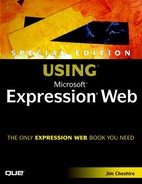
To insert an image, select Insert, Picture, From File. After you insert the desired image, Expression Web will display the Accessibility Properties dialog, as shown in Figure 14.1.
Caution
To maintain accessibility standards, it is strongly recommended that you include alternate text and long descriptions for all images.
You can also insert a picture directly from a scanner or camera by selecting Insert, Picture, From Scanner or Camera. The interface you see with this method is dependent on the camera or scanner.
Note

If your inserted images are sometimes not visible, see “Images Sometimes Not Visible” in the “Troubleshooting” section of this chapter.
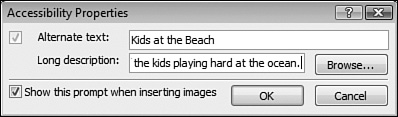
Inserted images can be located anywhere. If an image is not already located in the current Web site, Expression Web will display the Save Embedded Files dialog and prompt you to save the image into the Web site when the page is saved, as shown in Figure 14.2.
Note
Expression Web will also display the Save Embedded Files dialog when you edit an existing image on a page.
There may be occasions when you want to link directly to an image on another Web site. When you do this, Expression Web will display the Save Embedded Files dialog and prompt you to save the image into the Web site. If you’d prefer not to save the image into your Web site, click the Set Action button and select the Don’t Save This File option, as shown in Figure 14.3.

After you’ve inserted an image, there are many formatting options available to you.
To resize an image, select the image and drag one of the sizing handles that appear around the edges of the image. By default, Expression Web will allow you to change an image’s proportions. In other words, when you change an image’s width, the height will not change proportionately by default.
In many cases, you’ll want to size an image without changing the proportions. To do that, press and hold the Shift key while dragging the sizing handle at the lower right corner of the image. As you size the image either horizontally or vertically, Expression Web will size each dimension proportionately.
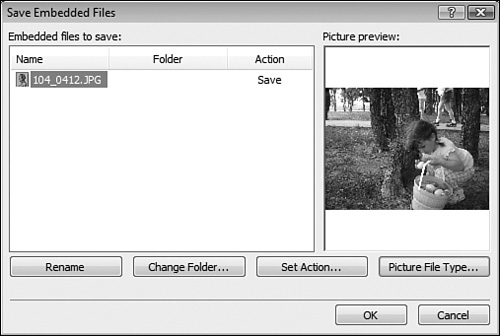
After an image is resized, Expression Web will display the Picture Actions button. Clicking the button displays the options shown in Figure 14.4.
Using the Picture Actions options, you can choose between simply modifying the size attributes in the HTML code or resampling the file. Resampling is often the best choice, especially if you have sized the image to a smaller dimension. When you resample an image that has been made smaller than its original dimensions, Expression Web will apply a complex algorithm to the image that not only makes it look much better, but also reduces the file size substantially.
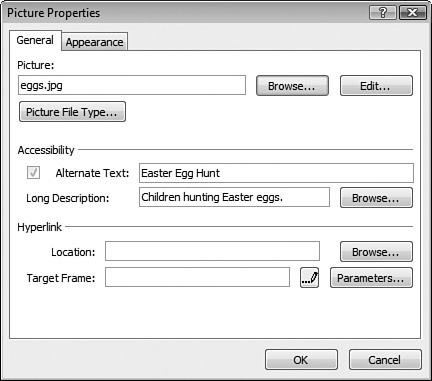
To edit the properties of an image, select the image and then select Format, Properties to display the Picture Properties dialog shown in Figure 14.5.
Tip
You can also access the Picture Properties dialog by double-clicking an image or by right-clicking on an image and selecting Picture Properties from the menu.
On the General tab of the Picture Properties dialog, you can change many general options for an image, including configuring a hyperlink for the image. You can also edit the image in an external editor by clicking the Edit button. When you click the Edit button, the image file is opened in the image editing application associated with the image type.
→ | For information on configuring editors for images and other files, see “Configuring File Editors,” p. 122 (Chapter 7). |
The Appearance tab of the Picture Properties dialog provides access to many useful image formatting tools. As shown in Figure 14.6, you can modify an image’s wrapping style, layout, and size.

One of the most useful properties of an image is its wrapping style. Figure 14.7 shows an image with the default wrapping style of None. The same page is shown in Figure 14.8, but the wrapping style of the image has been changed to Left. Notice that the image appears on the left edge of the text in Figure 14.8.
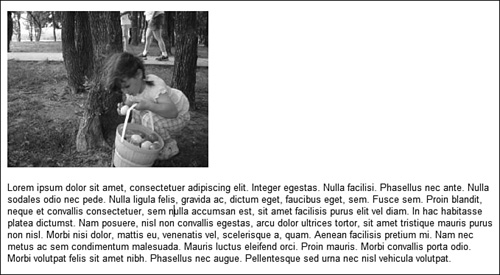
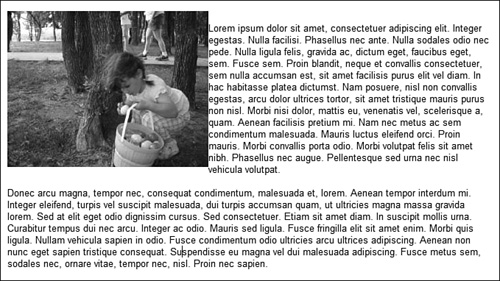
Figure 14.8. Here is the same page as in Figure 14.7, but the image now has a wrapping style of Left. Note that the image appears on the left edge of the text.
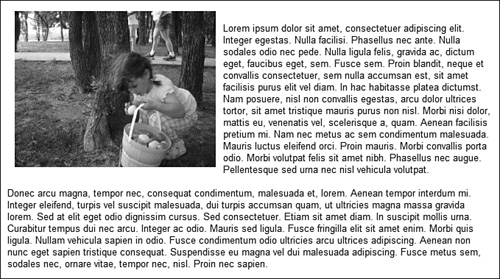
You may have noticed that the text in Figure 14.8 appears right up against the image. By adjusting the Horizontal Margin in the Picture Properties dialog, you can add a small buffer between the image and the text, as shown in Figure 14.9.
You can easily convert an image from one format to another. To convert an image, right-click the image and select Change Picture File Type to display the Picture File Type dialog, as shown in Figure 14.10.
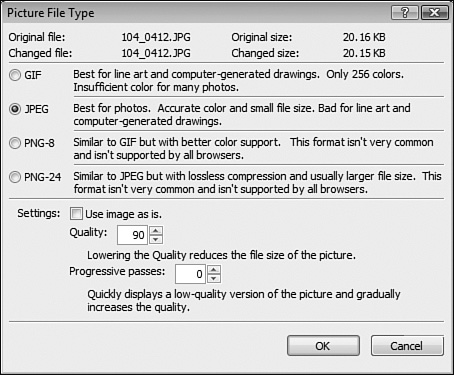
You may want to convert an image to another format to make the image file size smaller. For example, if you have been given a photograph in GIF format for use in a Web site, you’ll likely be able to substantially reduce the file size of the image by converting it to a JPEG image. On the other hand, if you are given a logo in JPEG format that contains only a few colors, you can likely make the file much smaller by converting the logo to a GIF image.
The options available in the Picture File Type dialog differ based on the image format you select. In Figure 14.10 (shown previously), the options for the JPEG format are shown. If you select GIF as the image format, you are given the option to make the image transparent.
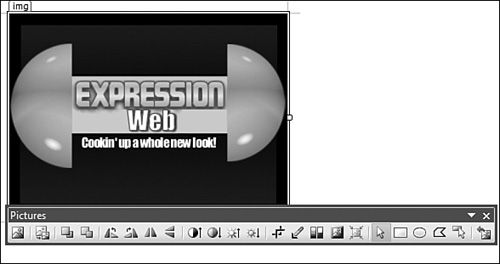
You can set the transparency of a GIF image only if a transparent color has already been selected for the image using the Pictures toolbar or a graphics editing program. To set the transparent color using the Pictures toolbar:
Select View, Toolbars, Pictures to display the Pictures toolbar.
Select the image.
Click the Set Transparent Color button on the toolbar, as shown in Figure 14.11. If the image is not already a GIF image, Expression Web will inform you that it will convert the image.
Click on the color you want to make transparent. The color should immediately disappear, revealing the color underneath it.
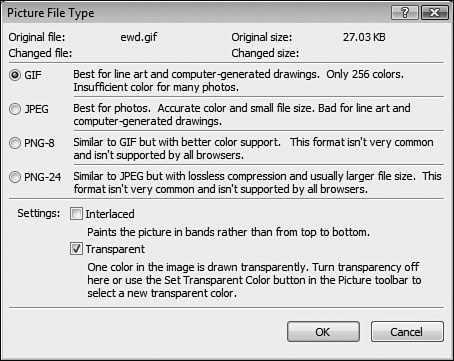
After you’ve added transparency to an image, you can use the Picture File Type dialog to disable transparency again by unchecking the Transparent checkbox shown in Figure 14.12.
A common technique for displaying larger images is to show a small version of an image (called an image thumbnail) that can be clicked to show the larger version. This technique (often used in e-commerce Web sites) prevents site visitors from having to download large versions of images they aren’t interested in viewing.
Expression Web can automatically create image thumbnails for your images and will also automatically create links to the larger images. To create an image thumbnail, follow these steps.
Insert an image.
If the Pictures toolbar is not visible, select View, Toolbars, Pictures to display it.
Select the image and click the Auto Thumbnail button on the toolbar, as shown in Figure 14.13.
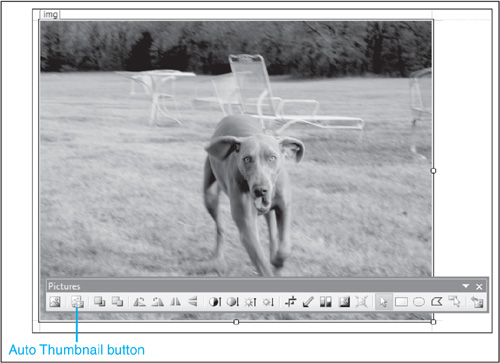
When you create an auto thumbnail, Expression Web will resize the image to be much smaller. It will also add a hyperlink that, when clicked, will display the larger version.
Note
If the larger version of your image doesn’t appear as large as it should in Internet Explorer, see “Larger Image Appears Too Small” in the “Troubleshooting” section of this chapter.
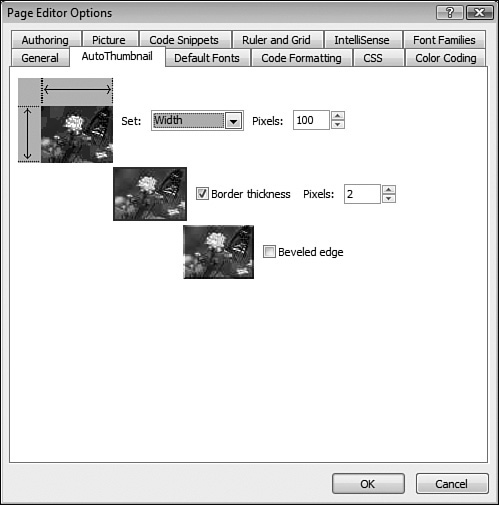
By default, Expression Web creates a thumbnail image that is 100 pixels wide. It also displays a blue border around the hyperlinked thumbnail. You can change these default settings using the AutoThumbnail tab on the Page Editor Options dialog, as shown in Figure 14.14.
An image map is an image on which one or more regions are configured as hyperlinks. You can configure any number of hotspots on an image and configure a new hyperlink for each one.
To create an image map, follow these steps.
Insert an image and enable the Pictures toolbar.
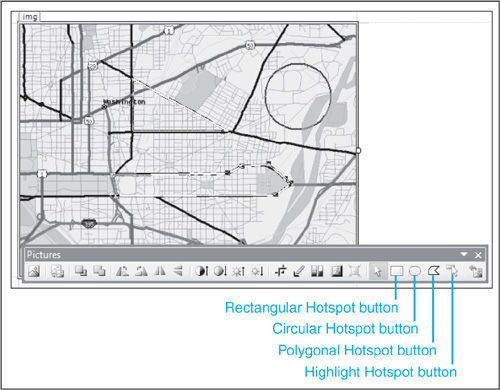
Select the image and then click one of the hotspot buttons on the Pictures toolbar. You can choose a rectangular hotspot, a circular hotspot, or a polygonal hotspot, as shown in Figure 14.15.
Click and drag on the image to create the hotspot. When creating a polygonal hotspot, click and drag to create each side until the polygon is closed on all sides.
When you release the mouse (or when a polygonal hotspot is closed on all sides), Expression Web will display the Insert Hyperlink dialog so you can configure the hyperlink for the hotspot. After the hyperlink has been created, you can edit it by right-clicking the hotspot and selecting Hyperlink from the menu or by double-clicking the hotspot.
→ | For information on using the Insert Hyperlink dialog, see “Creating Pages and Content,” p. 103 (Chapter 7). |
After a hotspot has been added, you can resize it by selecting it and dragging the sizing handles. You can also move it to a different position by clicking and dragging it to the new location. You can highlight all hotspots on an image by clicking the Highlight Hotspots button shown previously in Figure 14.15. Highlighting hotspots makes it easy to locate all hotspots on an image. When hotspots are highlighted, selected hotspots will appear as filled shapes and unselected hotspots will appear as outlined shapes, as shown in Figure 14.16.

Page transitions were introduced in Internet Explorer 5.5. They are effects that display when moving from page to page or site to site and are built into the browser. You can easily add page transition effects with Expression Web.
Caution
Page transitions will only work in Internet Explorer. They will not adversely affect other browsers, but they won’t be visible.
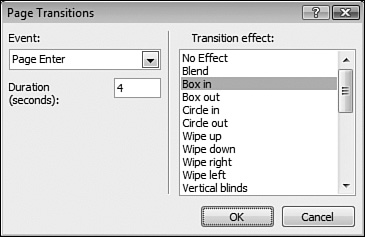
To add a page transition effect, select Format, Page Transition to display the Page Transitions dialog shown in Figure 14.17.
Note
If your page transitions are not visible when browsing your site, see “Page Transitions Don’t Work” in the “Troubleshooting” section of this chapter.
Page transitions are met with mixed feelings by many site visitors. Depending on the speed of the computer on which the site is being browsed, a transition may take much longer to complete than the time for which it’s configured. For example, my wife uses an old, slow 500MHz machine to browse the Internet. Page transitions on that machine regularly take twice as long as they do on a faster machine. A nearly 10-second transition is far too long and it can be quite annoying when visiting Web sites that use transitions for all pages.
Before you add an effect such as page transitions, give careful consideration to how it might affect people visiting your site.
I’ve added some images to my Web site. When I’m on my own computer, they show up fine, but when I go to another computer, I don’t see the images at all.
It’s likely that your image links are pointing to files on your local computer. Open the page and look at the images in Code View. If you see a file path as the source of an image, that’s the problem.
The code below shows an image source path pointing to a local file path:
<img alt="Eating" src="file:///E:/Pictures/101_0118.JPG" width="160" height="120" />
If you browse this page on the computer containing that image, the graphic will show up fine. However, if you go to another computer, the graphic won’t display.
To resolve this issue, import the image into the current Web site so the link to the image is relative to the existing Web site. The code below shows an image that is correctly linked to the current Web site:
<img alt="Eating" src="images/101_0118.JPG" width="160" height="120" />
I’ve created an auto thumbnail, but when I click the link to see the larger image, it shows up big for a split second and then shrinks to a smaller size automatically.
What you are experiencing is likely caused by the Image Toolbar feature introduced in Internet Explorer 6. This feature will automatically resize images so they fit in the current window.
You can disable this feature for an entire page by adding the following META tag to the page:
<meta http-equiv="imagetoolbar" content="no" />
To disable the feature for a single image, use the galleryimg attribute. The following image will not use the Image Toolbar feature in Internet Explorer:
<img galleryimg="no" alt="Eating" src="images/101_0118.JPG" width="160"
height="120" />
I’ve added page transitions, but when I view my site in a Web browser, nothing happens.
First, make sure you are using Internet Explorer 5.5 or greater. Page transitions won’t work in other browsers. If you meet that general requirement, chances are that page transitions are turned off in your browser.
To enable page transitions in Internet Explorer, select Tools, Internet Options and click the Advanced tab. In the Browsing section, make sure Enable Page Transitions is checked and click OK.
You may feel that there has been one glaring omission in this chapter: how to insert multimedia such as movie files and Adobe Flash animations. Expression Web doesn’t actually include the ability to insert these types of multimedia components out of the box. In time, you are sure to see many third-party developers offering such an option. In the meantime, you’ll have to do it manually.
Microsoft offers good documentation on embedding Windows media into Web pages at their Windows Media Knowledge Center at www.microsoft.com/windows/windowsmedia/knowledgecenter/default.aspx. Adobe offers documentation on detecting and using the Flash player in Web pages at www.adobe.com/devnet/flash/articles/fp8_detection.html. There are also many other online resources available for inserting other multimedia content.
The various development tools are also capable of producing the code necessary to include the content they generate on your Web pages. Adobe Flash, for example, is capable of producing all the code you need to display a Flash animation or movie on your Web site.
Your best bet is to do a Web search for the content you want to deliver. You are almost guaranteed to find details on how to accomplish your goal.