
In this recipe, we will see how to use some of the new features of the workflow designer.
Enhanced designer features that we will be using include search, auto surround, panning, outline, and annotations.
In order to use this recipe, you should have Visual Studio 2012 installed. You need a project to work with, such as the result of our previous recipe.
We will explore some of the new WF designer features with the following steps:
- First open Visual Studio 2012 and then open a WF 4.5 project. Our previous project will do perfectly.
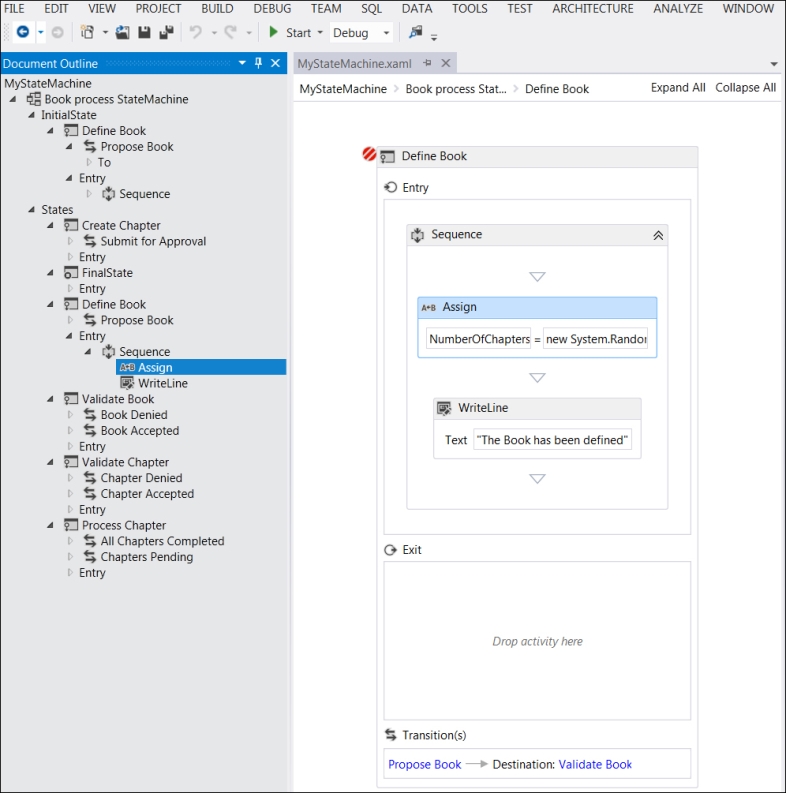
- Navigate from the menu to View | Other windows | Document Outline (or press Ctrl + Alt + T). The outline allows us to navigate with a simple click through the hierarchy of our workflow elements; this gives us a synchronized view of our workflow editor and our document outline, as we can see in the following screenshot:
- Press Ctrl + F to open the quick find Find and Replace dialog. Type
Validateand click on the Find Next button. You can cycle through all the incidences of the word that have been found in your workflow.
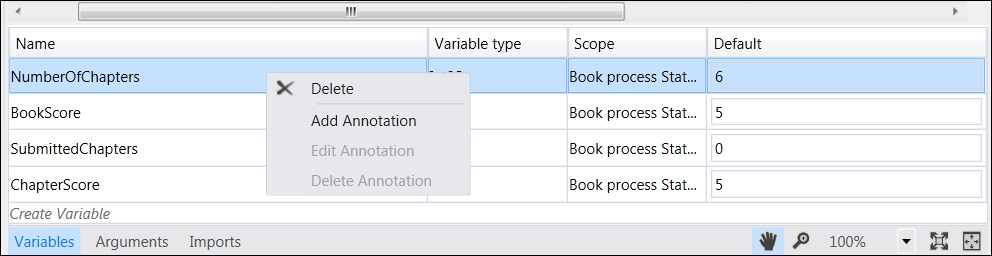
- Unfold the Variables panel and right-click on the topmost variable row. A context pop-up menu will appear with the Delete option, which already exists, that is used to perform operations with the keyboard.
- If you select three states while pressing the Ctrl key, they can then be jointly dragged. This enables us to multiselect and move states or activities on the designer (we previously had to make the selection one by one).
- For complex workflows, we have the Pan mode. You can activate it by clicking on the hand at the bottom right of the workflow designer. We can simulate this by zooming in on our workflow so we can pan around.

- On the state machine and in the flowchart workflows, we can drag a state on top of another state and see that both states become connected by a transition automatically. When dragging over the state, we will see that the attachment points become visible, indicating that when we drop the state. It will automatically get connected, as shown in the following screenshot. These features are called auto-connect and auto-insert.

- Right-click on the Create Chapter state and navigate to Annotations | Add Annotation. Enter
This is the step that will take most of the time... If you now hover over the annotation icon at the top right of the step, the annotation will be shown. Note that you can collapse it so it will be displayed as a post-it note or expand it so it will be visible in the canvas.
We simply used the workflow designer on Visual Studio 2012 to showcase some of its new features.
We did not show the auto surround with sequence or the C# expressions, since we have already done so in the previous recipe. We also used the new debugger capabilities to debug the states and activities of a workflow.
..................Content has been hidden....................
You can't read the all page of ebook, please click here login for view all page.