
So, we have an application and want to take full advantage of the Windows Store app style design, right? One of the easiest ways of accomplishing this is to provide a splash screen.
We should have an application ready, such as the previous recipe app. Any app will do. In fact, you can create an empty project and you will be ready to start this recipe.
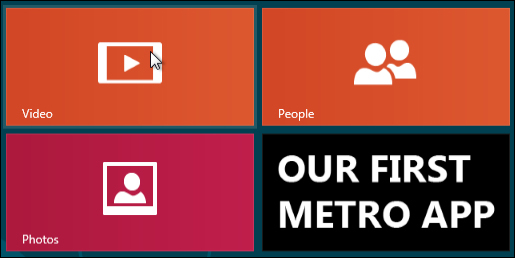
Here we are going to take some steps to provide our app with a splash screen and app. tiles. There are some predefined places in our app that we can customize with default images.
- We will put an image in our splash screen that consists of a background color and an image of 620 x 300 pixels. We already have a default image,
SplashScreen.png, in theAssetsfolder so we will need to replace this image with our own. - We will also prepare our application logo in three flavors, 150 x 150 pixels for our main logo, 50 x 50 pixels for our store logo, and 30 x 30 pixels for our small logo image.
- Additionally, we can add a
Wide Logoimage to display when the application goes on expanded mode, in which case our tile doubles its space. Thus, we must make a tile of 310 x 150 pixels. - Next, we will add the images to our
Assetsfolder, replacing the current predefined placeholder images with the new ones for our project. - Following that, we will open the
Package.appxmanifestfile with the manifest designer; a double-click on the file will do. Add a reference at the Wide logo section of our new wide logo. Then we will change the Show name section to No Logos, as our logo will showcase the application name. And finally we will change Background color to#FFFFFF.
- We will deploy our solution to see how it fits in the Windows 8 UI. We should locate quickly our application tile, select it and make it larger, and launch it to see our brand new custom splash screen.

The custom splash screen after launching will look something like this:
We just added some graphical assets and changed completely how the application looks in the Windows 8 UI, re-styling it and providing it with a bit of branding. Our app is now much closer to the Windows Store app design style.
We have also shown how easy this is and explained some of the properties from the Package.appxmanifest file.
We could use additional splash screens for 1.4x and 1.8x scaling if we want better adaptation for higher resolution displays.
We could also capture the SplashScreen.Dismissed event and react quickly to it, for example, to provide a follow-up screen that mimics the splash screen while our application loads.

This behavior would be beneficial if the application has to perform some processing or data loading/caching before providing control to the user.
The official Microsoft Developer Network (MSDN) splash screen sample, for example, exhibits this precise behavior.
Another option would be to start the transition to our application's main screen after the SplashScreen.Dismissed event.