
Before we proceed to the content of this book, let's ensure our code can actually be executed by running the simplest possible code in Jupyter. To do this, let's create a test notebook and run some code to ensure everything works as intended. Click on the Python 3 square in the Notebook section. A new tab should open, called Untitled.ipynb.
First, the blue line highlighted represents the selected cell in the notebook. Each cell represents a separate snippet of code, which is executed simultaneously in one step. Let's write our very first line of code in this cell:
print('Hello world')
Now, hit Shift + Enter. This shortcut executes the selected cells in Python and outputs the result on the next line. It also automatically creates a new input cell if there are none, as shown in the following screenshot. The number on the left gives a hint as to the order in which cells are executed, so the first cell to be executed will be marked with 1. The asterisk means the cell is under execution and computation is underway:
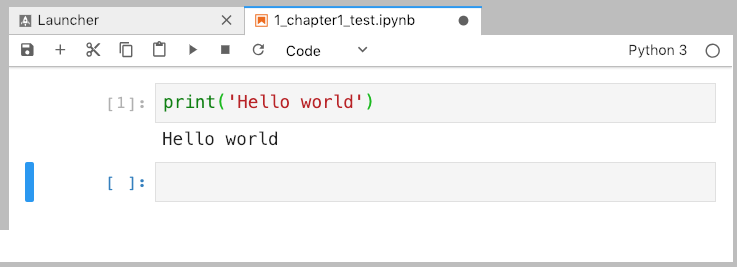
If everything worked properly, and you see Hello world in the output, then congratulations—you are ready for the following chapters!