
First up, we will look at Android as a platform to publish the package to, and deploy the package.
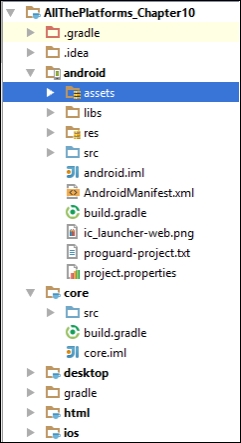
Upon opening the project that we just set up, you will notice a few differences from what we had before. Note that there are many more useful directories and we now have one directory for Android, HTML, and iOS. If you open up the core directory, you will see that the asset directory has disappeared, it is now in the Android directory. Your structure should look similar to the following:
Thanks to the setup tool, a lot has been preconfigured for us. So much so that we can launch the Android simulator with just one command line. However, before we do that, I suggest that you run the desktop version first just to confirm that we have the default "Hello World" application working.
Did that work for you? Excellent!
Now, we should try running the simulator. Personally, I rarely use the simulator, I much prefer loading it onto a real device. I just want to show you that this is possible, though, in case you don't have access to a device or you wish to try different screen sizes. I should point out that the simulator's speed does depend largely on your development computer.
There are two ways to launch the simulator. Either we can launch it from the command line or we can launch it straight from the IDE. I will try to show you both; however, I am using Android Studio/IntelliJ, so the process might be different if you are using Eclipse.
Before we launch the simulator, let's very quickly build a debug version of our APK—an APK is the generated file that is installed on an Android device. To do that, you can use the IDE or the command line to generate the APK file. In your project folder, run the following.
gradlew android:assembleDebug
This will then generate our APK.
I hope you are ready for the long and really complex process that this involves.
Only kidding!
When you imported the project, Android Studio/IntelliJ was clever enough to pick up on the fact that there is an Android project there and provided you with a run configuration. In fact, it should be selected as default so you can just hit the run button.
The run button is the green arrow next to the Android configuration.
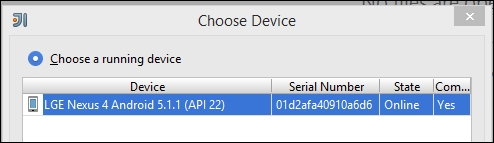
Next, you will be presented with the Choose Device dialog.
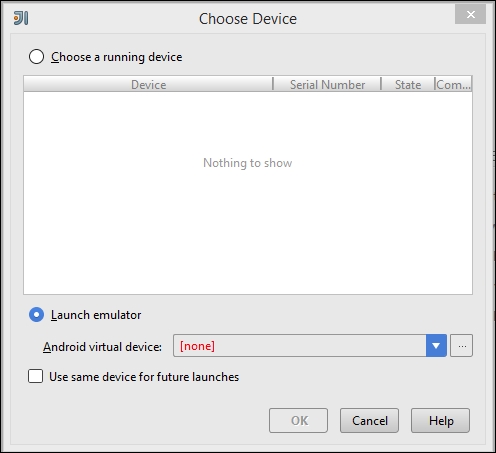
As you can see, we will need to set up a virtual device. If you click on the button to the right, it will launch the Android Virtual Device Manager; from here, we can create one project.

Let's take a look at the following steps:
- If you click on Create a virtual device, you will be presented with a plethora of different hardware types and device profiles.
- Since we are here to focus on mobile phones, let's just select Phone and then Nexus 4.
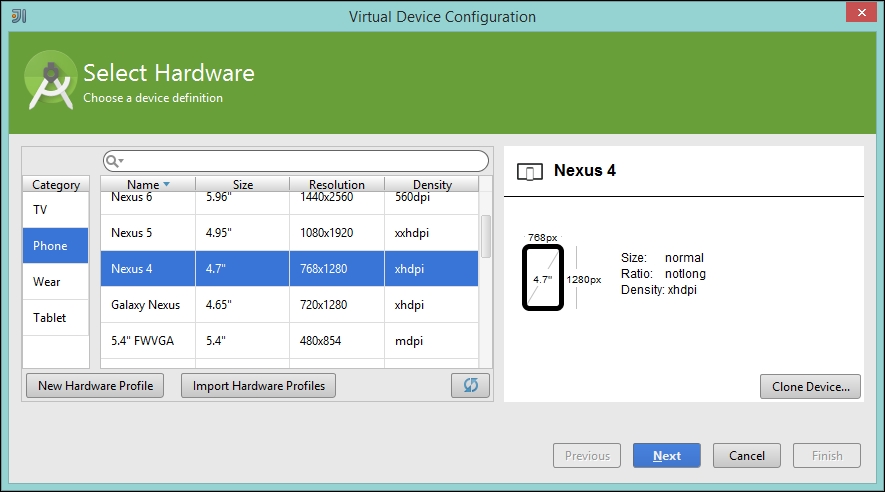
To be honest, you could pick whichever hardware profile you like. However, for the sake of this book, I will be using Nexus 4.
- Once you click on Next, you will be prompted to pick a system image. For now, just pick armeabi-v7a. I currently have API Level 22 installed so I am choosing the same.

- Finally, you will be presented with a configuration panel; for now, you can leave the configuration as it is. Later, you can revisit this and play around with the different settings. Click on Finish to complete the setup.
We will now add an entry in our Virtual Devices. If we exit and return to our Choose Device dialog screen, we can now pick our chosen virtual device.

Excellent! Hit Run and let the computer take care of the rest!
While this is loading up, there are tools available that will help make the emulator run faster. One of them is the Intel Hardware Accelerated Execution Manager. I didn't cover how to use this as it requires your computer to have an Intel CPU with Virtualization technology; if your development computer does, perfect—you can get it set up from http://developer.android.com/tools/devices/emulator.html#acceleration.
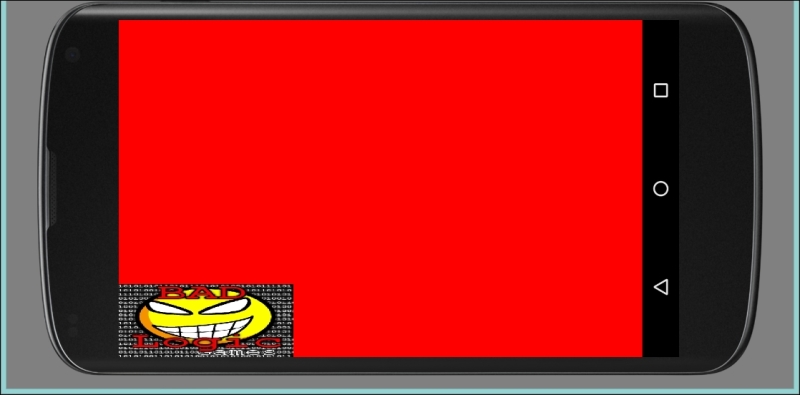
In the meantime, let's hope that the emulator has started up; it has? Excellent! It looks just like a real phone! You can interact with it with the mouse acting as your finger. If you swipe up, you will find that it unlocks the device and the LibGDX test project will be seen on the screen. It looks like the one shown in the following screenshot:
Now, we will do the same, but from the command line.
This is going to be very similar to the IDE approach; however, we will need to tell the emulator to install our APK first.
First up, we can run the Android Virtual Device Manager by entering the following in the command line:
android avd
We will be presented with a different dialog from the one in the IDE; this was wrapped it in a nicer UI for us.
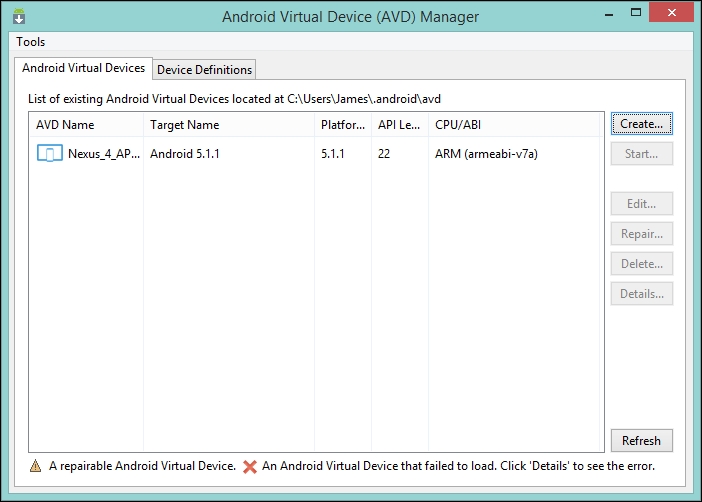
As you can see, it is different, but I ensure you that all the options are the same. If you don't have an entry, you can try the Create process. It is a simplistic version of the one that we had before.
Once you have done that, we can launch our virtual device. Select it and click on Start.
While the device is booting up, let's get ready to upload our APK to the device. Navigate your way to the project folder and when the device has loaded, run the following command:
adb install androiduildoutputsapkandroid-debug.apk
You will then find the game in the menu of the Virtual Android Device. Navigate your way there and you will find it.
Perfect! You can now run your game in an emulator. As I said previously, I much prefer running the game on a real device because not only is the performance better, but it also gives you a much better impression of how the game is going to perform.
Let me quickly show you how you can do this.
Once you have an Android device plugged in, you will need your device to allow USB debugging.
For more information regarding this process, visit http://developer.android.com/tools/device.html.
To launch the project from the IDE, perform the following steps:
- Go through the same process as before. Except, instead of launching the virtual device, we are going to select your device should be in the Choose Device dialog. Let's take a look at the following screenshot:
- Select and launch it. After this, you will have the test project running on your device!
- To do this from the command line, simply run this command in your project directory:
gradlew android:installDebug android:run
As a side note, you may find that the command line fails on occasion if it hasn't successfully uninstalled the application, as it will think you are trying to install the same application that is already there.
There you go, you are now able to launch your game on a device.
Ah, you caught me! We jumped straight to seeing something working without discussing how all of it works. Well essentially, your Android subproject can be seen as similar to the Desktop subproject, both have the core subproject as a dependency and both create an instance of your game. Check out the AndroidLauncher class and the DesktopLauncher class and you will see the similarities.
I am not going to cover how Android works here as that is beyond the scope of what this book is about. There are plenty of resources out there if you wish to know more. I recommend that you start from the Android website: http://developer.android.com.
Alright, maybe not the Kraken, but at some point, you will need to generate a release APK that you will want to upload to certain online stores where you can make it available for the world to download and play.
I won't be covering the app store part, but I will show you how to make sure your APK is signed and uses something called ProGuard to reduce and obfuscate your code.
Firstly, let's cover signing. Why does your APK needs to be signed and what does this mean? Well, Android requires you to sign your release APK with a certificate to identify you as the author of the app. It is fairly common for you to use a self-signed certificate.
When it comes to generating your own certificate, refer to http://developer.android.com/tools/publishing/app-signing.html on how to create your own certificate.
To have the APK signed as part of the build process, we need to update the build.gradle file in the Android subproject, as this doesn't get generated for us. Let's take a look at the following steps:
- In the file, update the Android module, as follows:
signingConfigs {
  release {
    storeFile file(RELEASE_STORE_FILE)
    storePassword RELEASE_STORE_PASSWORD
    keyAlias RELEASE_KEY_ALIAS
    keyPassword RELEASE_KEY_PASSWORD
  }
}
Here, the text in caps will need to be replaced with your information. I highly recommend you to not keep your passwords in this file, but instead have them in the
gradle.propertiesfile in the.gradledirectory in your home location and then reference them, like we did previously. - However, this isn't the end of it, we need to now run Proguard. The reason for doing this is that it will reduce the overall size of your APK as well making it very hard to reverse-engineer your game should someone choose to do so. Luckily for us, LibGDX generates a base for Proguard. In fact, now is a good time if you are interested to visit their website: http://proguard.sourceforge.net/.
- To utilize the code in our build, we need to add
buildTypesto our Android module and specify the following:buildTypes { release { signingConfig signingConfigs.release minifyEnabled true proguardFile getDefaultProguardFile('proguard-android-optimize.txt') proguardFile 'proguard-project.txt' } }Here we are saying that, when performing a release build, we need to sign using our signing configuration and enable minify, which will handle the Proguard execution.
- Finally, to perform the release, run the following command in the project directory:
gradlew android:assembleRelease
You will then find a release APK in the outputs directory.
There you have it. Now you should now be able to release your game on Android!