
Before we can begin exploring Rx, we need to install it. The easiest way to do this is using NuGet.
For this chapter on Rx, we will not create a separate class. All the code will be written in a console application.
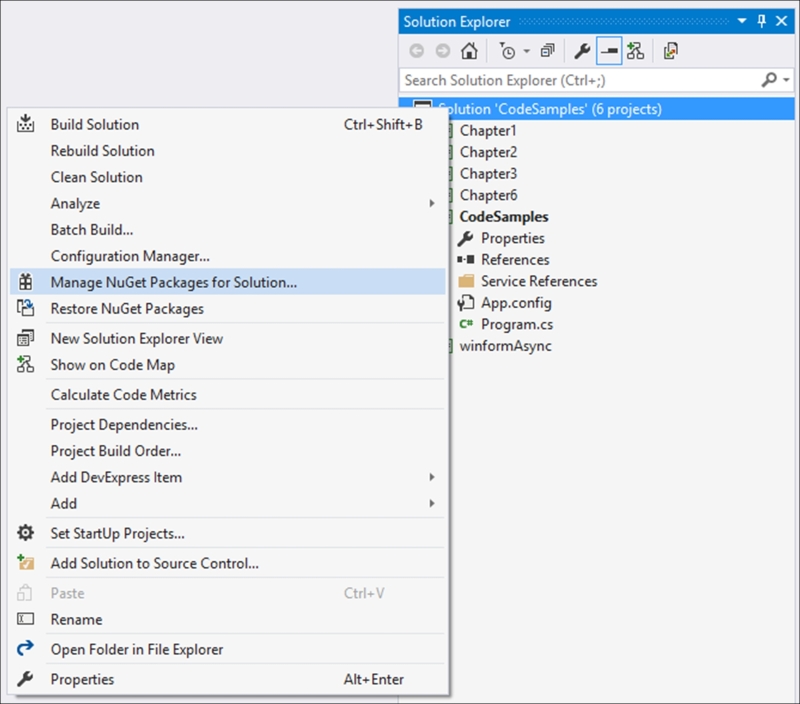
- Right-click on your solution and select Manage NuGet Packages for Solution… from the context menu:
- In the window that is displayed afterwards, type
System.Reactivein the search text box and search for the NuGet installer: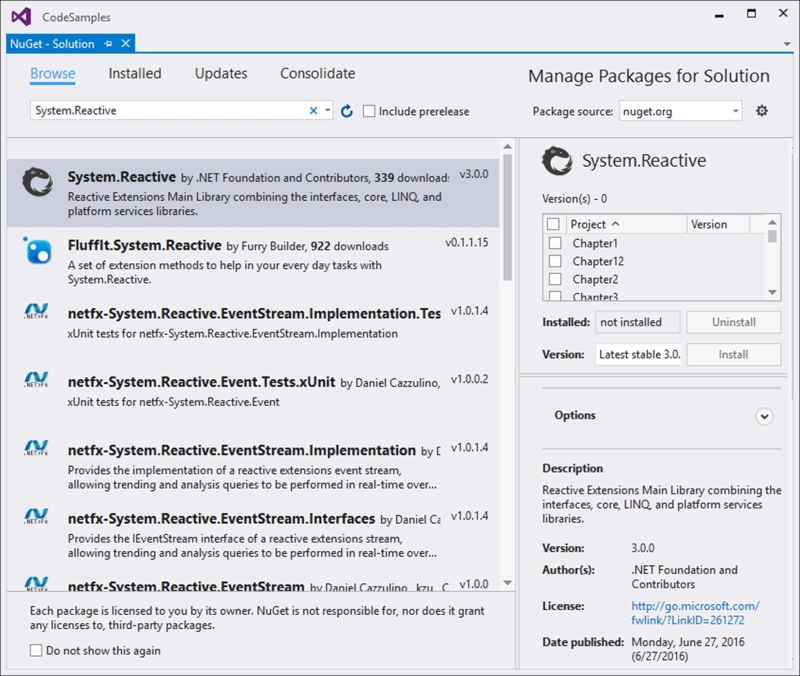
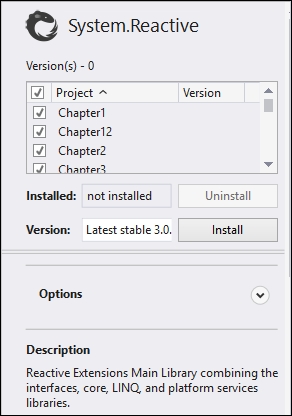
- At the time of writing this book, the last stable release was version 3.0.0. Next, select the projects that you want to install Rx on. For simplicity sake, we just selected it to be installed project wide:
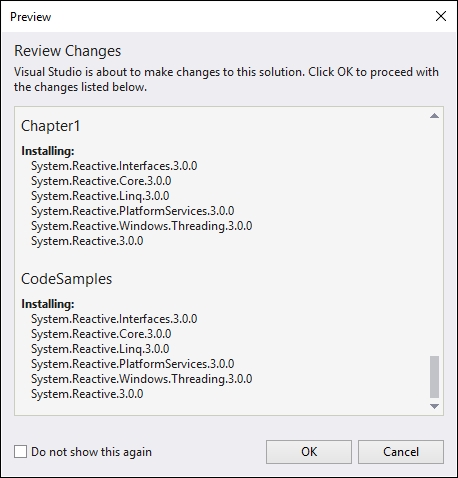
- The next screenshot that is displayed is a confirmation dialog box, asking you to confirm the changes to the project. It will show a preview of the changes it will be making to each project. If you are happy with the changes, click on the OK button:
- A license agreement might be presented to you in the last dialog screen, which you will need to accept. To continue, click on the I Accept button.
- After the installation is complete, you will see the references added to Rx under the References node in your project. These are as follows:
System.Reactive.CoreSystem.Reactive.InterfacesSystem.Reactive.LinqSystem.Reactive.PlatformServices
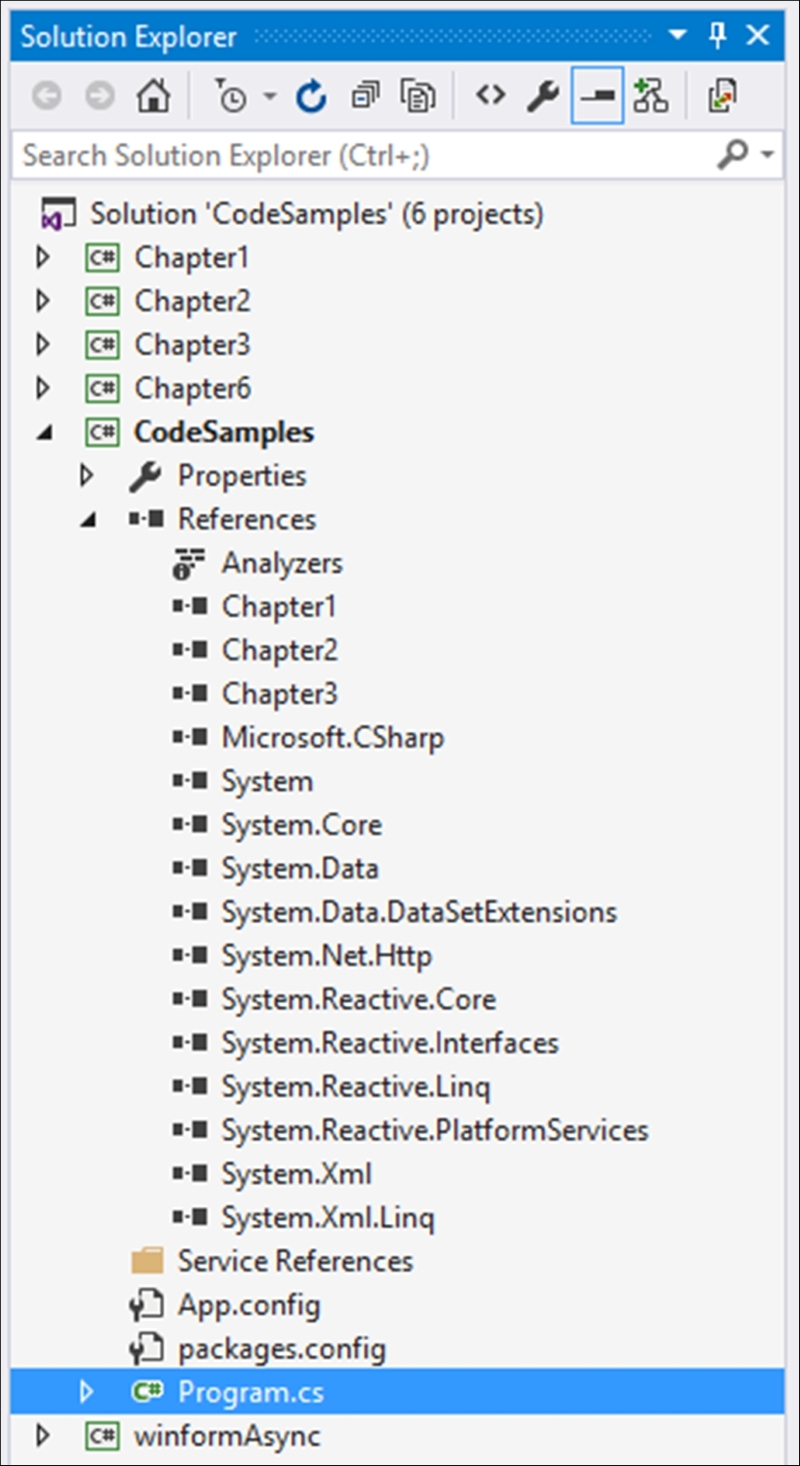
NuGet is by far the easiest way to add additional components to your projects. As you can see from the added references, System.Reactive is the main assembly. To gain a better understanding of System.Reactive, view the assemblies in Object Browser. To do this, double-click on any of the assemblies in the References option of your project:
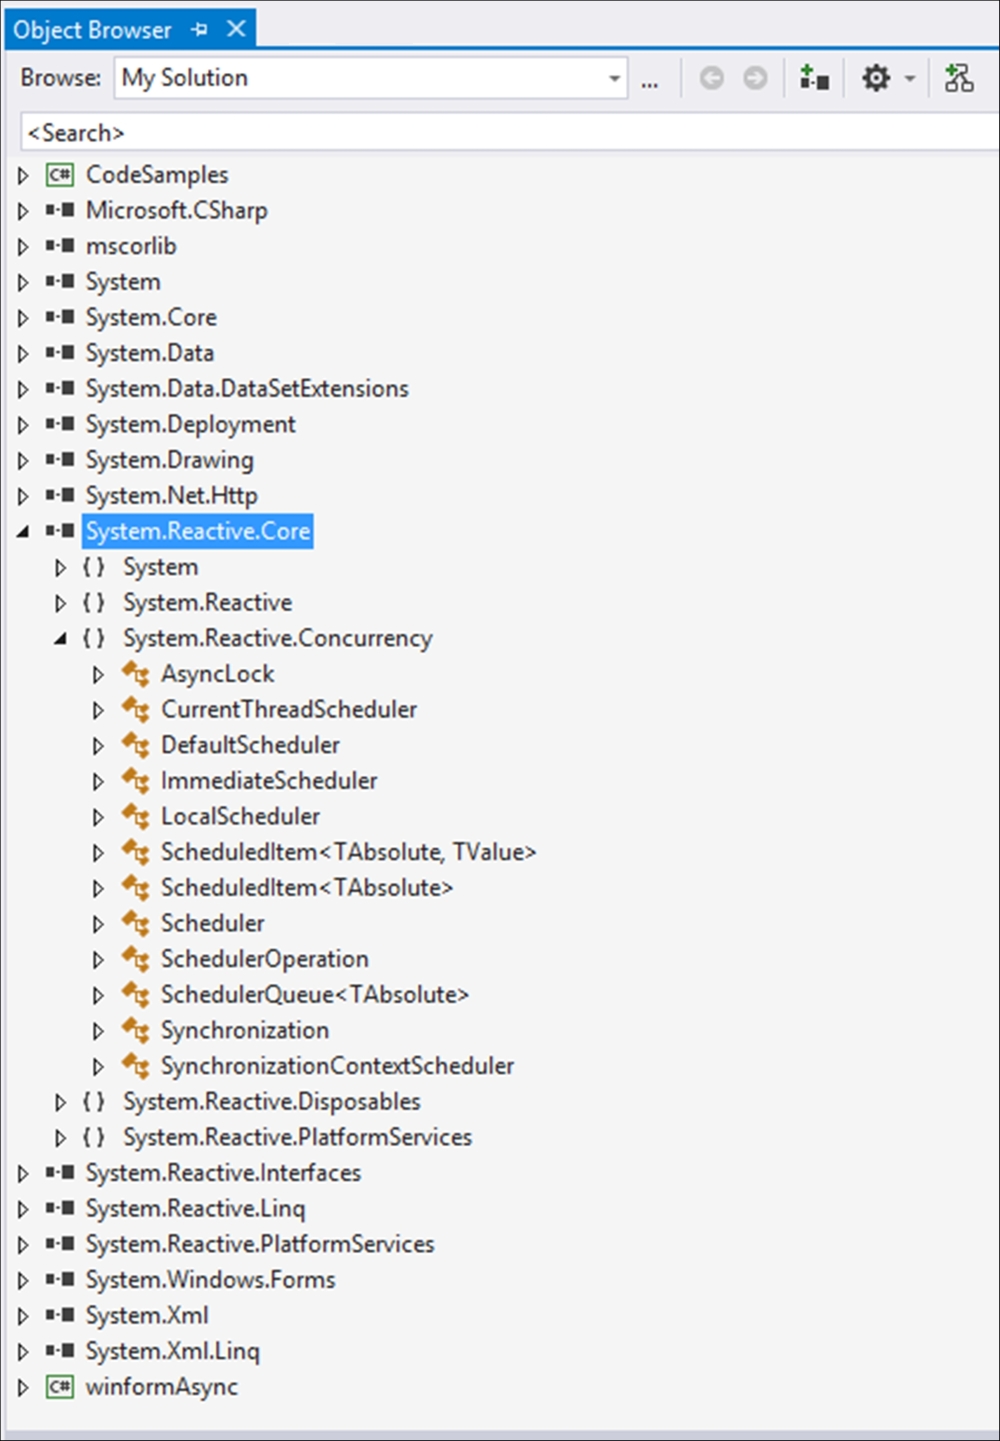
System.Reactive.Linq contains all the querying functionality in Rx. You will also notice that System.Reactive.Concurrency contains all the schedulers.
..................Content has been hidden....................
You can't read the all page of ebook, please click here login for view all page.