LEVEL: INTERMEDIATE
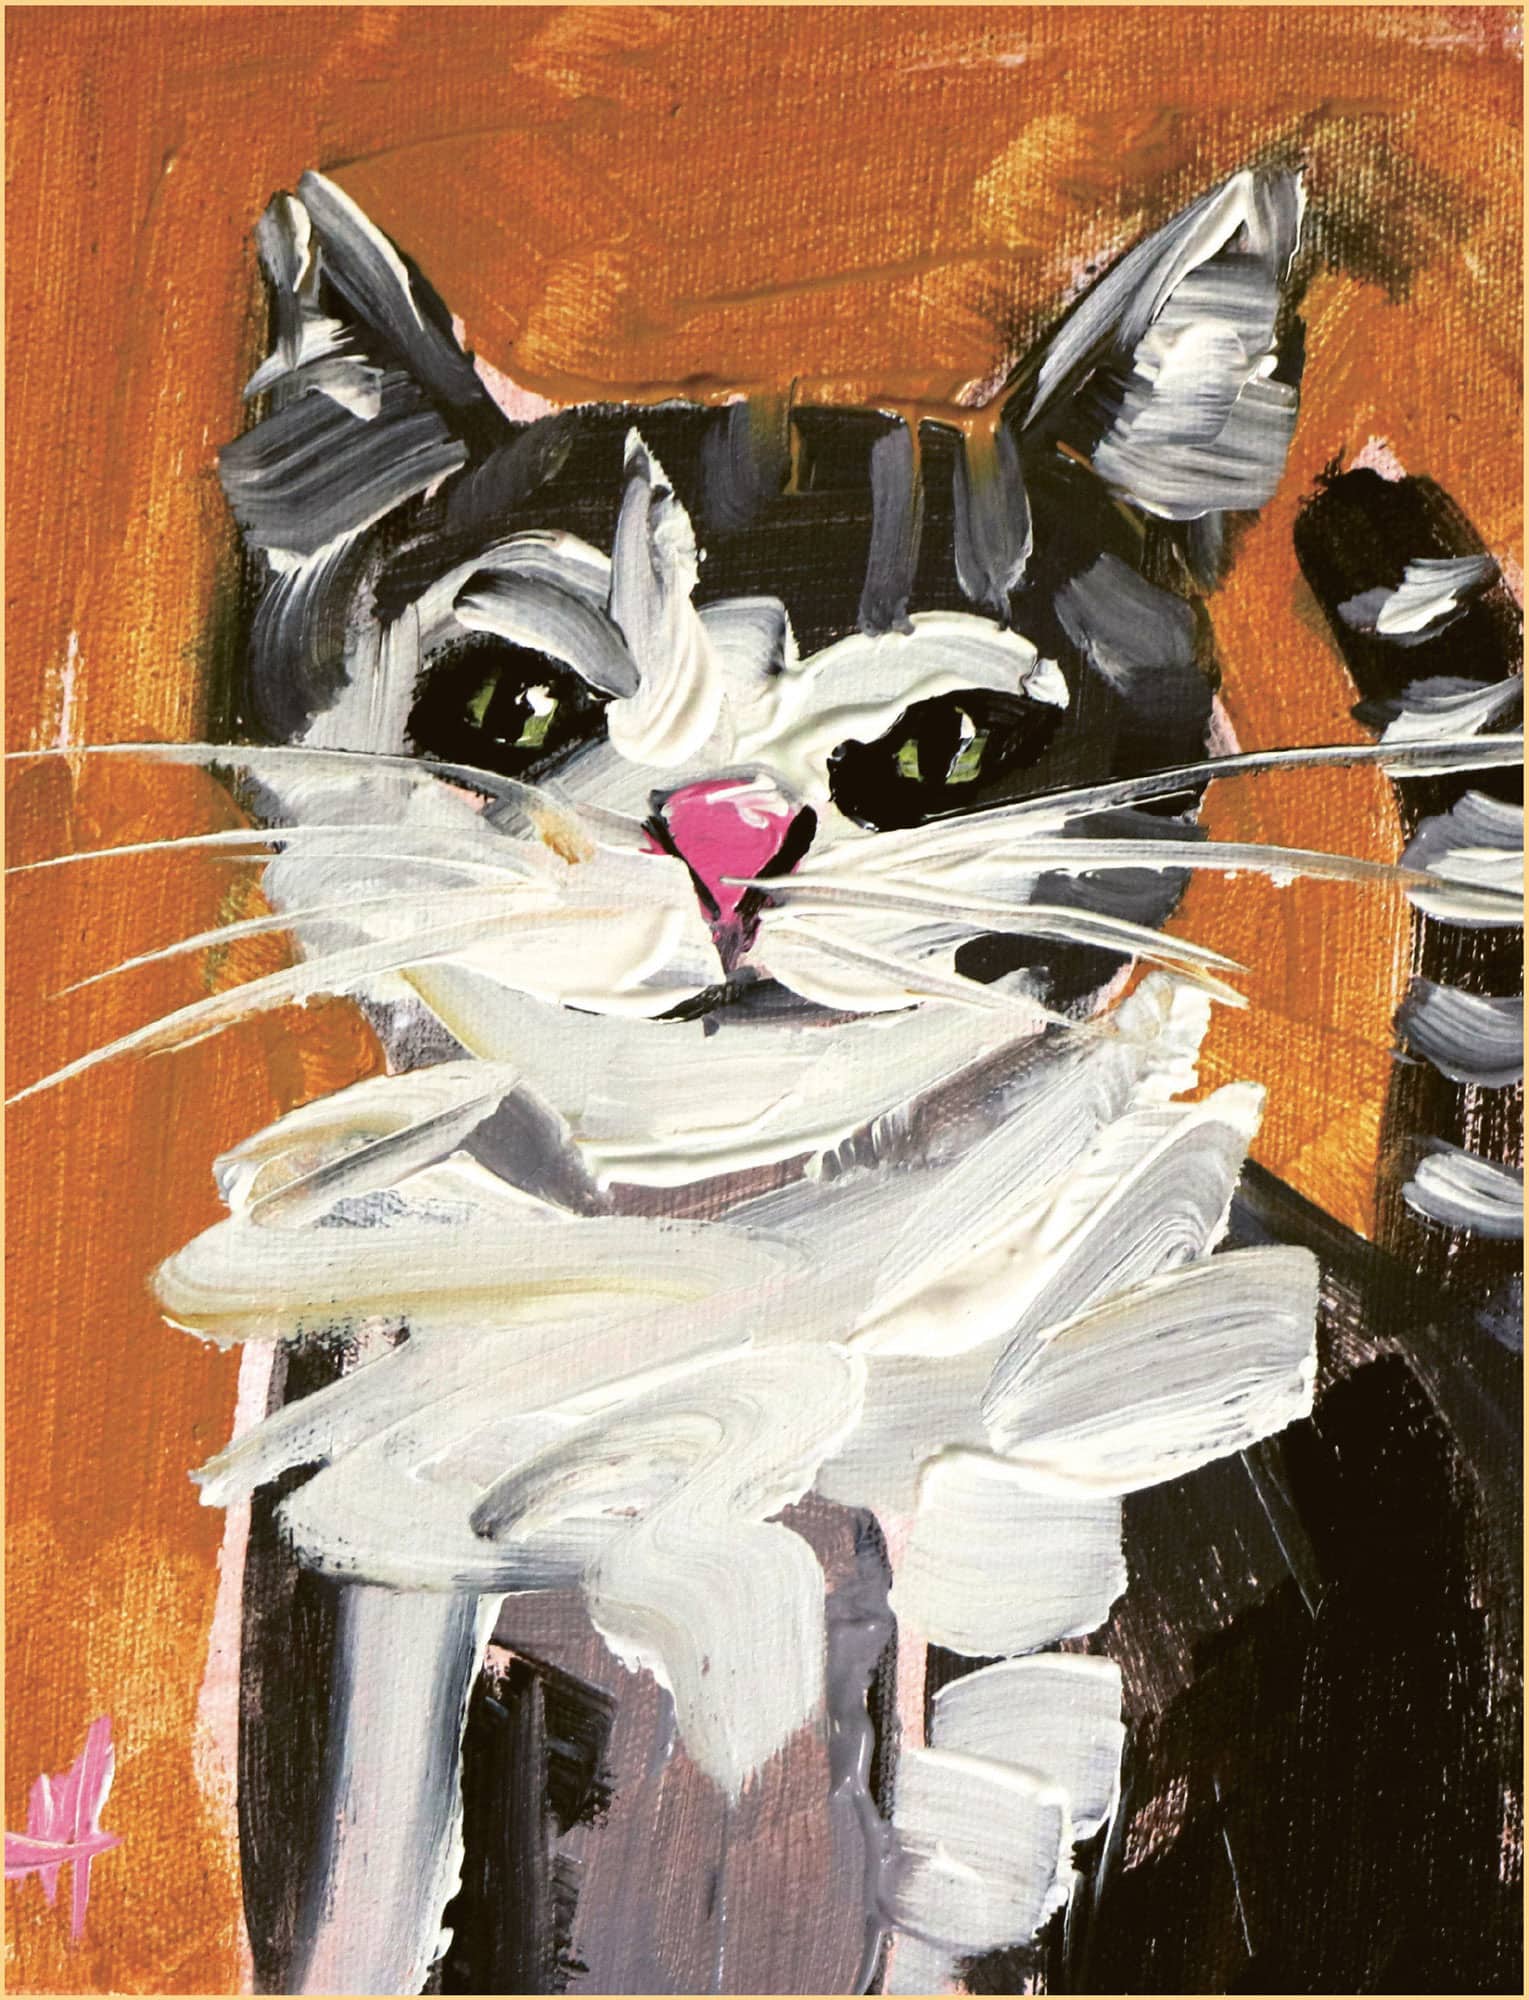
Cat Portrait
For portraits, it’s common and traditional to use a vertical canvas. Animals are a great way to introduce the basics of portraiture to beginning artists. Feel free to experiment with different markings and colors to make your painting more personal.
STEP ONE
Start by toning your canvas with a thin wash of the transparent brown iron oxide or azo brown acrylic paint.
The paints commonly needed for furry animals are natural colors with lots of creams and browns. You may need a splash of blue or pink for eyes or a shiny pink nose, but even those colors should be toned down to look real.
However, if you want to go for a look that is more bold and fun, go for it! Try a brighter palette and feel free to adjust the brightness of the colors accordingly.

STEP TWO
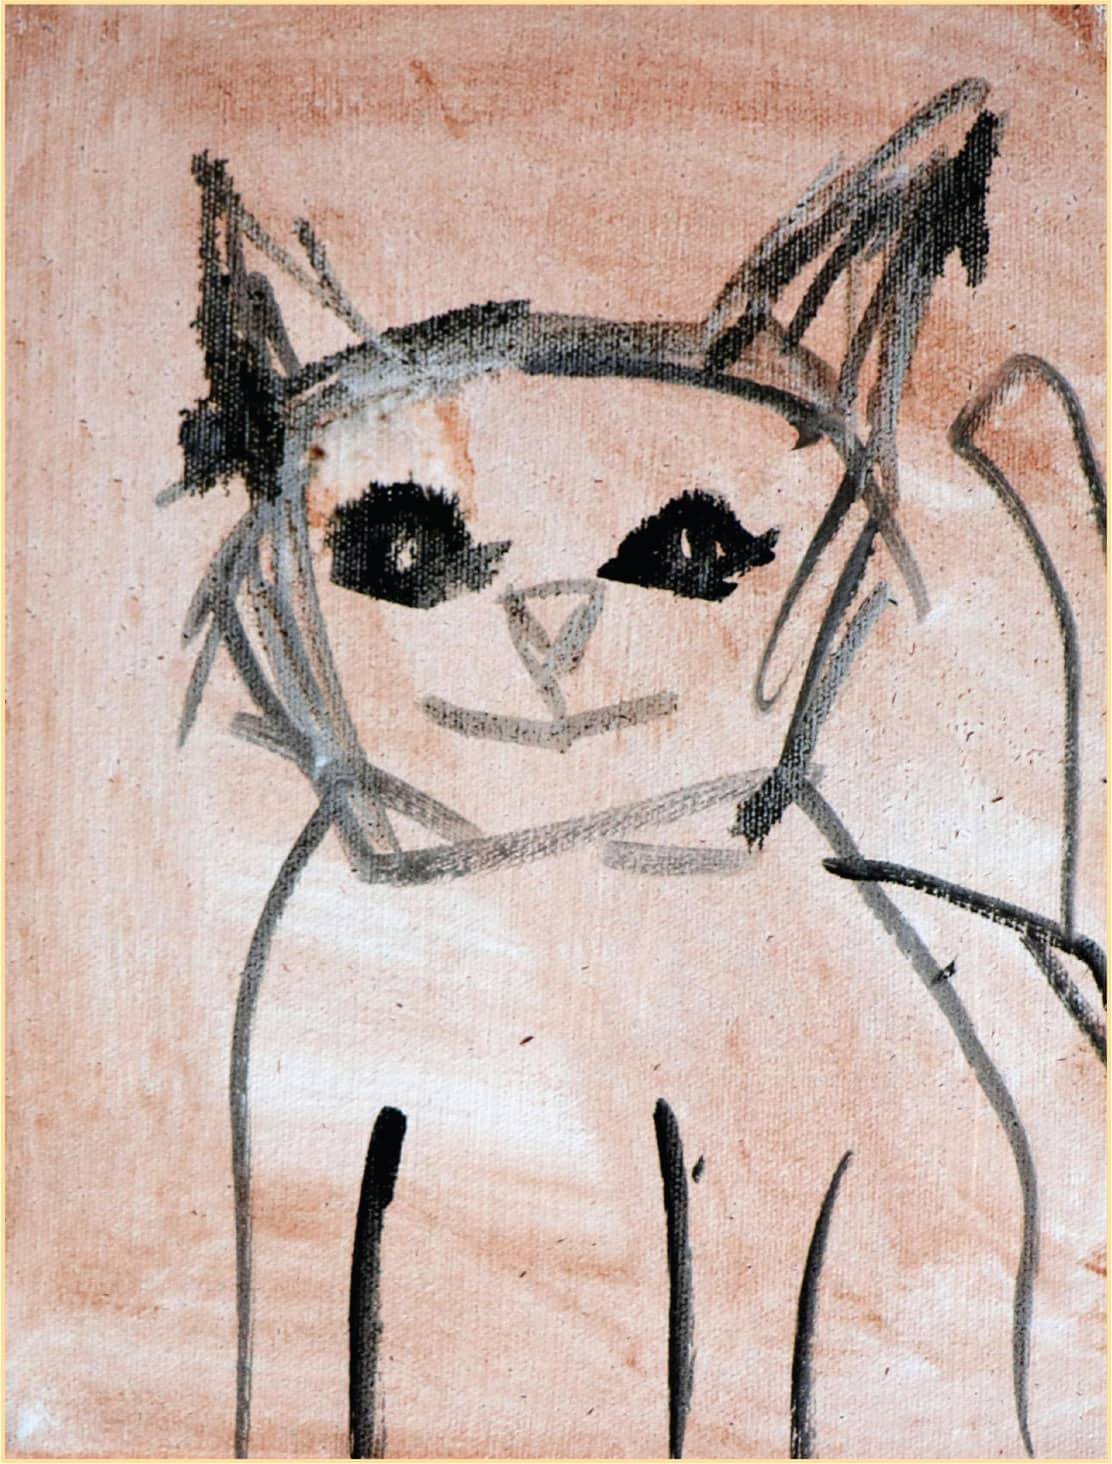
Arrange the canvas in portrait orientation. The longest side should be vertical. Start sketching with your small brush and black paint. Sketch the head roughly like a hexagon two-thirds up the canvas and just slightly off-center to the left.

STEP THREE
Sketch on some pointy ears. Then make a small horizontal line in the middle of the head for the top of the nose. Add two almond-shaped eyes and an upside-down triangle for the nose. Then add the mouth.

STEP FOUR
Draw the body going down to the bottom of the stretched canvas. Add lines for the two front legs and a rounded body off to the right with a long curving tail. Then add circles for the iris of each eye.
STEP FIVE
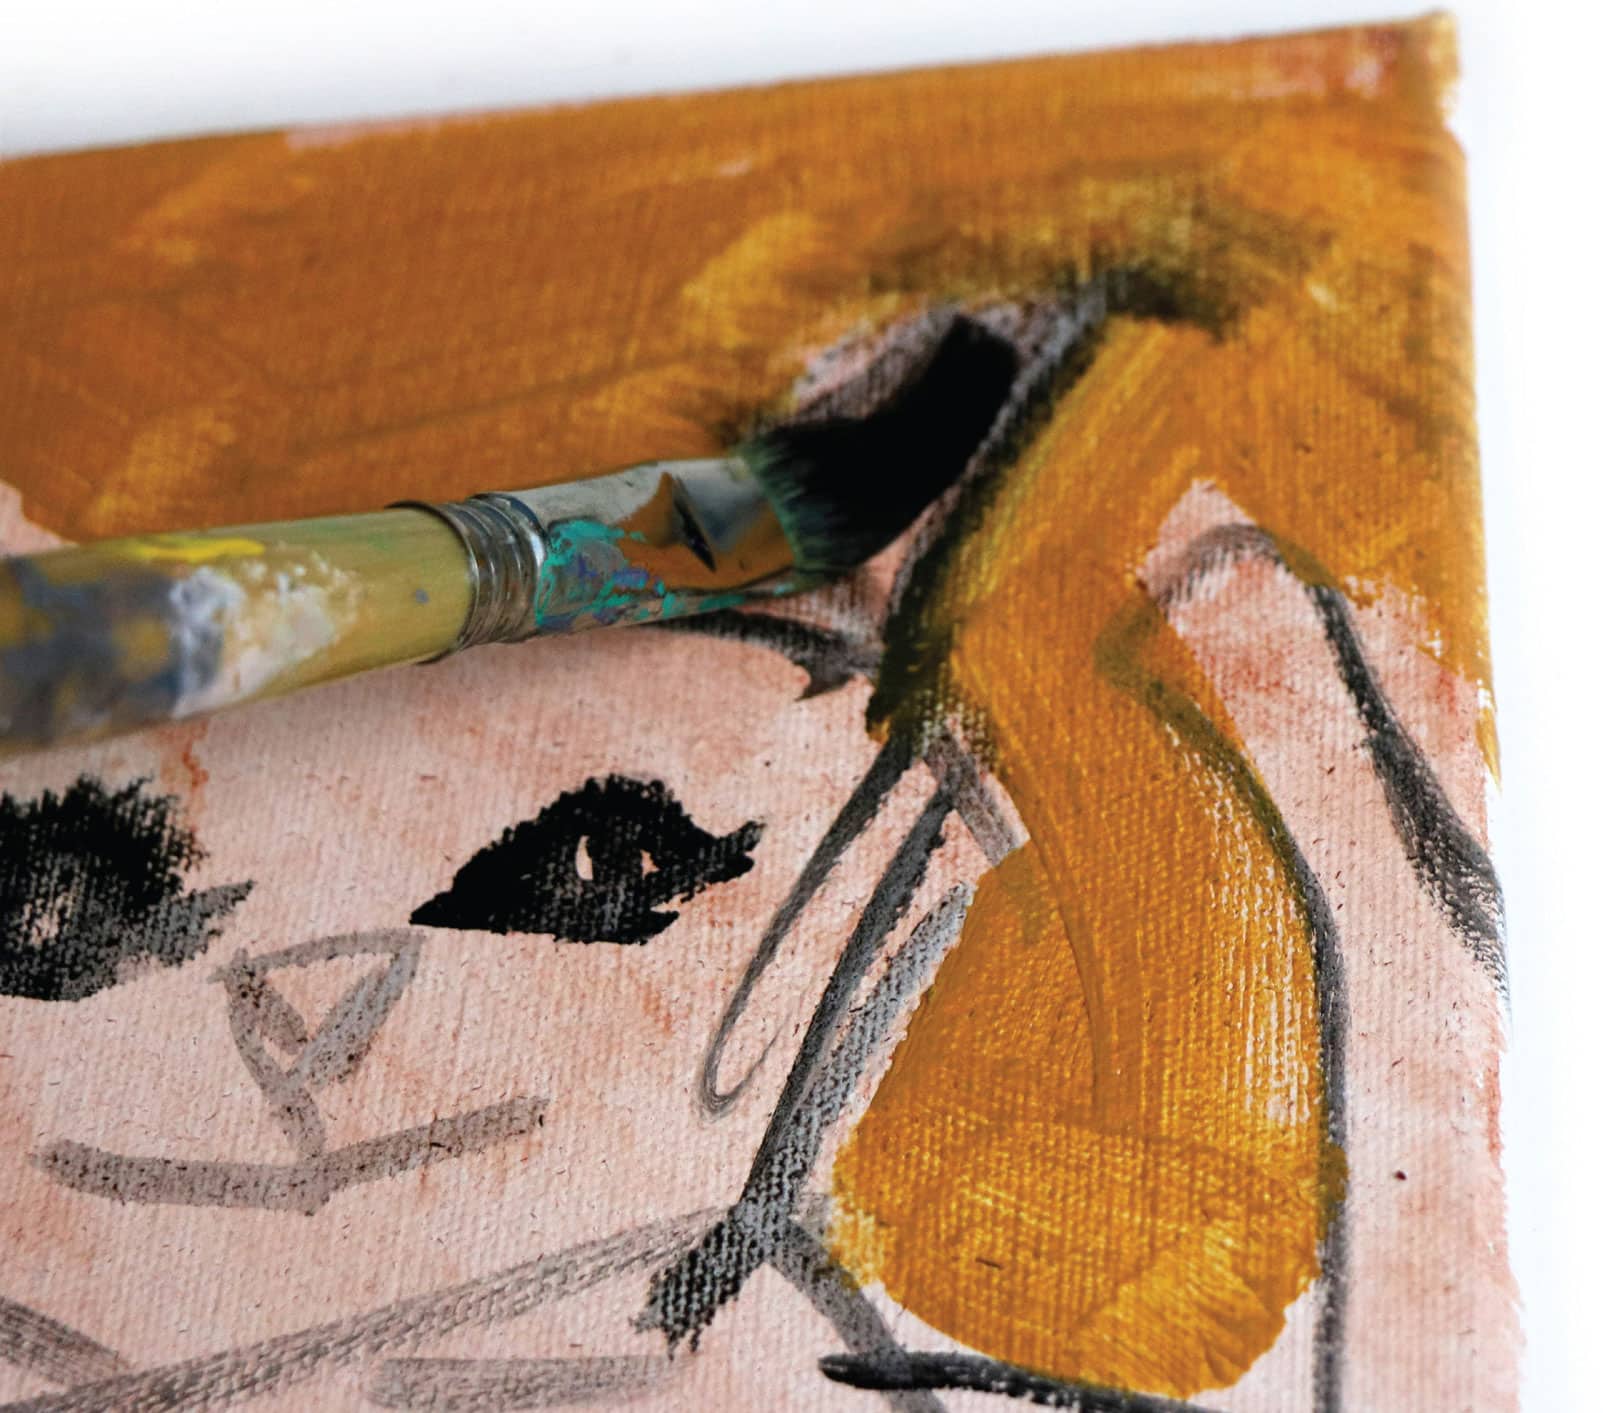
Mix your yellow ochre paint with a spray of water to make it smooth and spreadable. Use your large brush to paint the background yellow ochre.

STEP SIX
Mix some brown and black together. With your large brush, add some shadow area to the cat’s legs. Use this same mixture on the ears and the tail.


STEP SEVEN
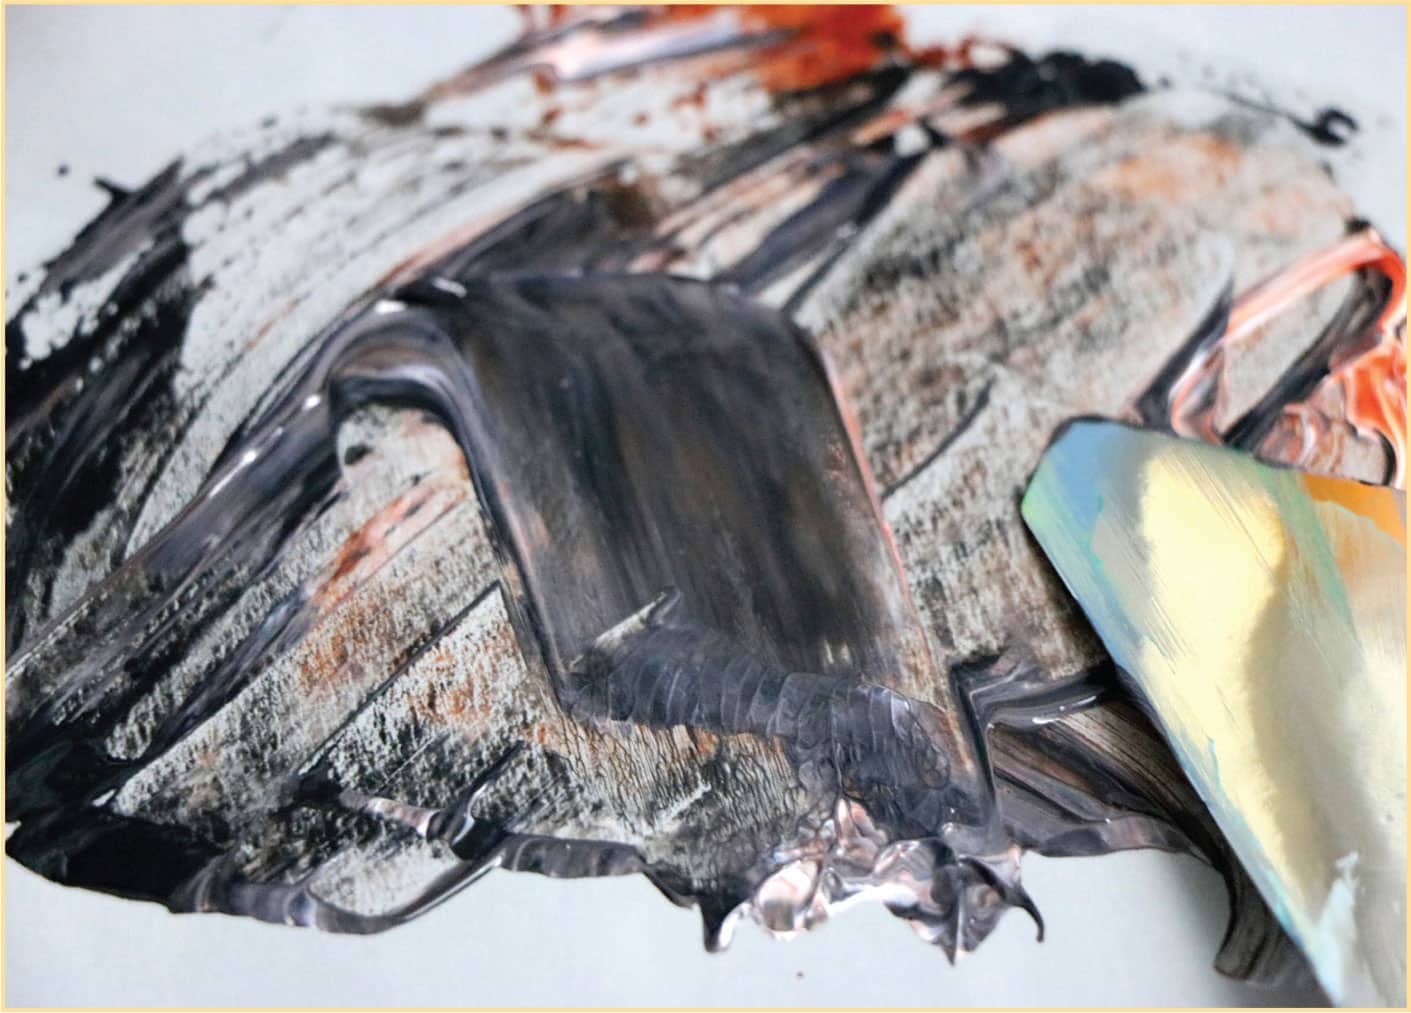
Mix some zinc white into the brown and black mixture. Try adding a little red if you’d like a warm gray. Use this mixture to apply gray fur with your large brush over the cat’s head and body.

STEP EIGHT
Mix some titanium white paint into the gray mixture to create a lighter mixture. Use this mixture for the shadow areas on the front of the cat, as well as the stripes on the tail.


STEP NINE
Use this same mixture for the tufts of fur on the ears. Hold the brush flat against the surface and quickly pull while lifting at the same time to create a furry effect.

STEP TEN
Add some more white and a bit of yellow to the light gray mixture to make a light, creamy white mixture for the body, head, and ears. Use the edge of your large brush (or the small brush) to line the ears as well.

STEP ELEVEN
Using your small brush, mix a small amount of cadmium yellow into the white mixture for the iris of each eye.

STEP TWELVE
Now add some cadmium red to the white mixture to create a bright pink for the nose. Rework the mouth and eyes and line the nose as desired.

STEP THIRTEEN
Since we are using very bold brushstrokes, you may need to make some last adjustments. For example, define the cat’s chin by adding more shadow area and a patch of white for each cheek beneath the whiskers.


STEP FOURTEEN
Now is my favorite part! Add the details, such as stripes and whiskers. I also add a highlight to the eyes and nose with my small brush.