
Getting Started
You can paint almost anywhere. You just need a large, open space, such as a worktable, a floor space, or even just a patch of grass. If working on a table or the floor, use a drop cloth or newspaper to protect the surface from paint spills. (It’s not a bad idea to use one over the grass as well!)
When choosing a place to paint, keep in mind that you will need bright natural or artificial lighting. Some artists insist on northern light or even certain colors of artificial light. When painting still life, light sources from different directions can sometimes cast multiple shadows, which can be a problem. But for the projects in this book, don’t worry too much about the light. As long as you can see properly to work and identify your paint colors, the light should be fine.
When you’re ready to begin one of the projects, you may want to set a timer so you don’t lose track of time. I am serious! It’s easy to get carried away. Also, be sure to block out enough time (at least two hours) for each project. This should allow plenty of time to clean up and put things away properly.
Acrylic Paint
Acrylic paints come in student-grade and professional-grade qualities. They also come in different consistencies. Some paints are runny and thin, while others are thick and buttery.

Student-grade paints are less expensive than professional paints. These paints are loaded with more fillers and less pigment. They will still work great for the projects in this book, especially if you are on a budget. However, it’s best to choose a recognizable brand from an art store versus a dollar-store brand. You will get better value and a higher-quality product.
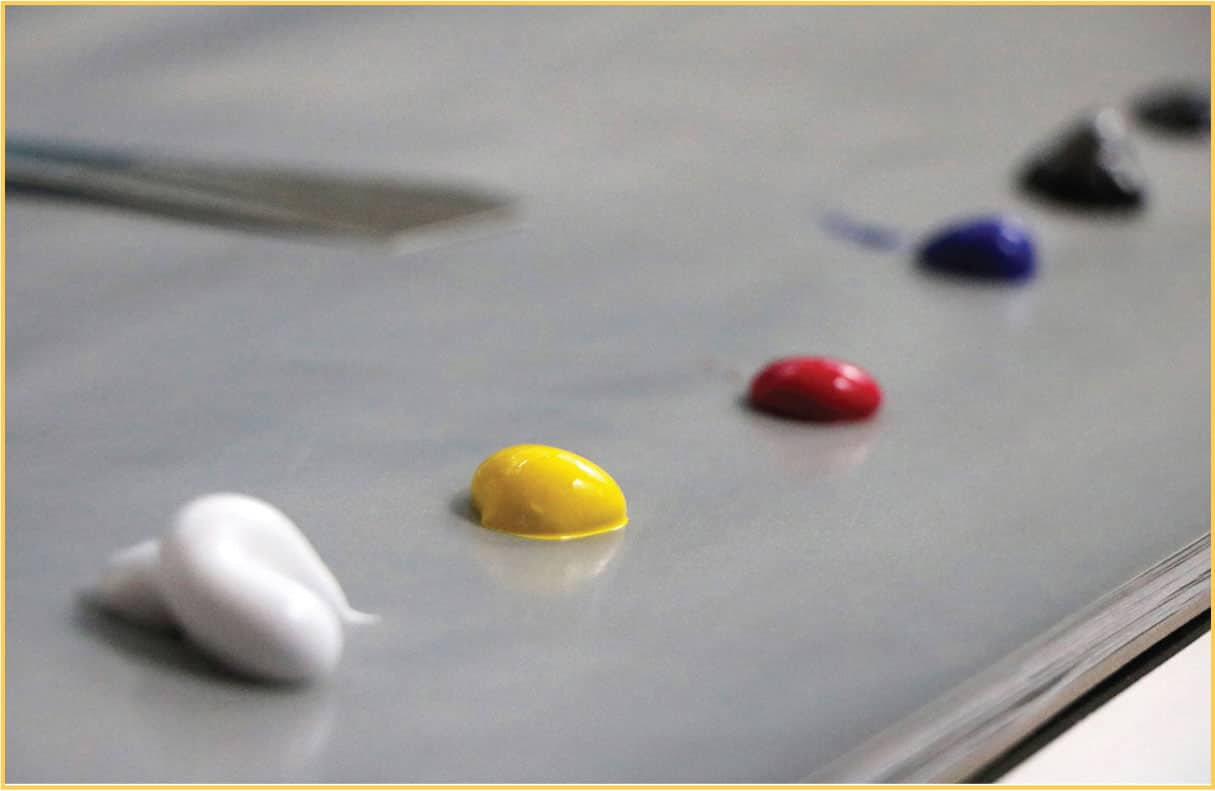
As far as the consistency, choose thicker paints with “heavy body” or a similar description in the title. Thicker paints usually come in tubes or tubs instead of squeeze bottles. For dark colors, such as black, I sometimes use thin acrylics, but mostly I use heavy-body acrylics, as they can be thinned down with water when necessary.

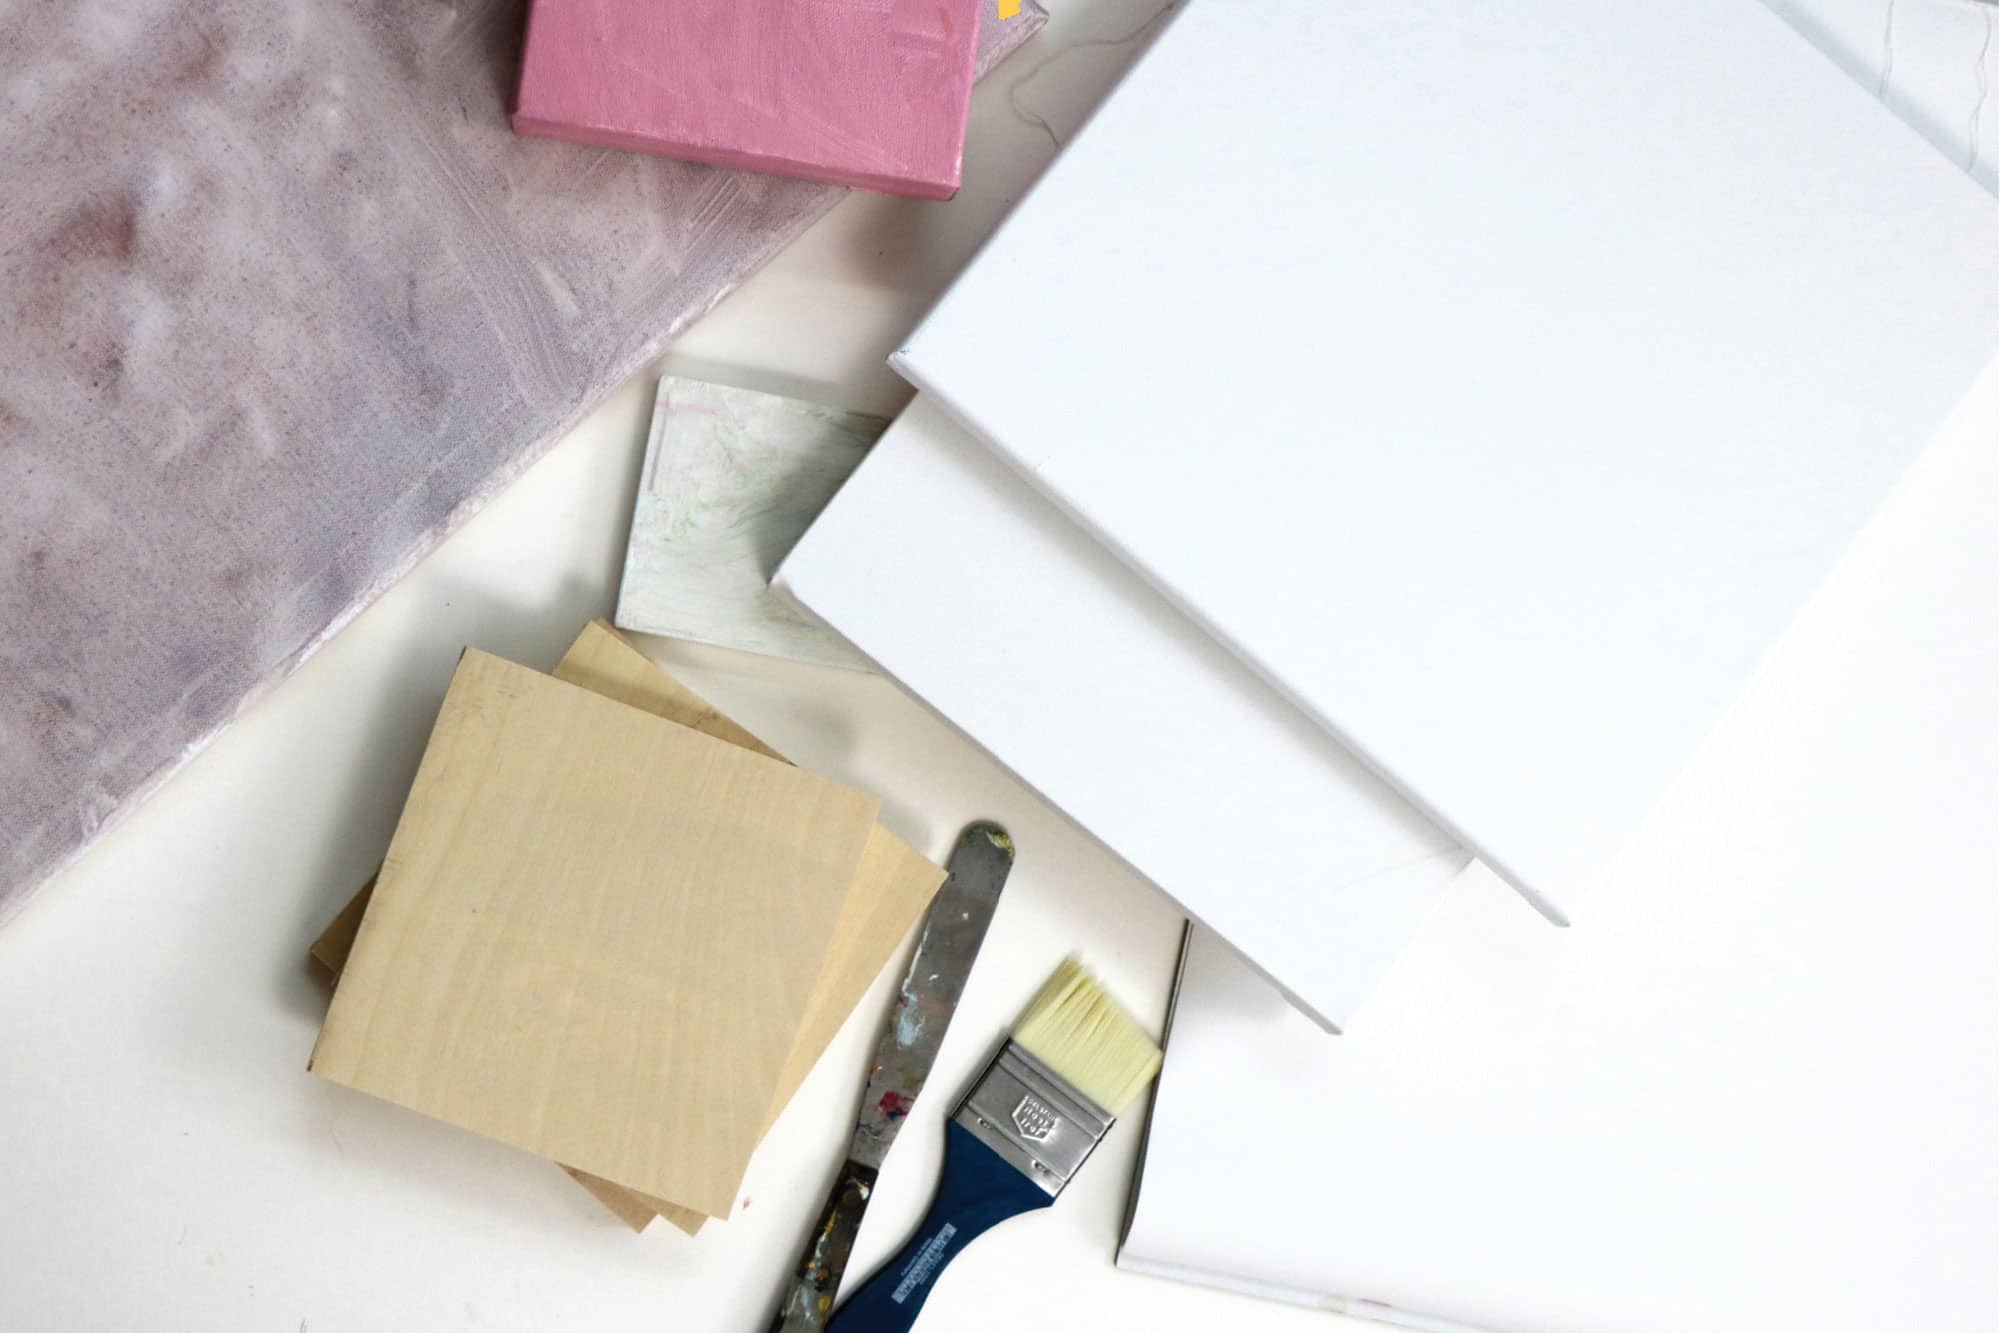
Surfaces
All of the projects in this book are completed on stretched canvas. While you can paint on many other types of surfaces, such as wood and even metal, we will stick with traditional stretched canvas, as it is easy to use and acquire. Stretched canvas is lightweight and looks professional. And it doesn’t even need to be framed if you paint the sides.
Most art stores sell pre-stretched canvases. I suggest purchasing a pre-stretched canvas with a white surface, which has been gesso-ed and prepared for painting straight away. There are also varying depths to consider when choosing a stretched canvas, which is completely up to you! The most common depth is 7/8-inch to 1-inch deep. But 11/2-inch and 2-inch deep canvases are quickly growing more popular. These thick canvases make a statement without needing a frame.
But again, it’s personal. I use thinner canvases in all of the projects in this book. Feel free to use thicker canvases if you prefer.

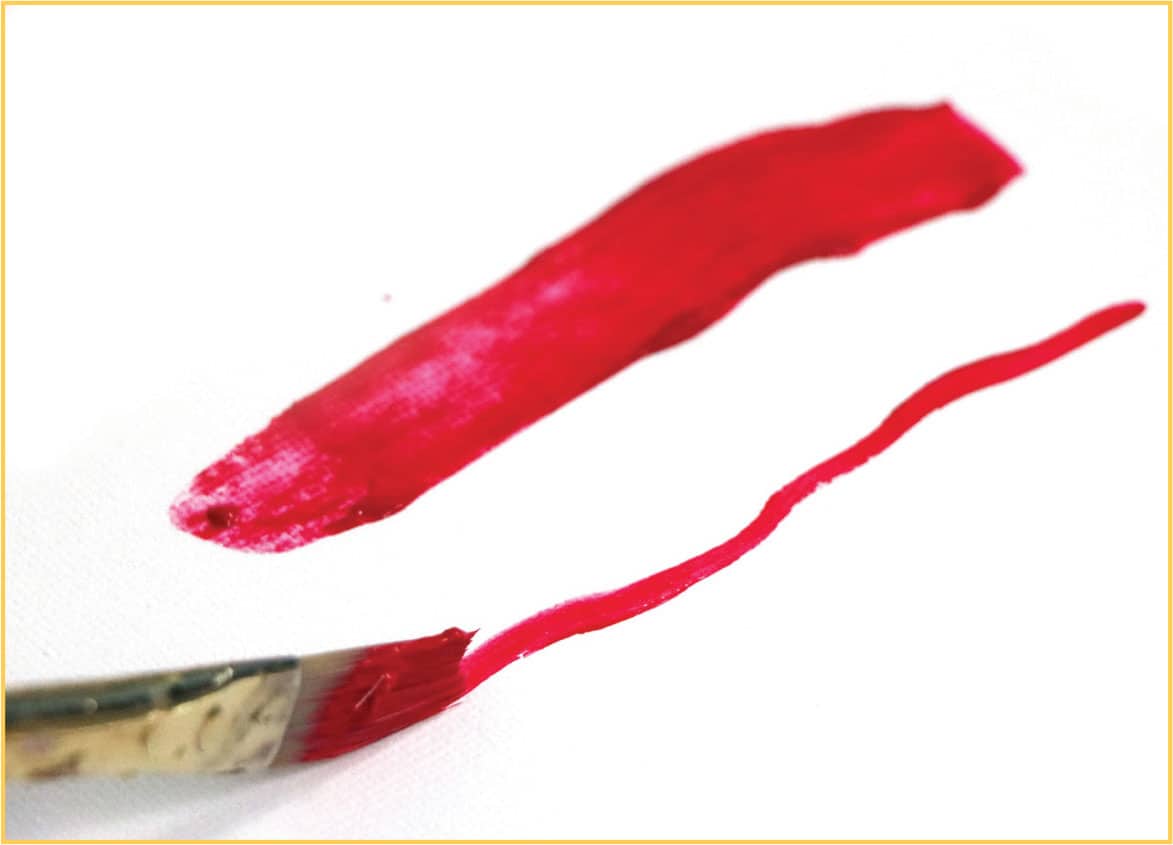
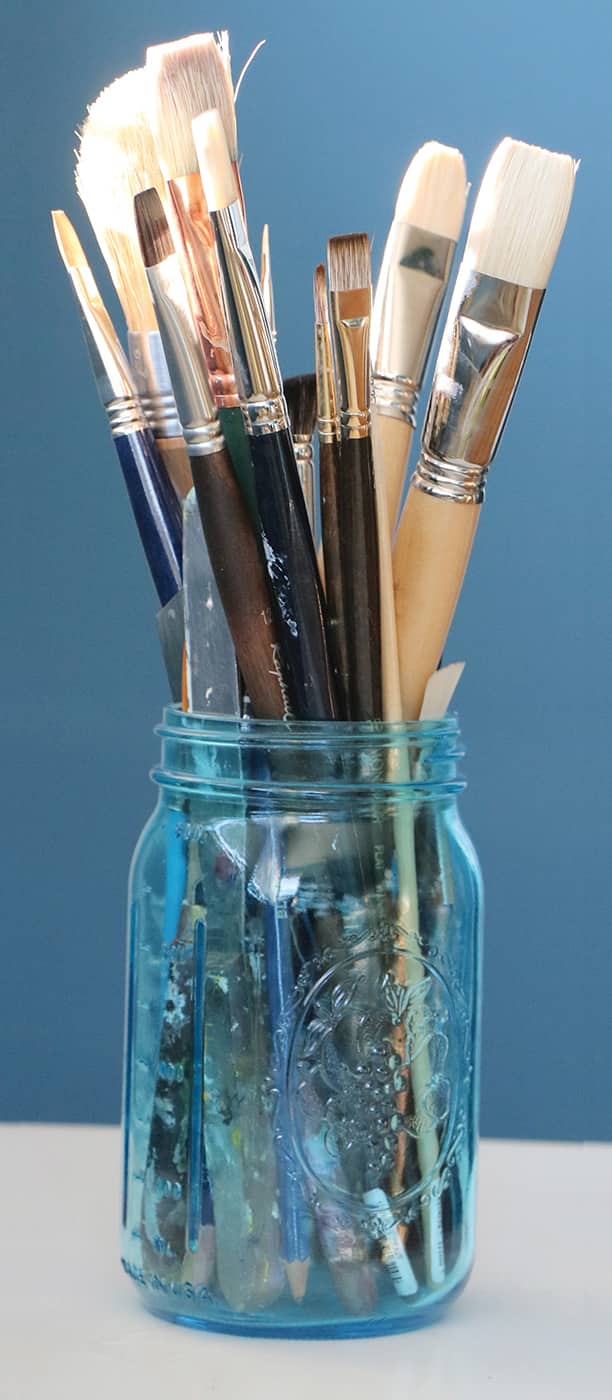
Brushes
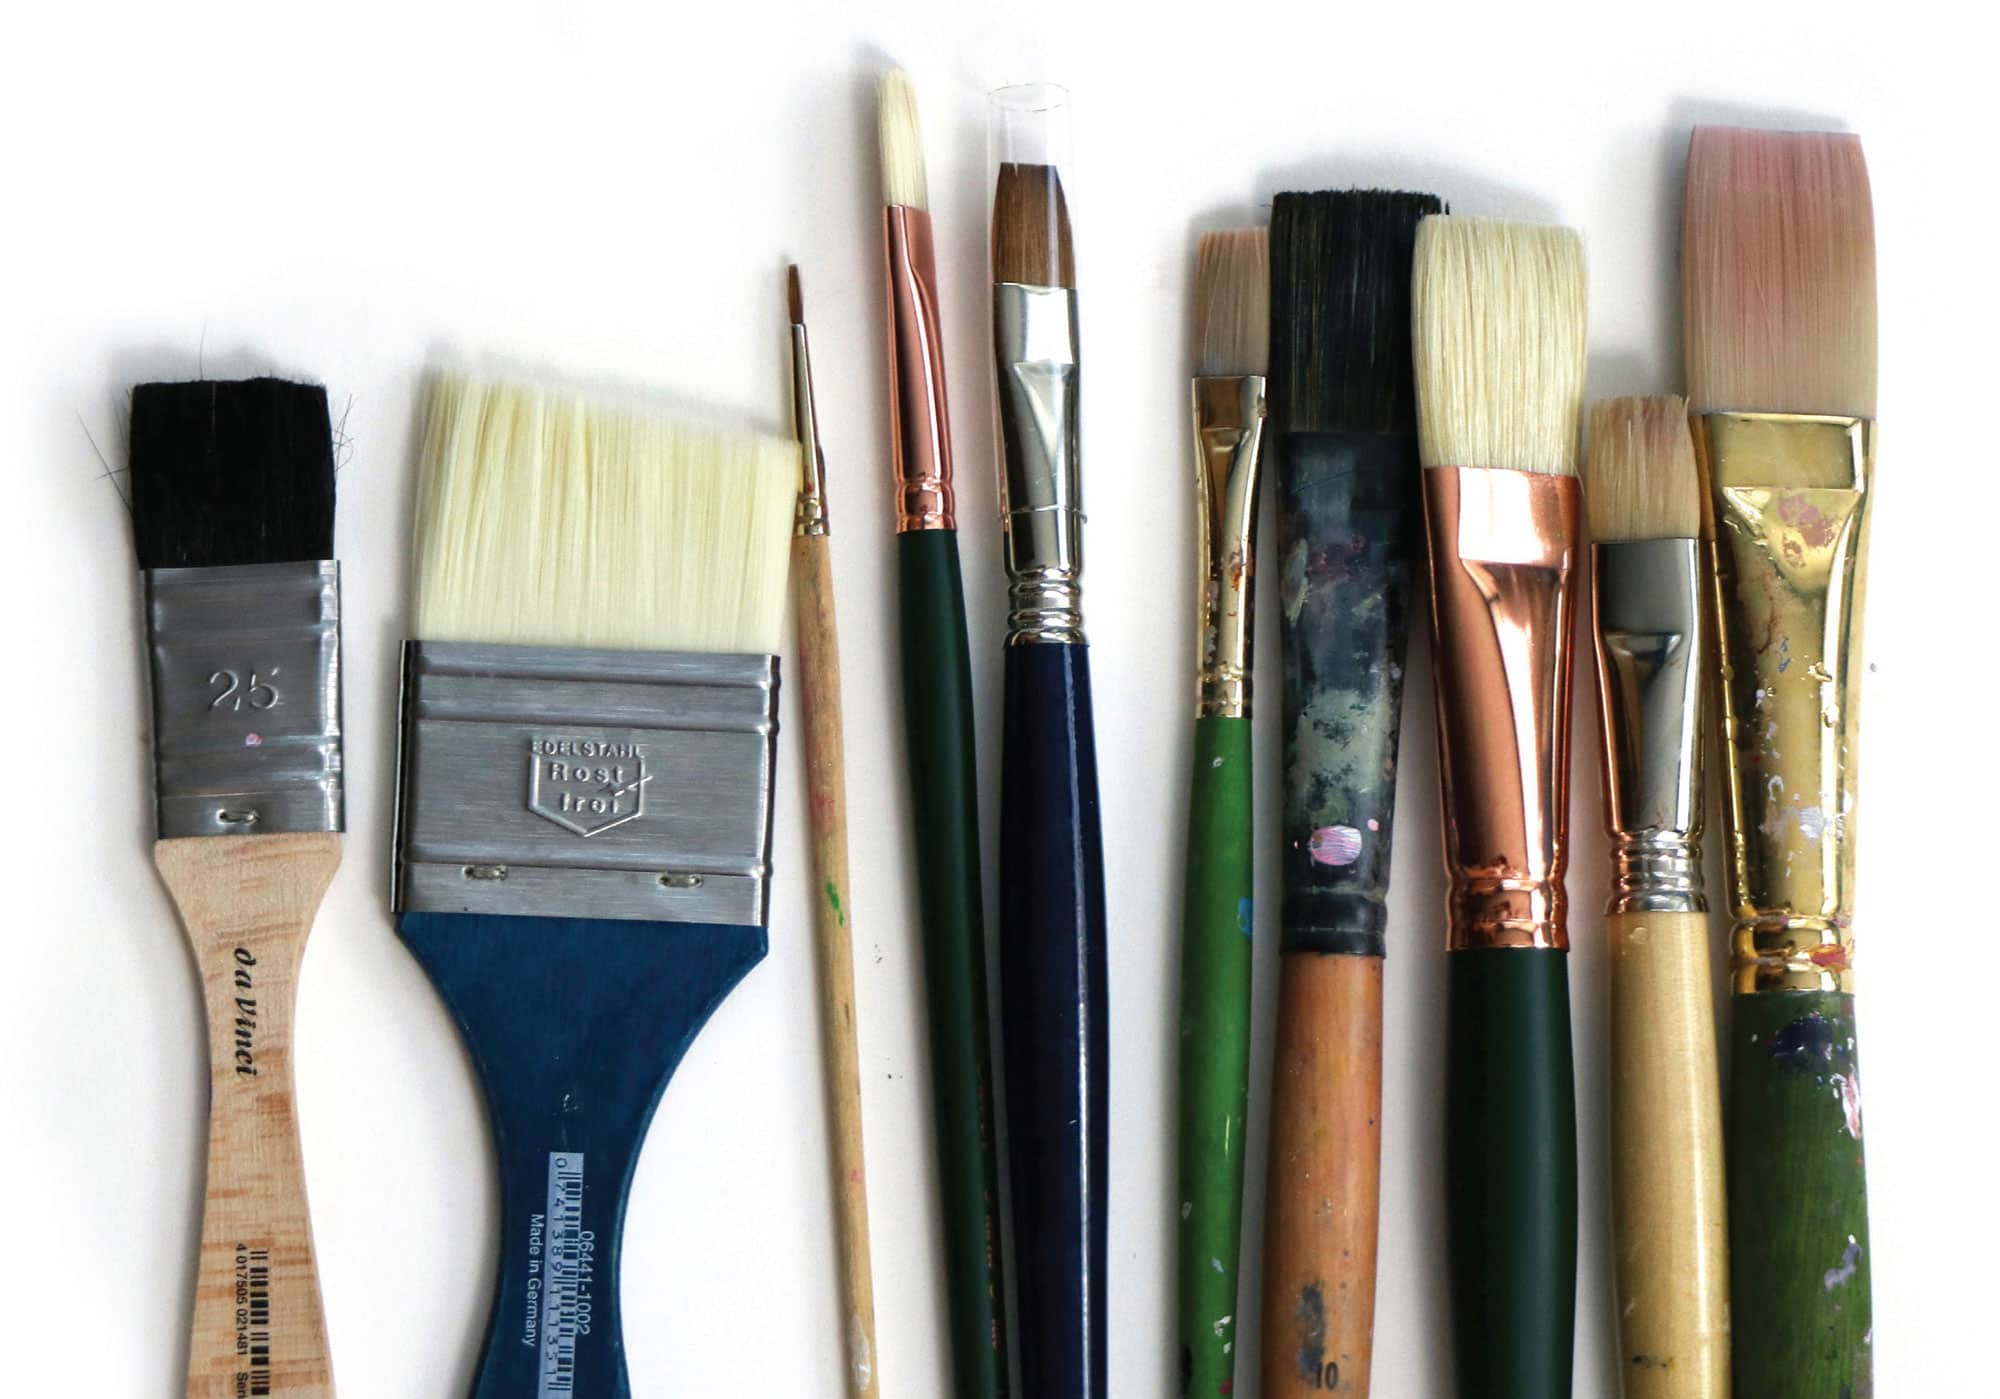
Paintbrushes are made with either natural or synthetic bristles. When shopping, look for bristle brushes for oil or acrylic paints. They have longer handles than watercolor brushes. They are also a little stiffer than sable or watercolor brushes. Keep in mind that really soft brushes won’t work against the rough surface of the canvas.
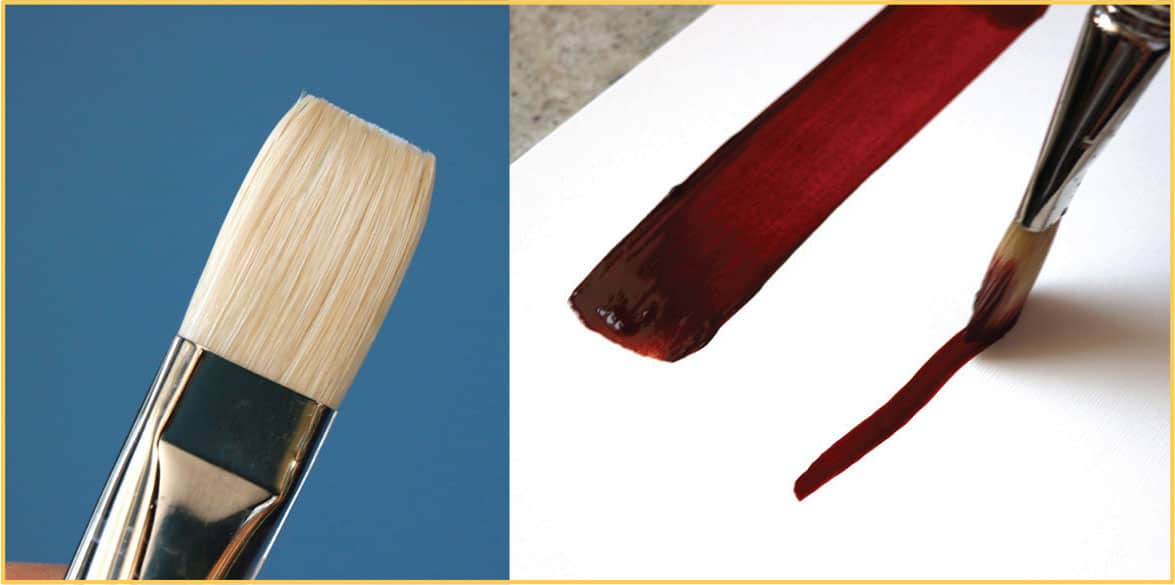
Fortunately, these brushes are quite affordable. I prefer flat brushes for painting in acrylic and keep at least two sizes at hand: a larger brush, size 12; and a smaller brush, size 4. Each brush can be used for two different strokes; the wide side makes a broad brushstroke, but if you turn it on its side, you can also make a thin line with the same brush.
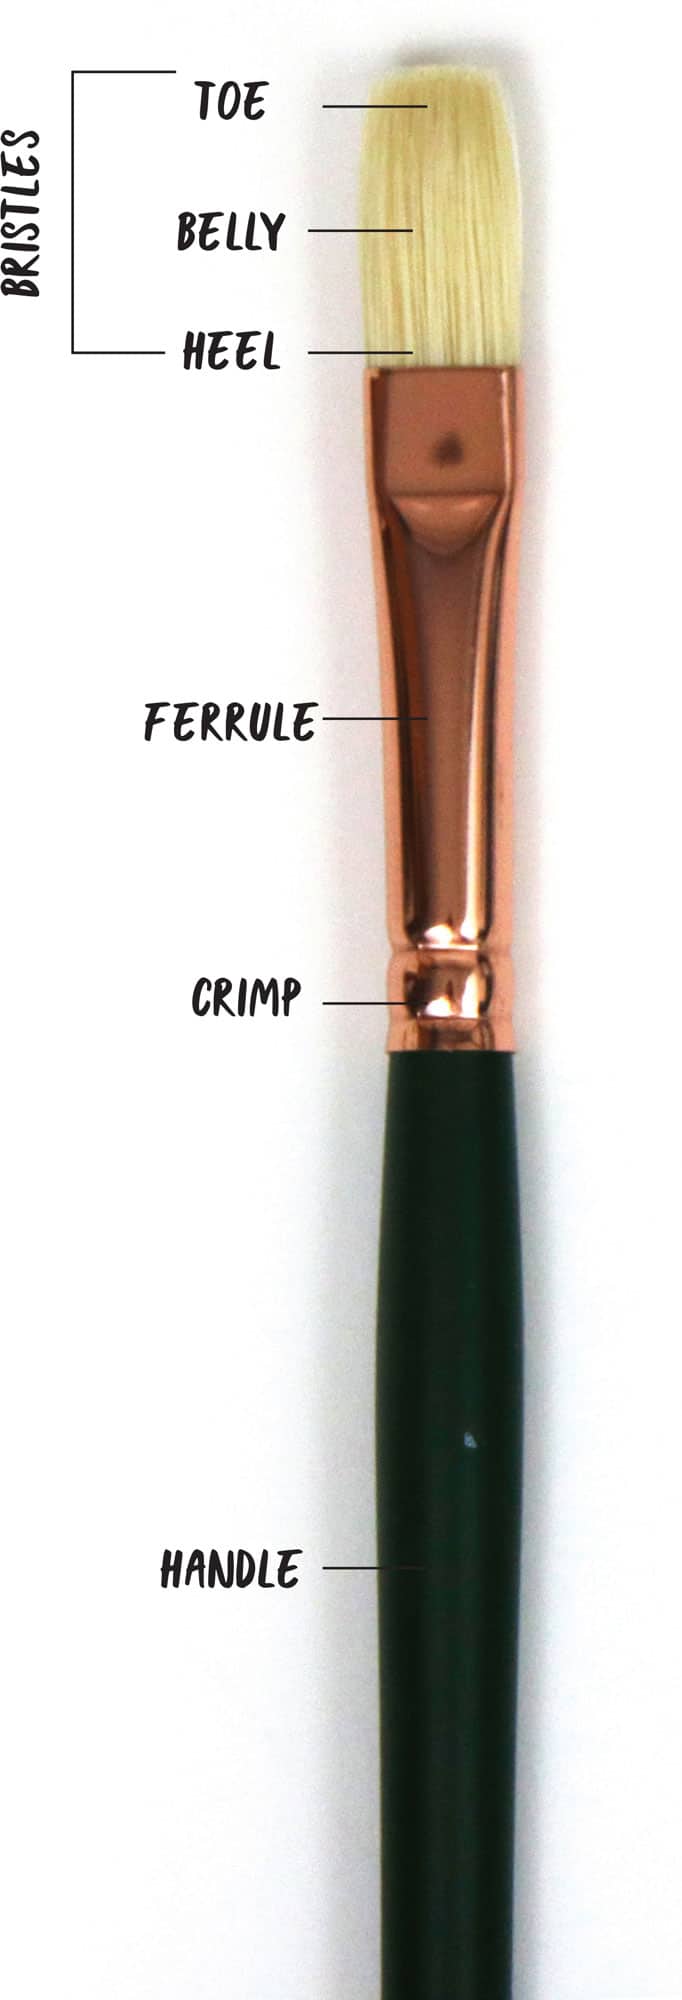
Anatomy of a Brush
Try to keep the paint on the toe and belly of the brush and away from the heel or ferrule. If the paint dries near the ferrule, it can splay or separate the bristles. It’s also very important to have plenty of water—both spray bottles and containers of water for dipping and holding brushes—on hand while painting. Never let a brush stand for more than a minute without being thoroughly cleaned. If you don’t have time to clean the brush, store it bristle-side down in the container of water until you can clean the brush.
Brush Types
Flat brush
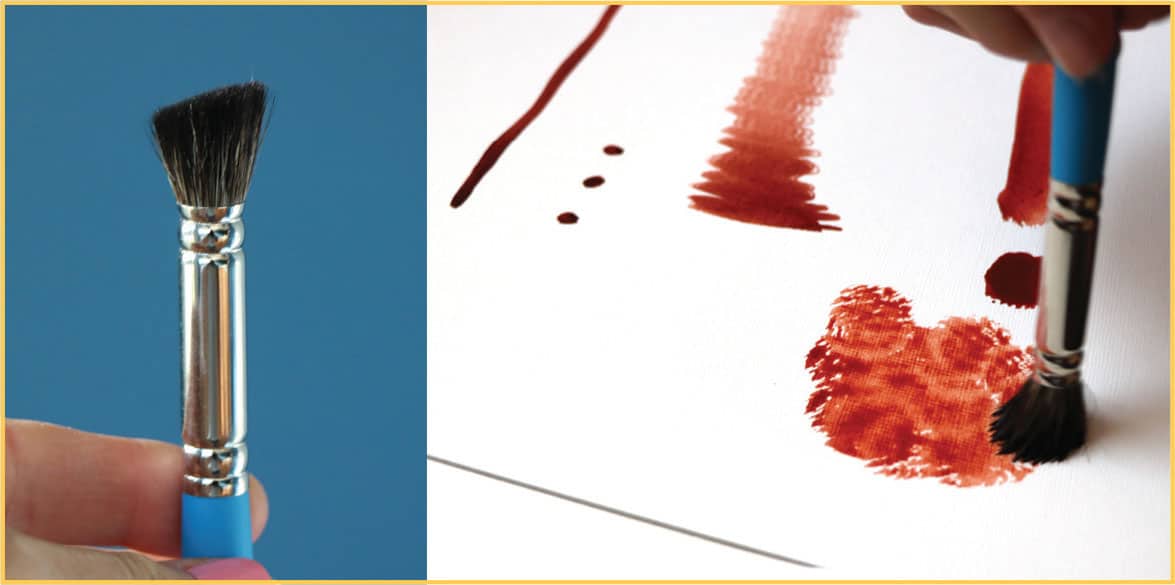
Deer foot brush

Filbert brush

Liner brush
Round-domed brush
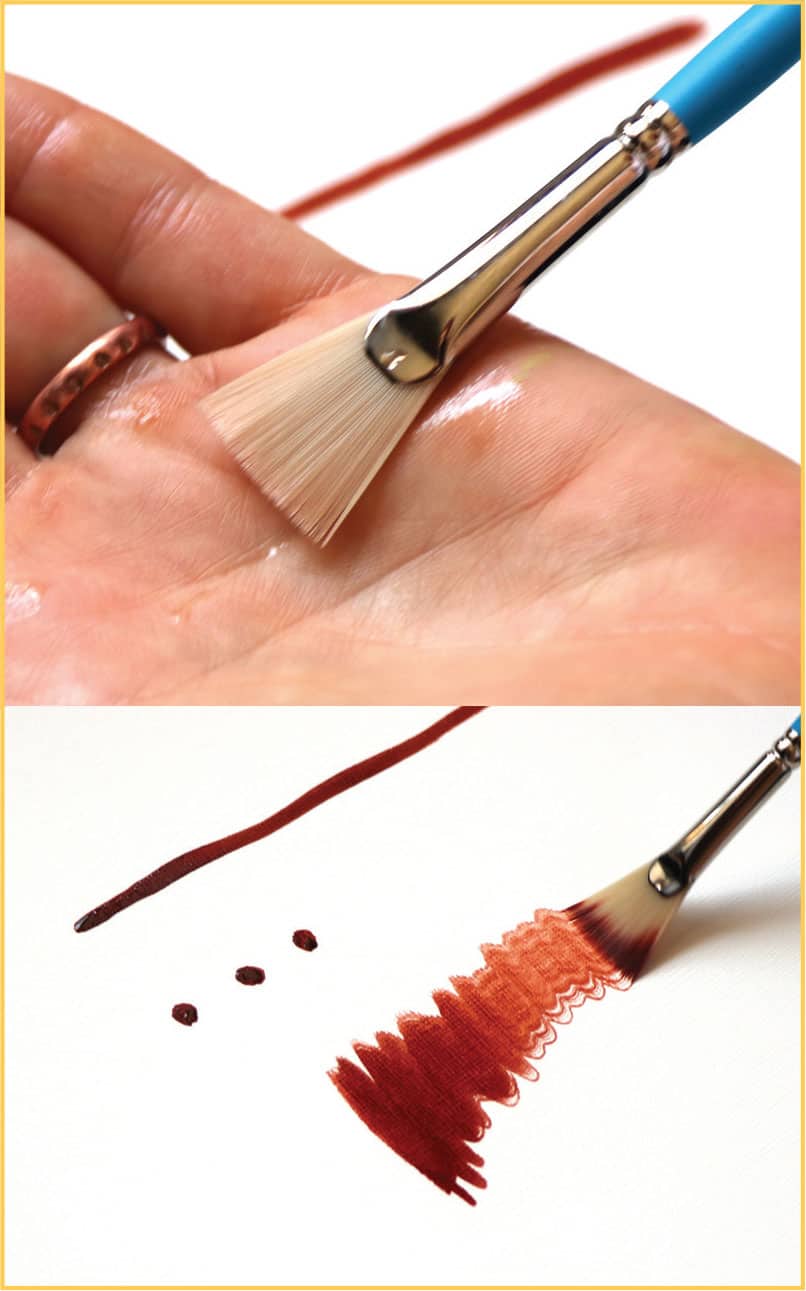
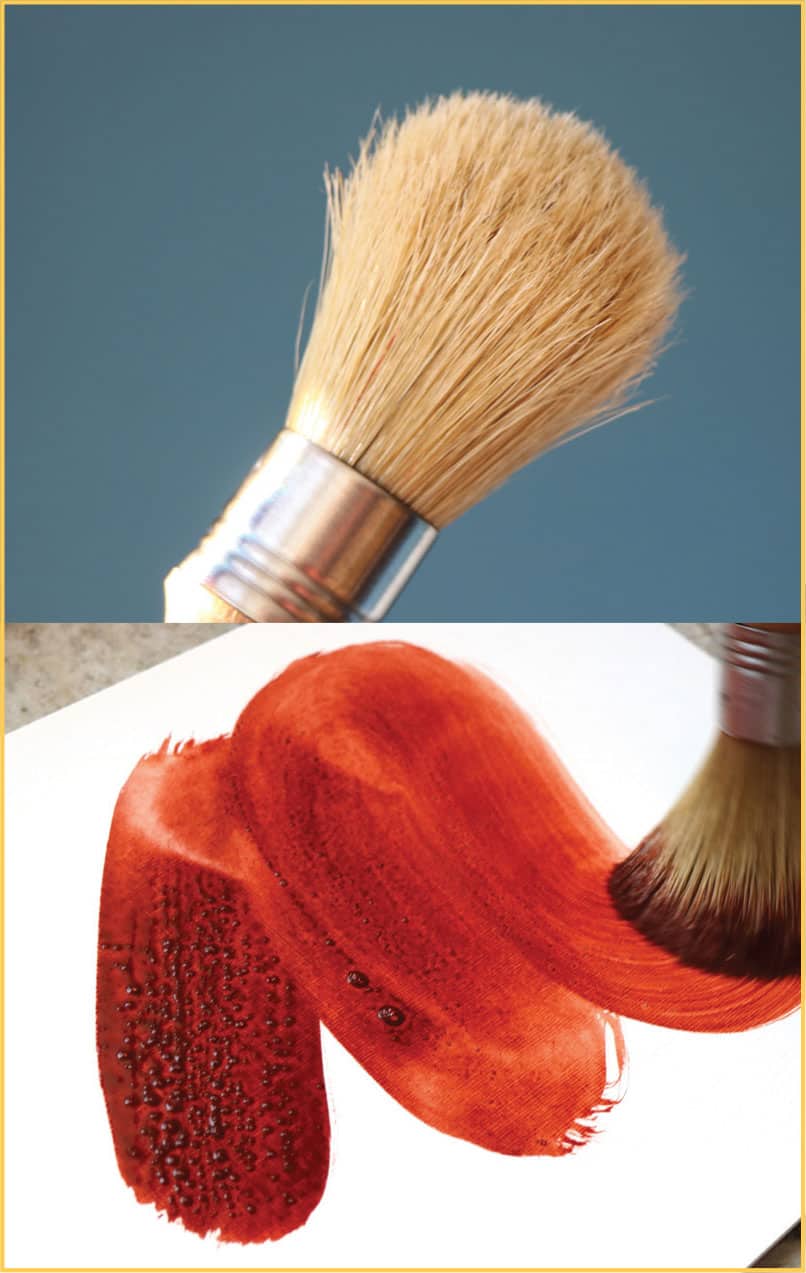
Fan brush
Cleanup
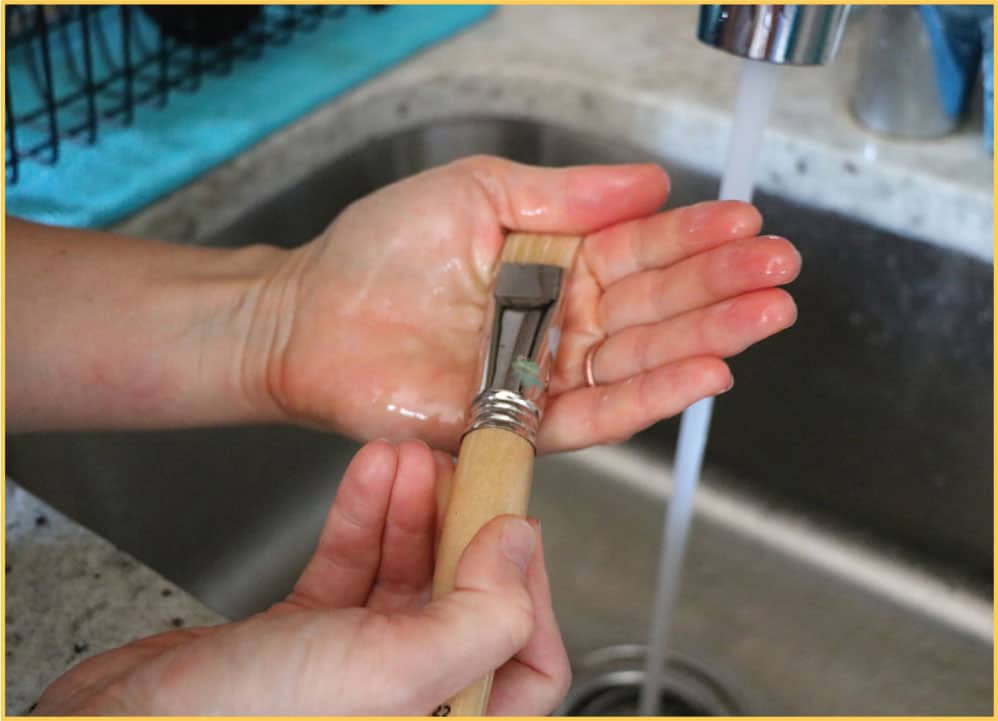
To clean your brushes, use tissue, rags, or paper towels to wipe and squeeze off as much paint as possible. Then swish in the container of water or preferably rinse under a running faucet with warm water. You may use a brush soap, but it’s not necessary with acrylic paint.

Always squeeze the paint and water from the ferrule toward the toe to keep the bristles in proper shape. Never let a wet brush dry upright in a jar! Lay it flat so that any excess paint doesn’t run back to the ferrule and dry there. Once the brush is completely dry, you can then store it upright in a jar or container, but be sure to set it bristle-side up or the bristles may bend.
The most important part of cleaning up is cleaning your brushes before the paint dries on them. After the brushes have been cleaned and left to dry, you can actually let the paint dry and peel it off palettes and other smooth surfaces. If you get paint on cloth or the floor, wipe it up it immediately before it dries.
Additional Supplies
Brush cleaner and conditioner (optional) Brush soap is not necessary for cleaning up acrylic paints, but it can assist in removing dry paint from a paintbrush as well as conditioning and reshaping the bristles.

Misters and spray bottles Acrylic paint dries quickly. A mist or two from a spray bottle will keep the paint on the palette from drying during your painting session.
Glass jars, cans, or other container for holding water for the brushes.
Facial tissue, paper towels, or rags.
Disposable gloves Gloves not only keep your hands clean, but they also protect your hands from the paints. While many paints are nontoxic, some paints have heavy metals like cobalt and cadmium.
Varnish Gloss or satin varnish and a mottler or varnish brush. Varnish is optional but finishes a painting nicely. It also can protect the painting from UV light. I prefer a gloss varnish for acrylic because it adds a nice sheen to the painting. Varnish can be applied once the painting is completely dry.
Newspaper, cardboard, or drop cloth to protect work surfaces.
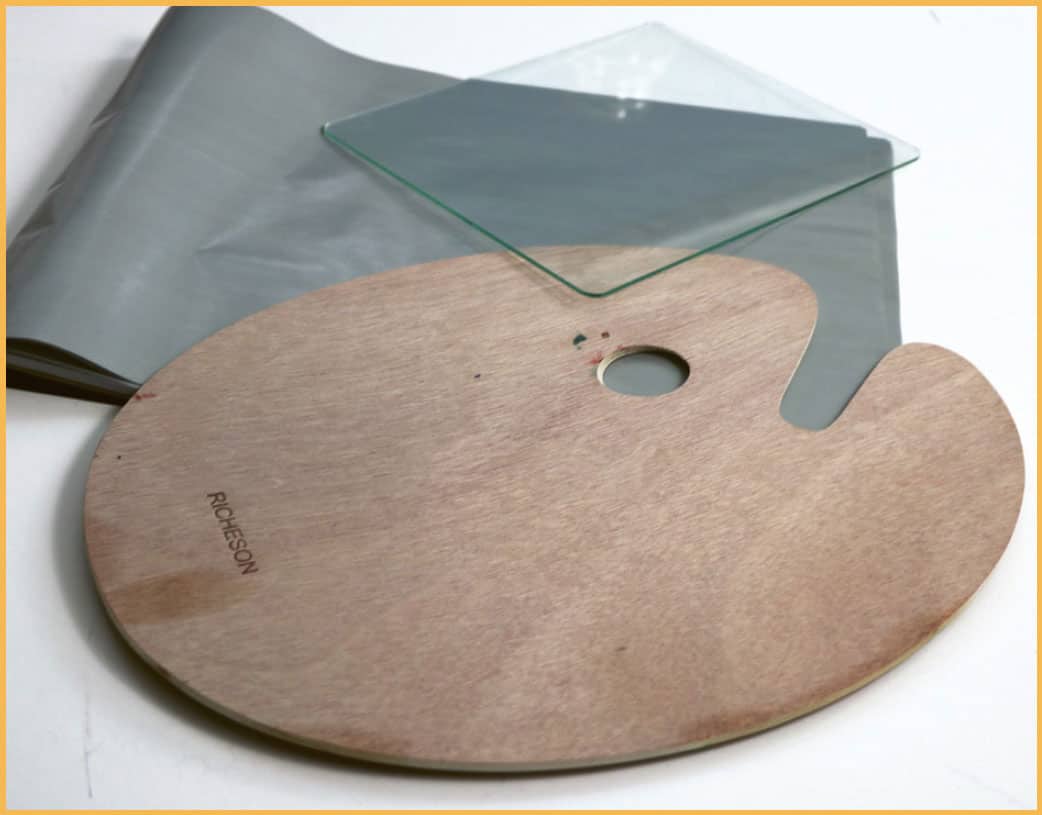
Palettes Wood, glass, or disposable paper pads (or even coated paper plates in a pinch). If using cut glass, make sure the edges have been sanded.

Palette knives Metal or plastic (preferably metal) for mixing paint on your palette.
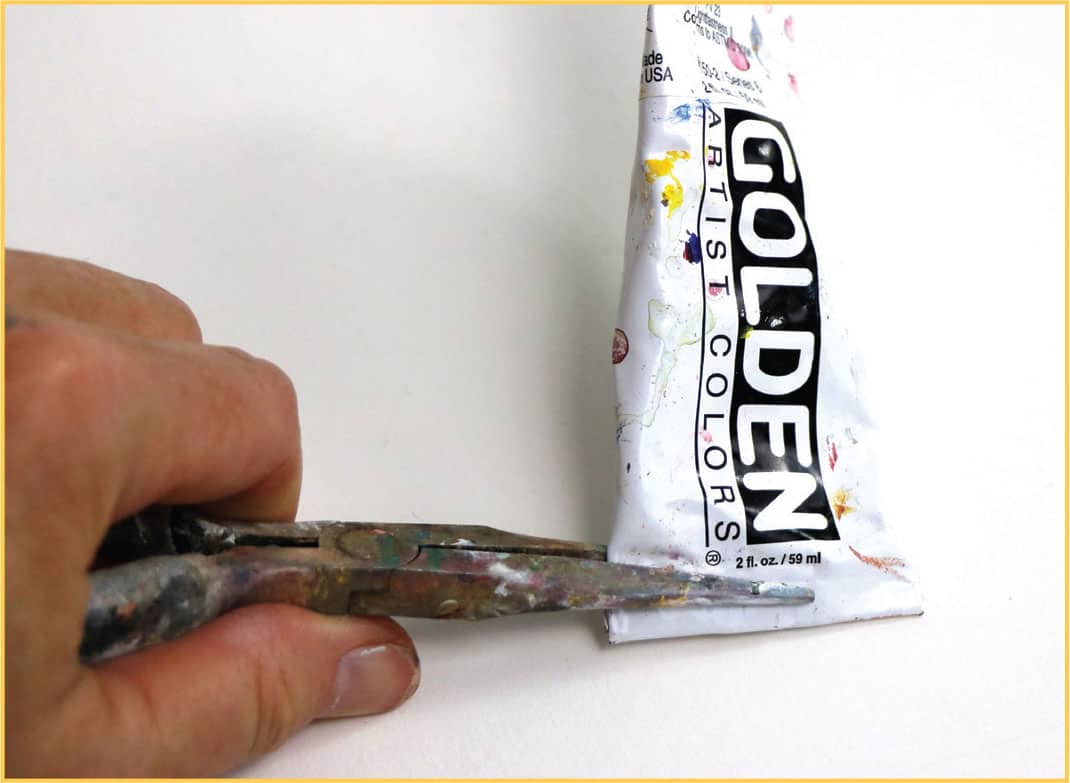
Needle-nose pliers A great tool for squeezing or unplugging tubes of paint.
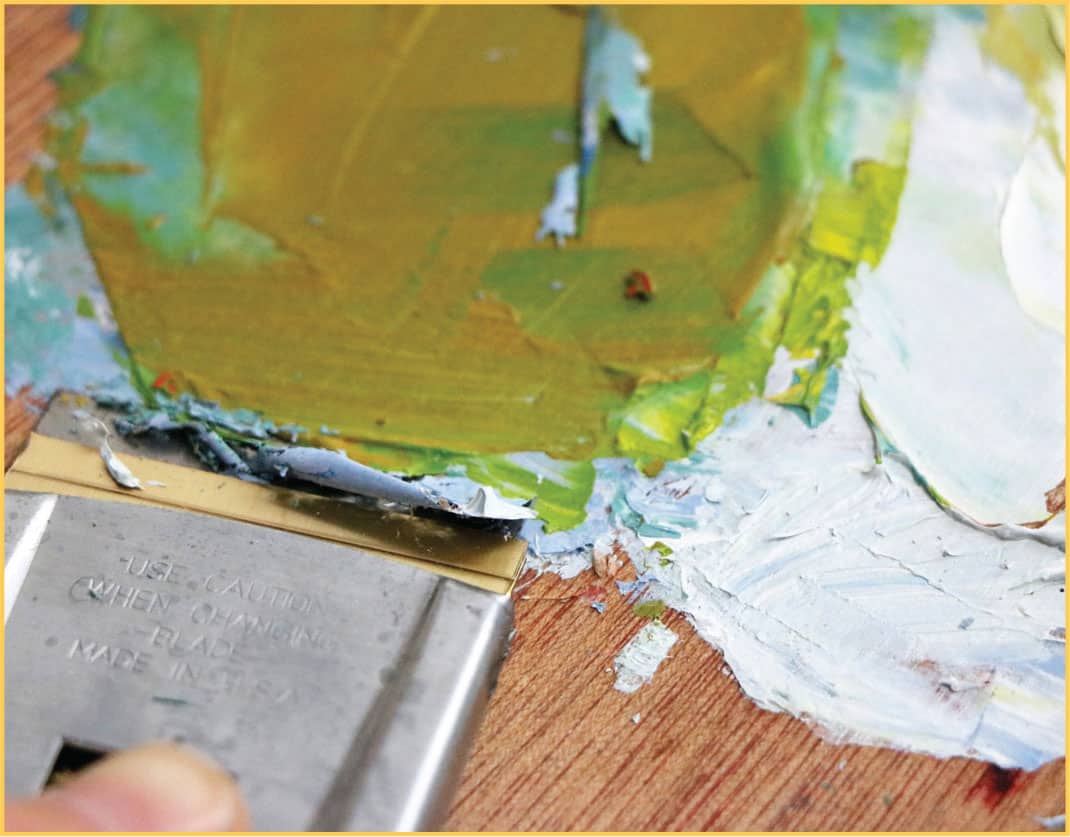
Scraper or putty knife Use a blade scraper to scrape dried paint completely off glass or wood palettes.

Hanging wire and screw eye hooks There are many kinds of picture-hanging kits and hardware available. Smaller paintings can take a sawtooth hook at the top. A larger painting is best wired with either screw eye hooks or D-ring hooks.