
You have already managed to configure the Ethereum JavaScript client with the Electron application and got the node information in the Header area. In this section, we are going to display a list of accounts in the tree component and place it into the sidebar area.
As you may have noticed, the account names are quite long and may not fit in their dedicated area. We are going to make the sidebar scrollable vertically and stop the content from overlapping so that it's hidden under the main content area.
Let's start by changing the main application stylesheet and disabling the layout overflow for our sider component:
- Update the App.css file and extend the ant-layout-sider style:
.ant-layout-sider {
  background: #3ba0e9;
  color: #fff;
  line-height: 120px;

  overflow: hidden;
  overflow-y: scroll;
}
Now, we need to have a dedicated pair of hooks to store the account list.
- Update the App.js file and add the new hooks, as shown in the following code:
function App() {
  const [node, setNode] = useState('Unknown Node');
  const [accounts, setAccounts] = useState([]);

  // ...
}
- Import useEffect from the React namespace and create the following effect, which loads the account list from Ganache:
import React, { useState, useEffect } from 'react';

function App() {
  //...

  useEffect(() => {
    web3.eth.getAccounts(function(error, accounts) {
      if (error) {
        console.error(error);
      } else {
        setAccounts(accounts);
      }
  });

  // ...
});
As you can see, we're using the web3.eth.getAccounts API that the web3 library provides to retrieve a list of accounts. If there are no errors during the API call, we can use the setAccounts hook with the newly received value. This value is going to be an array of strings.
- Import the Tree and TreeNode components from the Ant Design library:
import { Tree } from 'antd';
const { TreeNode } = Tree;
- Replace the Slider placeholder block with the following code:
<Sider>
  <Tree>
    <TreeNode title="Accounts" key="accounts">
      {accounts.map(account => (
        <TreeNode key={account} title={account}></TreeNode>
      ))}
    </TreeNode>
  </Tree>
</Sider>
Here, we've built a root Accounts node and dynamically created child nodes according to the state of the accounts hook.
- Run the web application and check out the sidebar. The left sidebar area should now look as follows:
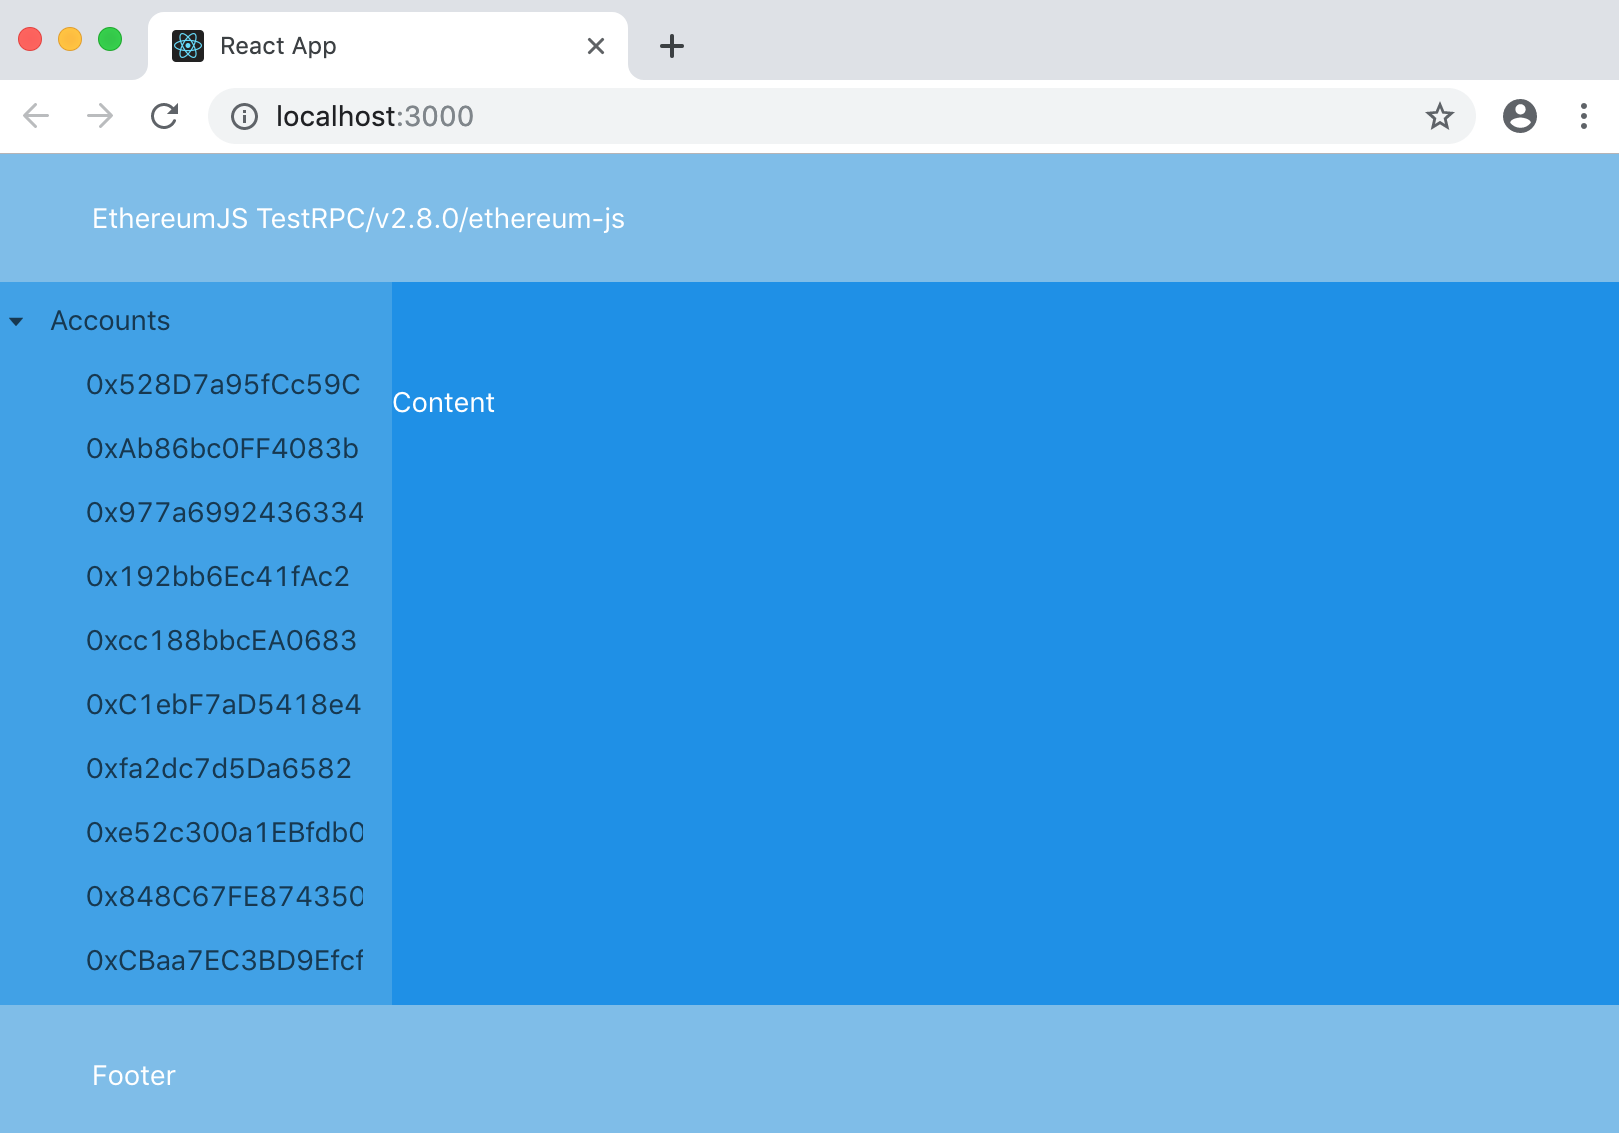
Now, your application displays a list of Ethereum accounts.
Before we move on to the next section, let's improve the application's presentation. We are going to trim the account names to 10 characters and append the ellipsis symbol to the end of each name. Follow these steps to do so:
- Add the formatAccountName function inside the component:
const formatAccountName = name => {
    if (name && name.length > 10) {
      return `${name.substring(0, 10)}...`;
    }
    return 'Noname';
};
- Update the Tree component according to the following code:
<TreeNode title="Accounts" key="accounts">
  {accounts.map(account => (
    <TreeNode
      key={account}
      title={formatAccountName(account)}
    ></TreeNode>
  ))}
</TreeNode>
- This time, the list of accounts should look slightly better:

Another essential part of our wallet application is a display of the account balance. This is what we are going to address in the next section.