As a modular end user application, Eclipse has always been able to update itself and install new content. Under the covers, Eclipse has always consisted of a number of plug-ins as well as a number of features (a way of aggregating plug-ins). The original update mechanism, the classic update manager, provided a simple way to install and update features and plug-ins (bundles). In Eclipse 3.4, a mechanism called P2 was created that allowed more powerful update mechanisms and included the ability to update native code and configuration files. P2 provides a means to provision, run, update, and configure Eclipse-based applications.
The "P2" of Eclipse P2 was derived from "provisioning platform", but it is generally referred to by its acronym. It was created to improve the provisioning story not only for features and bundles, but also for non-Java content such as native executables and configuration files.
Note
An overview of P2 and its history is available from the online Eclipse help, also visible at http://help.eclipse.org/luna/topic/org.eclipse.platform.doc.isv/guide/p2_overview.htm.
There are a few key concepts to understand in P2:
- Artifact: This is a collection of bytes, such as a plug-in, feature, or product
- Metadata: This is the information about artifacts, including versioning information and dependency information, which is referred to as Installable Units (IUs)
- Repository: This is a collection of artifacts (an artifact repository) or metadata (a metadata repository) that may be hosted on a remote site
- Composite Repository: This is a composition of one or more repository references
- Agent: This a provisioning agent that can perform P2 updates, such as the headless director application or the new update mechanism
- Touchpoint: This is a post-processing action, such as modification to the Eclipse properties file (
eclipse.ini), other branding, or the installation or removal of native files - Profile: This represents the currently installed software as a set of IUs
An Eclipse application can be provisioned with all of the installable units using an existing P2 install, or by using an Eclipse application called the director.
Applications are launched headlessly with Eclipse using the -application command-line argument. In addition, it is common for applications to supply the -consoleLog argument (which ensures that any error messages are printed to the console) and the -noSplash argument (to disable the splash screen from showing).
The director is launched with the org.eclipse.equinox.p2.director application. Arguments specific to the director application include the following:
-repository: The URL of the repository to install the content from-destination: The location to write out the installed contents-installIU: The installable unit to install-uninstallIU: The installable unit to uninstall-profile: The name of the P2 profile-profileProperties: The properties of the profile; generally, it includesorg.eclipse.update.install.features=trueto enable feature support
To provision a new copy of Eclipse, the following command can be run:
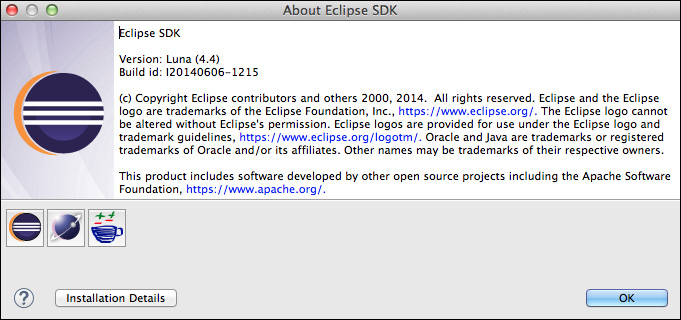
$ /path/to/eclipse -consoleLog -noSplash
 -application org.eclipse.equinox.p2.director
 -repository http://download.eclipse.org/eclipse/updates/4.4/
 -profileProperties org.eclipse.update.install.features=true
 -installIU org.eclipse.sdk.ide
 -destination /path/to/newfolder
…
Installing org.eclipse.sdk.ide 4.4.0.I20140606-1215.
Operation completed in 135634 ms.
The new version of Eclipse will be installed into /path/to/newfolder.
The director can be used to install content into an existing application. The same process is used (as described earlier) with an additional IU; for example, to provision EGit support into an Eclipse application, the following command can be run:
$ /path/to/eclipse -consoleLog -noSplash
 -application org.eclipse.equinox.p2.director
 -repository http://download.eclipse.org/egit/updates/
 -installIU org.eclipse.egit.feature.group
 -destination /path/to/newfolder
…
Installing org.eclipse.egit.feature.group 3.4.1.201406201815-r
Operation completed in 11295 ms.
To install a feature into Eclipse, the installable unit name must be known. Generally, this is of the form org.eclipse.<project>.feature.group . It's possible to find out what the installable unit name is from an existing Eclipse installation by navigating to Window | Preferences (Eclipse | Preferences on Mac OS X) and clicking on Installation Details:
Navigate to the Features list, and the Feature Id will be shown. The name of the installable unit is the feature ID with a .feature.group suffix:

If the feature is not already installed in an Eclipse application, the feature ID can be discovered through the update manager. Navigate to Help | Install New Software... and then search for the feature to install:

Select the feature and click on the More... link at the bottom-right corner of the details section, and a window will be shown with more information. The General page will have an Identifier label that contains the Installable Unit identifier, which for EGit is org.eclipse.egit.feature.group:
