
Lesson 24
Working with gRPC
In the last decade, REST APIs have become the standard option for applications and systems to communicate with each other. However, in 2015, Google introduced the concept of a modern open source remote procedure call, gRPC, which provides the same functionality of REST APIs with faster, lighter, and more flexible services and communications. As a result, Google Remote Procedure Call, or gRPC, is now supported by most programming languages. In this lesson, you'll learn about gRPC in the context of Go.
WORKING WITH gRPC
In the simplest terms, gRPC is a modern, open source remote procedure call (RPC) framework that can run anywhere. An RPC is a function within an application that can be executed remotely by another application. RPCs are particularly common in distributed systems where one computer wants to invoke methods or functions hosted on another machine in the distributed system.
gRPC is similar to a REST API in that you are exposing services hosted on a server to clients. There are a few differences between gRPC and REST:
- gRPC uses HTTP/2 whereas REST uses HTTP 1.1. This allows gRPC to leverage capabilities of HTTP/2 such as server-side and client-side streaming.
- gRPC uses the Protocol Buffers (Protobuf) data format whereas REST uses JSON.
- In a traditional REST API setting, a client communicates with a server using standard HTTP requests (
GET,POST,PUT, andDELETE), whereas gRPC uses a level of abstraction through Protobuf to allow more flexible communication.
To illustrate all these concepts in more detail, in this lesson you will implement a chat service using gRPC. Specifically, you will create a gRPC server and a gRPC client and use Protobuf to create a chat service between both parties.
SETTING UP THE SERVICES
This lesson requires additional services that are not included in a typical Go installation. You will need to download and install the following applications as well as create a user directory:
- Git
- gRPC
- Protobuf
- Protoc
Git
Git is a distributed version control tool. You can verify if Git is installed on your computer by entering the following command at a command-line prompt:
git --version
If Git is installed on your system, this command will return the current version. If your system does not already have Git available, download and installation instructions are available through Git's downloads page at https://git-scm.com/downloads.
gRPC
You will also need to install gRPC on your system. You can install the gRPC services from a command line using the following command:
go get -u google.golang.org/grpc
If successful, when you run this command you won't see anything at the command prompt. Figure 24.1 shows that the current Microsoft Windows system has Git installed and also shows installing gRPC. There isn't much to see when installing these services.
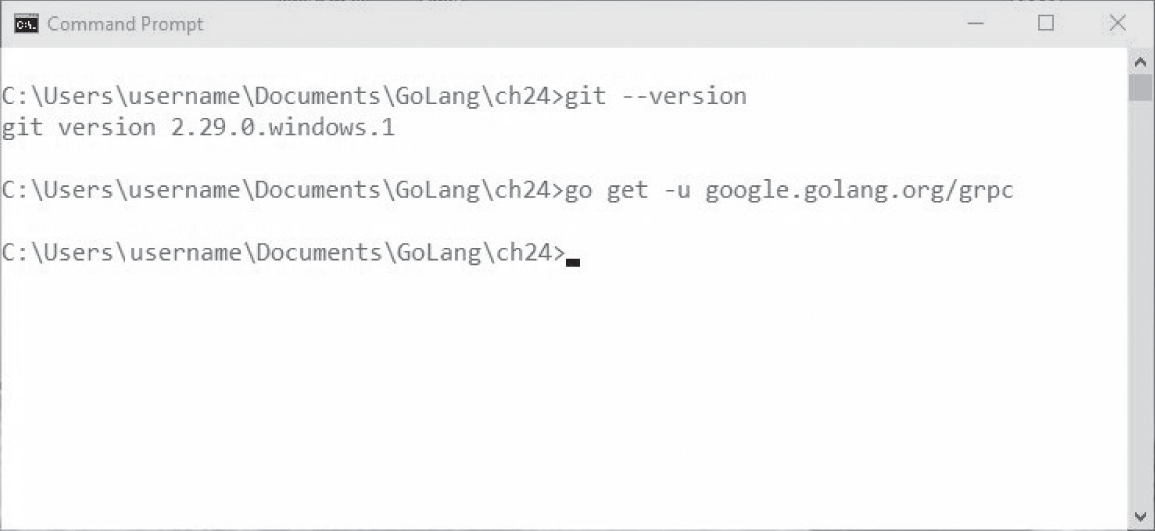
Figure 24.1: Verifying Git and installing gRPC in Go
Protobuf
Protobuf is an open source cross-platform mechanism developed by Google that is used to serialize structured data. You can think of Protobuf as a lighter and faster version of XML. As with XML, you can decide the structure of your data (using proto files; more on this later), then use Protobuf to read and write structured data into a variety of streams. Typically, Protobuf is used by programs to store data or to communicate with other applications.
Install the protocol compiler plug-in for Go (protoc-gen-go) using the following command:
go get github.com/golang/protobuf/protoc-gen-go
This Go get instruction will download and save the files to a new directory on your computer. If you are using macOS or Linux, you can enter the following command to set a path so that the plug-in can find the code files:
export PATH="$PATH:$(go env GOPATH)/bin"
This setting should already be in place if you are using Windows and you installed Go using the provided MSI file.
Next, check to make sure that the files are installed. You can do so by navigating to that directory and looking in the pkg/mod subdirectory. The default directories are:
- Windows:
C:Users\%USERNAME%Go - macOS or Linux:
Users/<username>/go
Protoc
Install the protocol buffer compiler (protoc), version 3 or later:
- Detailed installation instructions are available in Protobuf's GitHub repository at
https://github.com/protocolbuffers/protobuf. You'll find Terminal commands for macOS and Linux on this page as well. - For Windows, or if you have problems with the Terminal commands, download the appropriate binary files for your system from the Releases folder in the repository at
https://github.com/protocolbuffers/protobuf/releases. Look for a file whose name ends inwin32orwin64and download the version for your OS. (Most Windows users should choosewin64.) For example, as of this writing, the file was namedprotoc-3.19.4-win64.zip.
After downloading the file, open the compressed folder and copy the bin and include subdirectories to your user/Go folder. This will add protoc to your Go installation. You'll see an existing bin subdirectory in Go; paste the new version to the same location. Select Merge, if necessary, to merge the folders.
User Directory
For this lesson, all program files should be saved to the usr/Go/src location created by downloading the files.
- In Linux or macOS, a possible location is
/usr/local/go/src. - In Windows, this should be
C:Users\%USERNAME%Gosrc.
Verify this folder is on your computer. Also check that the bin subdirectory includes two files:
protoc.exeprotoc-gen-go.exe
CREATING A SERVER
Once you have everything set up and you've confirmed your user directories are created and contain the appropriate files, then you are ready to continue. In the first step, you will create a simple server using the net package that will listen for TCP connections on port 10000. This is the most basic version of a server.
Create a new file named server.go and save it to your src folder. Add the code in Listing 24.1 to the new file.
At this point the code does not do much. It listens on the local network address using the net.Listen function. The first input of net.Listen is the network (tcp in this case), and the second parameter is the port or address, in this case 10000. Note that the network must be one of the following values:
"tcp""tcp4""tcp6""unix""unixpacket"
The program should run without error and open a server connection. It will print the value for the listener similar to the following, but nothing else will happen:
C:UsersMRBRADLEYLgosrc>go run server.go&{0xc00014ea00 {<nil> 0}}
CREATING A gRPC SERVER
Now you will modify the server as a gRPC server using the grpc package you downloaded earlier. This is shown in Listing 24.2.
The server.go program shown in Listing 24.2 has now been updated with a few changes. First, you add the grpc package to the import statements. You also add some output text that will indicate you are making a connection to the server. Finally, you create the gRPC server using grpc.NewServer and register the endpoints you want to expose before serving this over the existing TCP connection, using the listener you created earlier.
At this point, if you save and run the program, you should see the print output to confirm the connection:
Our first gRPC server
CREATING THE CHAT SERVICE
So far, our server is still not useful. You need to expose some services that clients can use to communicate with the server. As we mentioned earlier, gRPC uses the Protocol Buffers (Protobuf) data format to allow applications to communicate with each other. In the previous step, you created the gRPC server application. In this step, you will create a Protobuf file that you'll use to define how other applications can communicate with the server you just created.
Create a file named chat.proto (proto is the extension for Protobuf files) and include the code shown in Listing 24.3. Save this file in the same folder as your server file from Listing 24.2.
The proto file exposes the services that your gRPC will provide. First, you define the syntax used in the file. In our example, you are using proto3:
syntax = "proto3";
You then define the name of the package that you want to create. In our example, the package name is chat:
package chat;
Next, you identify the location where the new service will be hosted—in this case, a subdirectory named chat, which you'll create momentarily. Finally, you define a message type named Message and a service called ChatService. This service calls rpc of SayHello, which takes as input a Message and returns the message.
You then add a subdirectory named chat to the current directory (where the code files are) and then, from the command prompt, run the following command:
protoc --go_out=plugins=grpc:chat chat.proto
After you execute this command, you should see a file named chat.pb.go in the chat subdirectory. There will be no output to the command window itself.
UPDATING THE SERVER CODE TO INCLUDE THE CHAT SERVICE
Now that you have the necessary files for your chat service, you need to instruct the gRPC server to expose that service. Update your server program to include the new code shown in Listing 24.4.
The new code creates a chat server and exposes the service to the gRPC server. The RegisterChatServiceServer function references a function in the autogenerated chat.pb.go file you created using protoc in the previous step. The fact that protoc automatically generates the required functions is an advantage to using this tool.
If you try to run this program, you will receive feedback messages that chat is undefined:
# command-line-arguments.server.go:22:10: undefined: chat.Server
Let's create chat next.
CREATING THE CHAT PACKAGE
In this step, you will implement the SayHello method that you defined in the proto3 file in Listing 24.3. This method will accept messages from clients.
In the chat subdirectory, create a file named chat.go with the code in Listing 24.5.
This code performs several steps. First, you create a chat package that you can reference from other programs. You then import the log and context packages. You use log to log incoming messages from the clients. You include the package context because the SayHello function will take as input a Context type and a Message type, which are provided in this package.
You then create a struct type, Server, with no fields. This Server type represents the receiver argument for the SayHello method. At runtime, that will be the gRPC server.
The SayHello method takes as input a Message type and returns a Message type as well. It also returns an error type in case of an error. Within the SayHello method, you log the message that you received (in is the variable of type Message and in.Body is the text).
Each time you receive a message, ideally you will want to send a message back to the client. In this example, you return a new message variable with the text "Hello from the Server!" and you return the error as nil.
Essentially, this code will send the message "Hello from the Server!" back to the client each time the server receives a message. You could implement further services by adding their definitions in the proto file and then implementing them in the chat.go function using the same pattern.
CREATING A CLIENT
With a server built, now you need to build the client. In this step, you'll create a client that can communicate with the server you created earlier. The code for client.go is in Listing 24.6.
The code in client.go performs a number of tasks. It starts by creating a client connection variable called conn:
var conn *grpc.ClientConn
The variable is then used to create a connection to the local address on port 10000 by calling the grpc.Dial method:
conn, err := grpc.Dial(":10000", grpc.WithInsecure())
Error checking verifies that the connection is created and that an error is not returned. If an error is returned (err is not equal to nil), then the error is logged using the log.lFatalf function. You then provide the code to make sure you close the connection. The closing is deferred so that the closing won't happen until you are done using your connection.
With the connection established, you next create a client from the chat service. The NewChatServiceClient function is autogenerated from the proto file. You pass it your connection, conn. This establishes your client as c.
You send a message from this client (c) to the server using SayHello. The message you are sending says, "Hello from the Client!". In calling SayHello, you are also passing context.Background() for the first argument as a context. Background() means Background returns a non-nil, empty Context. It is never canceled, has no values, and has no deadline. It is typically used by the main function, initialization, and tests, and as the top-level Context for incoming requests.
Another context that can be used is context.Package(). The package context defines the Context type, which carries deadlines, cancelation signals, and other request-scoped values across API boundaries and between processes. Incoming requests to a server should create a Context, and outgoing calls to servers should accept a Context.
After sending the "Hello from the Client!" message with SayHello, you receive the response in the variable response and an error code. You then print this response from the server.
RUNNING THE SERVER AND THE CLIENT
On one terminal, run the server and look for it to display the message so that you know it is running. Then run the client in a separate Terminal window to see the applications communicate with each other. You should see results similar to Figure 24.2.

Figure 24.2: Running both the server and the client
SUMMARY
In this lesson, we presented an example of how to use gRPC to have a server and client share messages. As you saw, gRPC is lightweight and more flexible than REST services. gRPC is supported by most programming languages, including Go. With the code from this lesson, you now have the foundation to build your own servers and clients that can interact.
EXERCISES
The following exercises are provided to allow you to experiment with the tools and concepts presented in this lesson. For the exercises, write a program that meets the specified requirements and verify that the program runs as expected. The exercises are:
- Exercise 24.1: Chat Assistant
- Exercise 24.2: The Real Weather
- Exercise 24.3: Adding Stock
Exercise 24.1: Chat Assistant
Using the code that you developed in this lesson, create a chat assistant where a client can send keyword requests and the server provides an appropriate response. For example:
- If the client sends the message
weather, the server will respond with a weather-related message. - If the client sends the message
market, the server will respond with a message related to the stock market.
As a first attempt, focus on a single function and do that well. You can build in additional functions later.
Exercise 24.2: The Real Weather
Update your solution from Exercise 24.1. Using the REST API lesson, add a functionality so that when the client asks about the weather, the server will query the weather API found at www.weatherapi.com.
Exercise 24.3: Adding Stock
Update your solution from Exercise 24.1 by adding real stock quotes. Use publicly available APIs to access individual stock prices. When the client sends an index as a message, the server should return the price.