
CHAPTER 8
Customizing the Excel User Interface
A software program's user interface consists of all the ways that the user interacts with the software. In Excel, the user interface consists of the following:
- The Ribbon
- The Quick Access Toolbar
- Right-click shortcut menus
- Dialog boxes
- Task panes
- Keyboard shortcuts
This chapter describes how to make changes to two Excel user interface components: the Quick Access Toolbar and the Ribbon. You might want to customize these elements to make Excel more suited to the way you use it.
Customizing the Quick Access Toolbar
The Quick Access Toolbar is always visible, regardless of which Ribbon tab is selected. After you customize the Quick Access Toolbar, your frequently used commands will always be one click away.
About the Quick Access Toolbar
By default, the Quick Access Toolbar is located on the left side of the Excel title bar, above the Ribbon (see Figure 8.1). Unless you customize it, this toolbar includes four tools; five if Excel detects you're on a touch-enabled device.
- AutoSave Periodically saves workbooks that have already been saved to OneDrive or SharePoint.
- Save Saves the active workbook.
- Undo Reverses the effect of the last action.
- Redo Reverses the effect of the last undo.
- Touch/Mouse Mode For touch-enabled devices, toggles between touch mode and mouse mode. Touch mode provides larger touch targets.
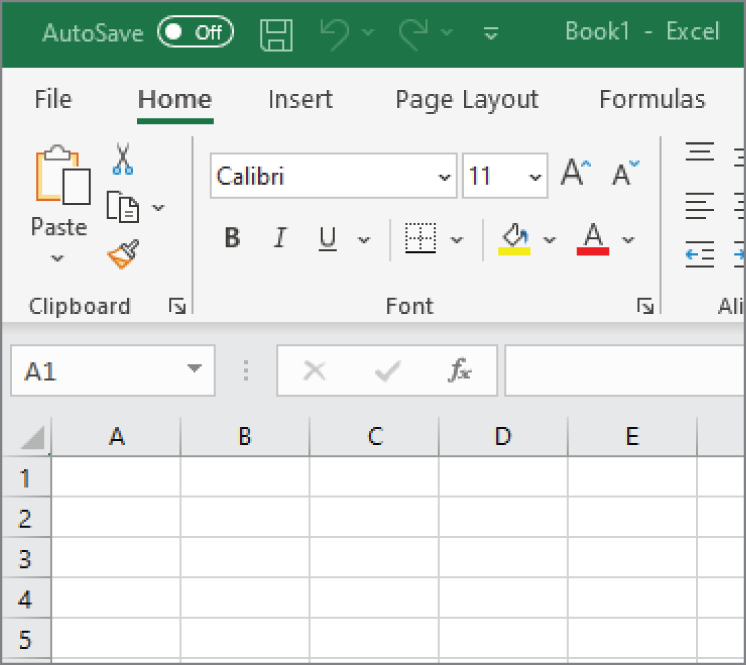
FIGURE 8.1 The default location for the Quick Access Toolbar is on the left side of the Excel title bar.
If you prefer, you can move the Quick Access Toolbar below the Ribbon. To do so, right-click the Quick Access Toolbar and choose Show Quick Access Toolbar Below the Ribbon. Moving the Quick Access Toolbar below the Ribbon uses additional vertical space on your screen. In other words, you'll be able to see one or two fewer rows of your worksheet if you move the Quick Access Toolbar from its default location. Unlike traditional toolbars, the Quick Access Toolbar cannot be made free floating, so you can't move it to a convenient location. It always appears either above or below the Ribbon.
Commands on the Quick Access Toolbar always appear as small icons with no text. An exception to this rule is drop-down controls that display text. For example, if you add the Font control from the Home ➪ Font group, it appears as a drop-down control in the Quick Access Toolbar. When you hover your mouse pointer over an icon, you see a ScreenTip showing the name of the command and a brief description.
You can customize the Quick Access Toolbar by adding or removing commands. If you find that you use some Excel commands frequently, you can make these commands easily accessible by adding them to your Quick Access Toolbar. You can also rearrange the order of the icons.
As far as we can tell, there is no limit to the number of commands that you can add. The Quick Access Toolbar always displays only a single line of icons. If the number of icons exceeds the Excel window width, it displays an additional icon at the end: More Controls. Click the More Controls icon, and the hidden Quick Access Toolbar icons appear in a pop-up window.
Adding new commands to the Quick Access Toolbar
You can add a new command to the Quick Access Toolbar in three ways:
- Click the Customize Quick Access Toolbar drop-down control, which is located on the right side of the Quick Access Toolbar (see Figure 8.2). The list contains a few commonly used commands. Select a command from the list, and Excel adds it to your Quick Access Toolbar.

FIGURE 8.2 This drop-down list is one way to add a new command to the Quick Access Toolbar.
- Right-click any control on the Ribbon and choose Add to Quick Access Toolbar. The control is added to your Quick Access Toolbar, positioned to the right of the last control.
- Use the Quick Access Toolbar tab in the Excel Options dialog box. A quick way to access this dialog box is to right-click the Quick Access Toolbar and choose Customize Quick Access Toolbar.
The remainder of this section discusses the Quick Access Toolbar tab of the Excel Options dialog box, shown in Figure 8.3.

FIGURE 8.3 Use the Quick Access Toolbar tab in the Excel Options dialog box to customize the Quick Access Toolbar.
The left side of the dialog box displays a list of Excel commands, and the right side shows the commands currently on your Quick Access Toolbar. Above the command list on the left is the Choose Commands From drop-down list, from which you can filter the list. Select an item from the drop-down list, and the list displays only the commands for that item. In Figure 8.3, the list shows commands in the Popular Commands category.
Some of the items in the drop-down list are as follows:
- Popular Commands Displays commands that Excel users commonly use.
- Commands Not in the Ribbon Displays a list of commands that you can't access from the Ribbon. Many, but not all, are obsolete or not very useful.
- All Commands Displays a complete list of Excel commands.
- Macros Displays a list of all available macros.
- File Tab Displays the commands available in the Backstage view.
- Home Tab Displays all commands available when the Home tab is active.
In addition, the Choose Commands From drop-down list contains items for every other tab, including the contextual tabs (for example, the additional tabs that are displayed when a chart is selected). To add an item to your Quick Access Toolbar, select it from the list on the left and then click Add. The command appears in the list on the right. At the top of each list is an item called <Separator>. Adding this item to your Quick Access Toolbar results in a vertical bar to help you group commands.
The commands are listed in alphabetical order. Sometimes you need to do some guessing to find a particular command.
When you select Macros from the Choose Commands From drop-down, Excel lists all available macros. You can attach a macro to a Quick Access Toolbar icon so that when you click the icon, the macro is executed. If you add a macro to your Quick Access Toolbar, you can click the Modify button to change the text and choose a different icon for the macro.
When you finish making your Quick Access Toolbar customizations, click OK to close the Excel Options dialog box. The new icon(s) will appear on the Quick Access Toolbar.
Other Quick Access Toolbar actions
Other Quick Access Toolbar actions include the following:
- Rearranging the Quick Access Toolbar icons If you want to change the order of your Quick Access Toolbar icons, you can do so from the Quick Access Toolbar tab of the Excel Options dialog box. Select the command and then use the Move Up and Move Down arrow buttons on the right to move the icon.
- Removing Quick Access Toolbar icons The easiest way to remove an icon from your Quick Access Toolbar is to right-click the icon and choose Remove from Quick Access Toolbar. You can also use the Quick Access Toolbar tab of the Excel Options dialog box. Just select the command in the list on the right and click Remove.
- Resetting the Quick Access Toolbar If you want to return the Quick Access Toolbar to its default state, display the Quick Access Toolbar tab of the Excel Options dialog box and click the Reset button. Then choose Reset Only Quick Access Toolbar. The Quick Access Toolbar then displays its default commands.
Customizing the Ribbon
The Ribbon is Excel's primary user interface component. It consists of tabs along the top. When you click a tab, it displays a set of relevant commands, and the commands are arranged in groups.
Why you may want to customize the Ribbon
Most users have no need to customize the Ribbon. If you find that you tend to use the same command over and over, though—and you're constantly clicking tabs to access these commands—you might benefit from customizing the Ribbon in such a way that the commands you need are on the same tab.
What can be customized
You can customize tabs on the Ribbon in the following ways:
- Adding new custom tabs
- Deleting custom tabs
- Changing the order of the tabs
- Changing the name of tabs
- Hiding built-in tabs
You can customize groups on the Ribbon in the following ways:
- Adding new custom groups
- Adding commands to custom groups
- Removing commands from custom groups
- Removing groups from tabs
- Moving a group to a different tab
- Changing the order of the groups within a tab
- Changing the name of a group
Those are fairly comprehensive lists of customization options, but there are some actions that you can't do:
- Remove built-in tabs (but you can hide them)
- Remove specific commands from built-in groups (but you can remove entire groups)
- Change the order of commands in a built-in group
How to customize the Ribbon
Customizing the Ribbon is done via the Customize Ribbon tab of the Excel Options dialog box (see Figure 8.4). The quickest way to display this dialog box is to right-click anywhere on the Ribbon and choose Customize the Ribbon.
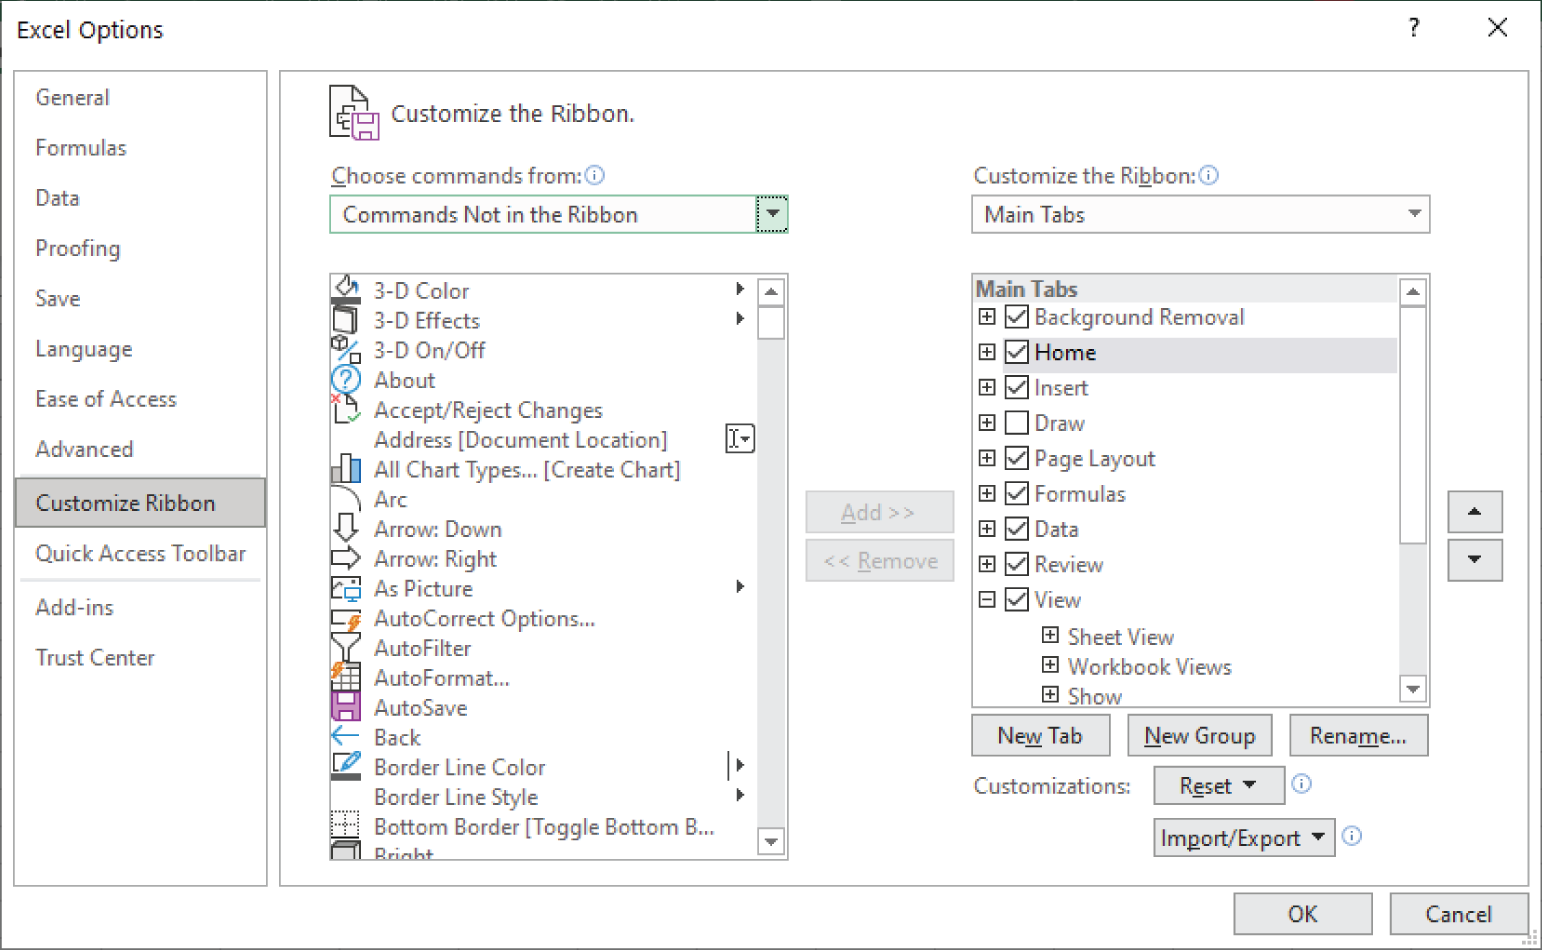
FIGURE 8.4 The Customize Ribbon tab of the Excel Options dialog box
Creating a new tab
If you'd like to create a new tab, click the New Tab button. Excel creates a tab named New Tab (Custom) and a new group in the tab named New Group (Custom).
You'll almost always want to give the tab (and the group) better names. Select the item and click Rename. Use the Move Up and Move Down arrow buttons on the right to reposition the new tab, if necessary.
Creating a new group
To create a new group, select the tab that will hold the new group and click the New Group button. Excel creates a new group named New Group (Custom). Use the Rename button to provide a more descriptive name, and use the Move Up and Move Down arrow buttons on the right to reposition the group within the tab.
Adding commands to a new group
Adding commands to the Ribbon is similar to adding commands to the Quick Access Toolbar, which we described earlier in this chapter. Commands that you add must be placed in a new group. Here's the general procedure:
- Use the Choose Commands From drop-down list on the left to display various groups of commands.
- Select the command in the list box on the left.
- Use the Customize the Ribbon drop-down list on the right to choose a group of tabs. Main Tabs refers to the tabs that are always visible; Tool Tabs refers to the contextual tabs that appear when a particular object is selected.
- In the list box on the right, select the tab and the group where you want to put the command. You'll need to click the plus-sign control to expand the tab name so that it displays its group names.
- Click the Add button to add the selected command from the left to the selected group on the right.
To rearrange the order of tabs, groups, or commands, select the item and use the Move Up and Move Down buttons on the right. Note that you can move a group into a different tab.
Figure 8.5 shows a part of a customized Ribbon. In this case, two groups were added to the View tab (to the right of the Macros group): Extra Commands (with three new commands) and Speech (with five new commands).

FIGURE 8.5 The View tab, with two new groups added
Resetting the Ribbon
To restore all or part of the Ribbon to its default state, right-click any part of the Ribbon and choose Customize the Ribbon from the shortcut menu. Excel displays the Customize Ribbon tab of the Excel Options dialog box. Click the Reset button to display two options: Reset Only Selected Ribbon Tab and Reset All Customizations. If you choose the latter, the Ribbon will be returned to its default state, and you'll lose any Quick Access Toolbar customizations that you made.